Top reasons to live on a hobby farm

The decision to move to a hobby farm is not to be made lightly.  There are many considerations that must be thought about before taking the plunge and buying a hobby farm.  If you’re thinking of buying a hobby farm, or making a tree change, these are some of the best things we love about living on the Rock Farm.

Serenity

There is something incredibly peaceful about waking up to the sounds of nature, not traffic.  Whether it be the chatter of birds, the breeze in the trees, or the sound of silence, we take pleasure in these sounds every day.

Top reasons to live on a hobby farm

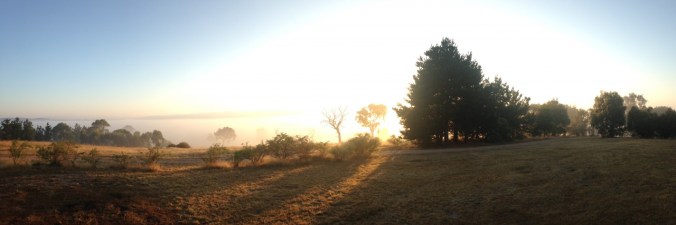
Nothing like the sun rising over the hobby farm

Our view is of rolling hills, not roads and apartments.  The air we breathe is clear, and at night the stars blaze in the sky.  Often on a full moon, we all walk outside and stand captured by the beauty of the night sky and the moon’s majestic rising.

I find there is a peace that settles on me after I come home after a long day at work.  A hobby farm should be a place that recharges your soul… each and every day.

Healthy active lifestyle

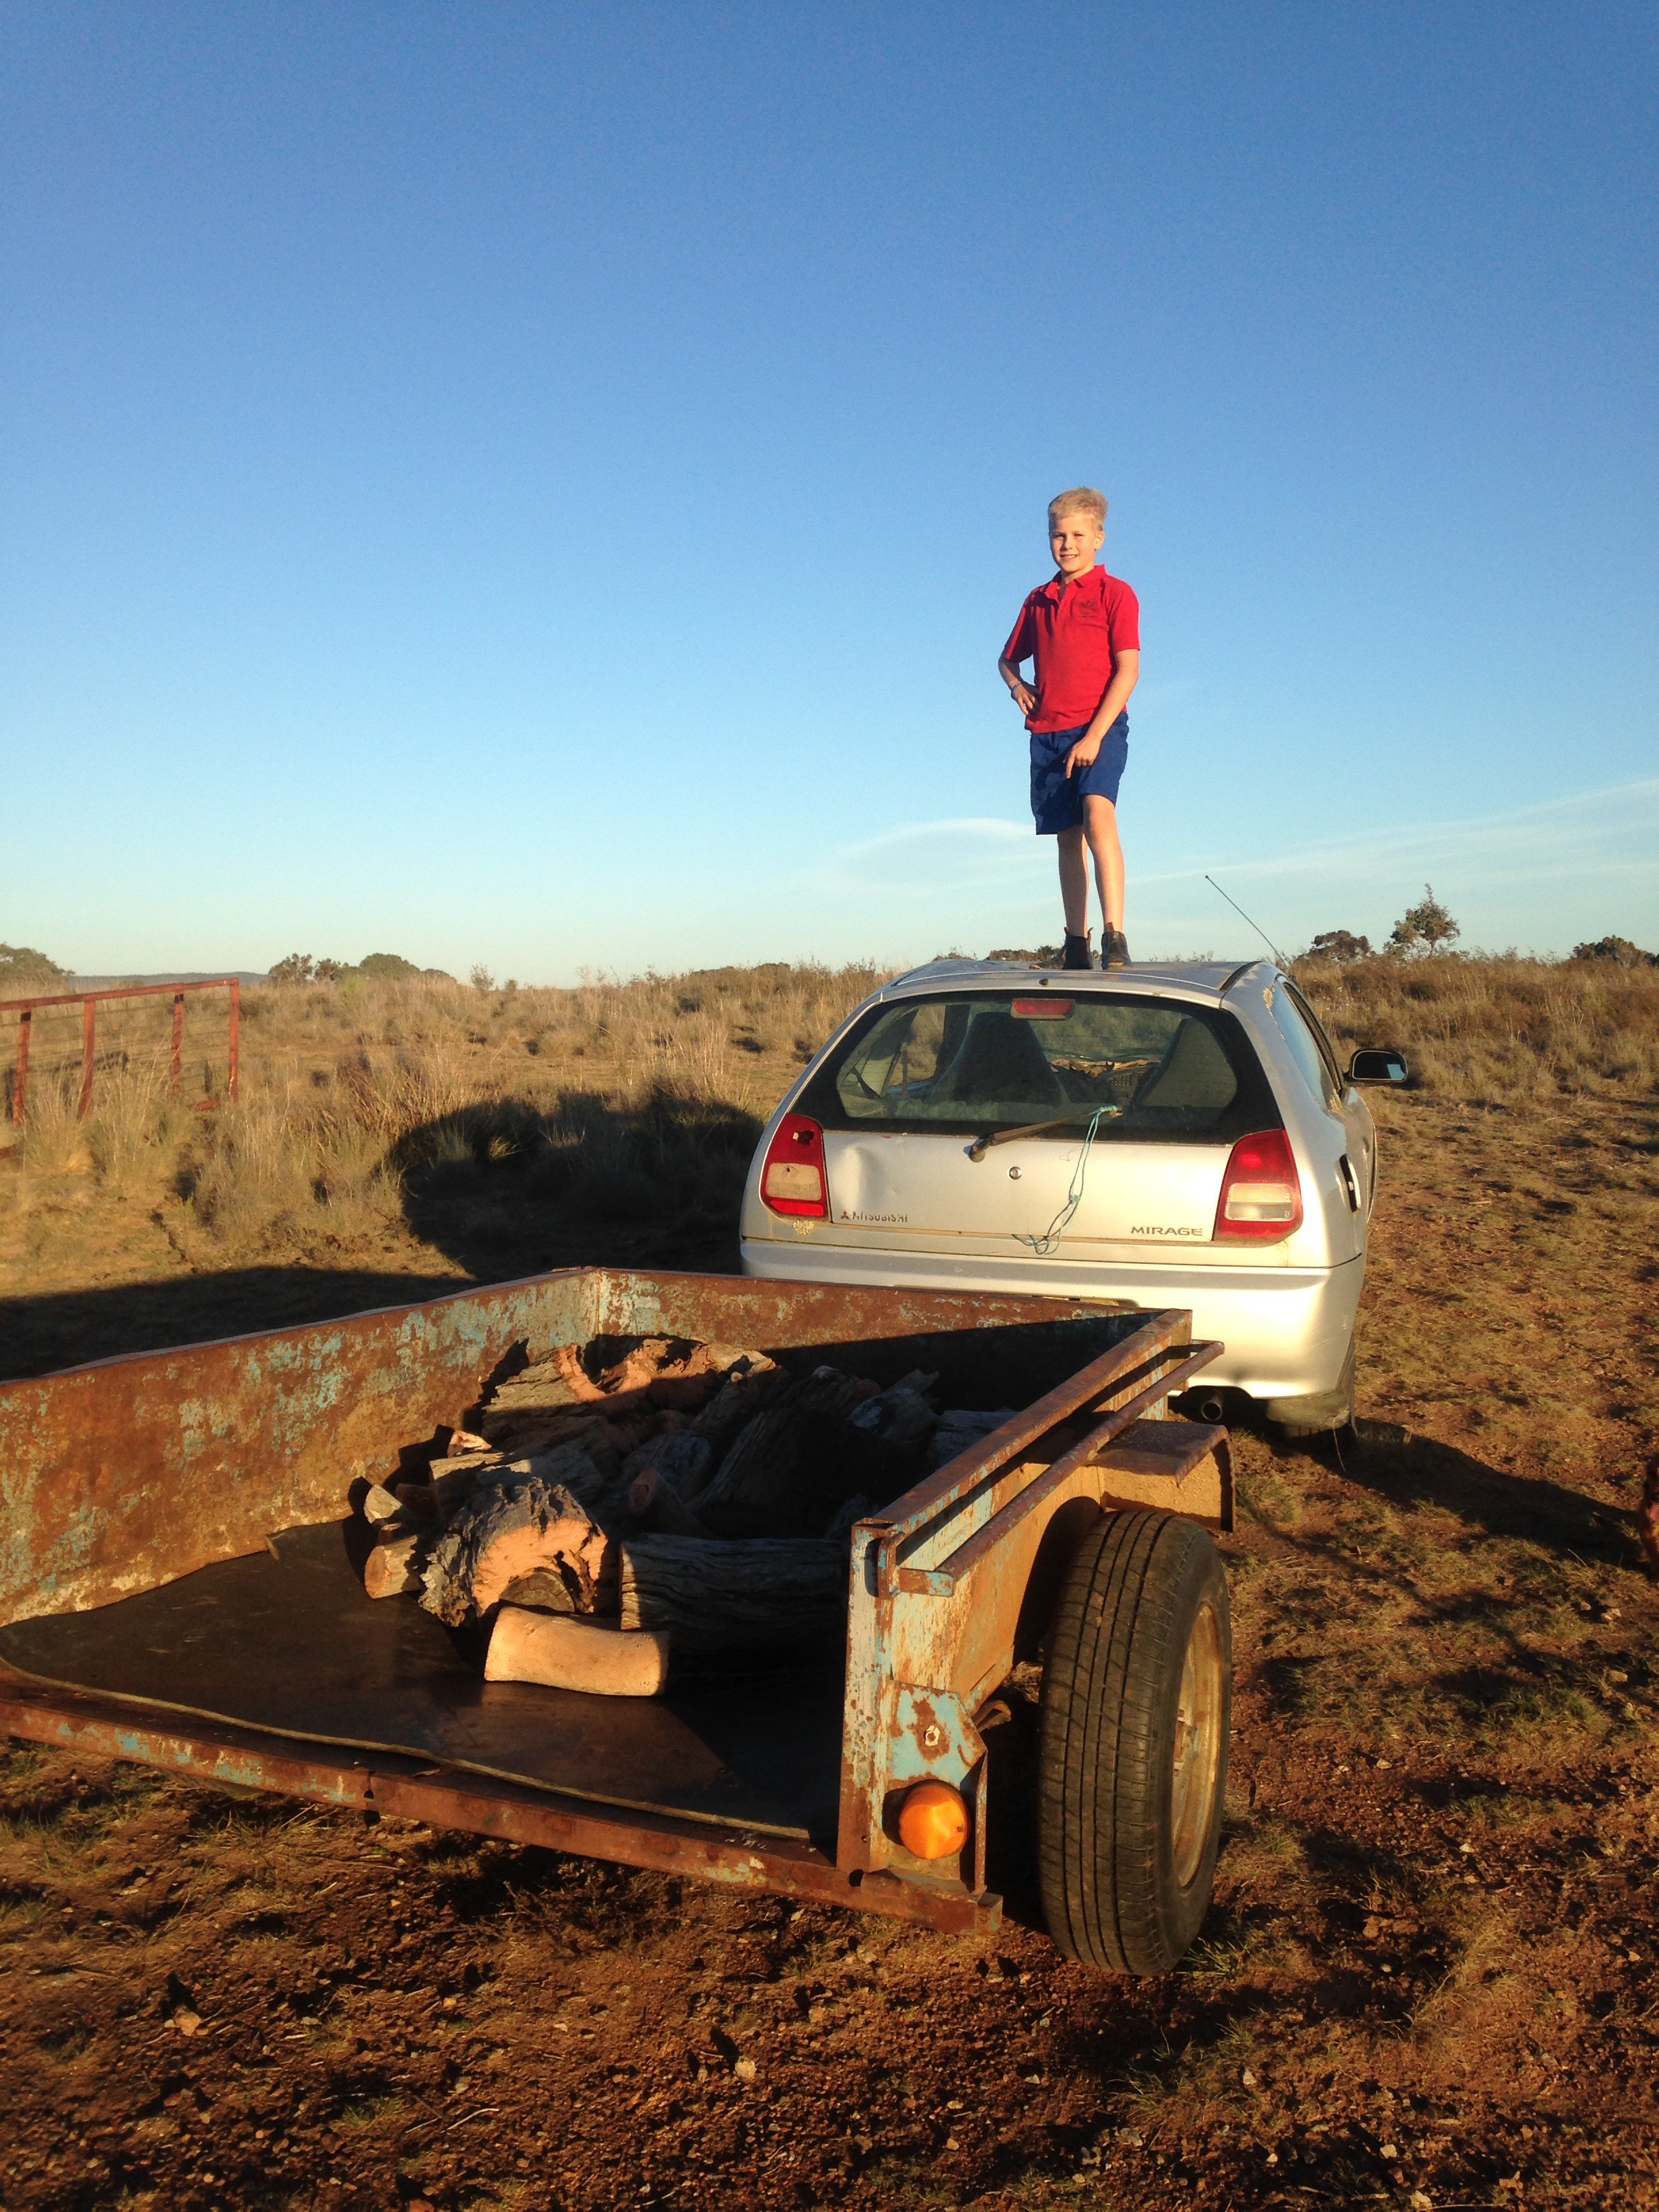
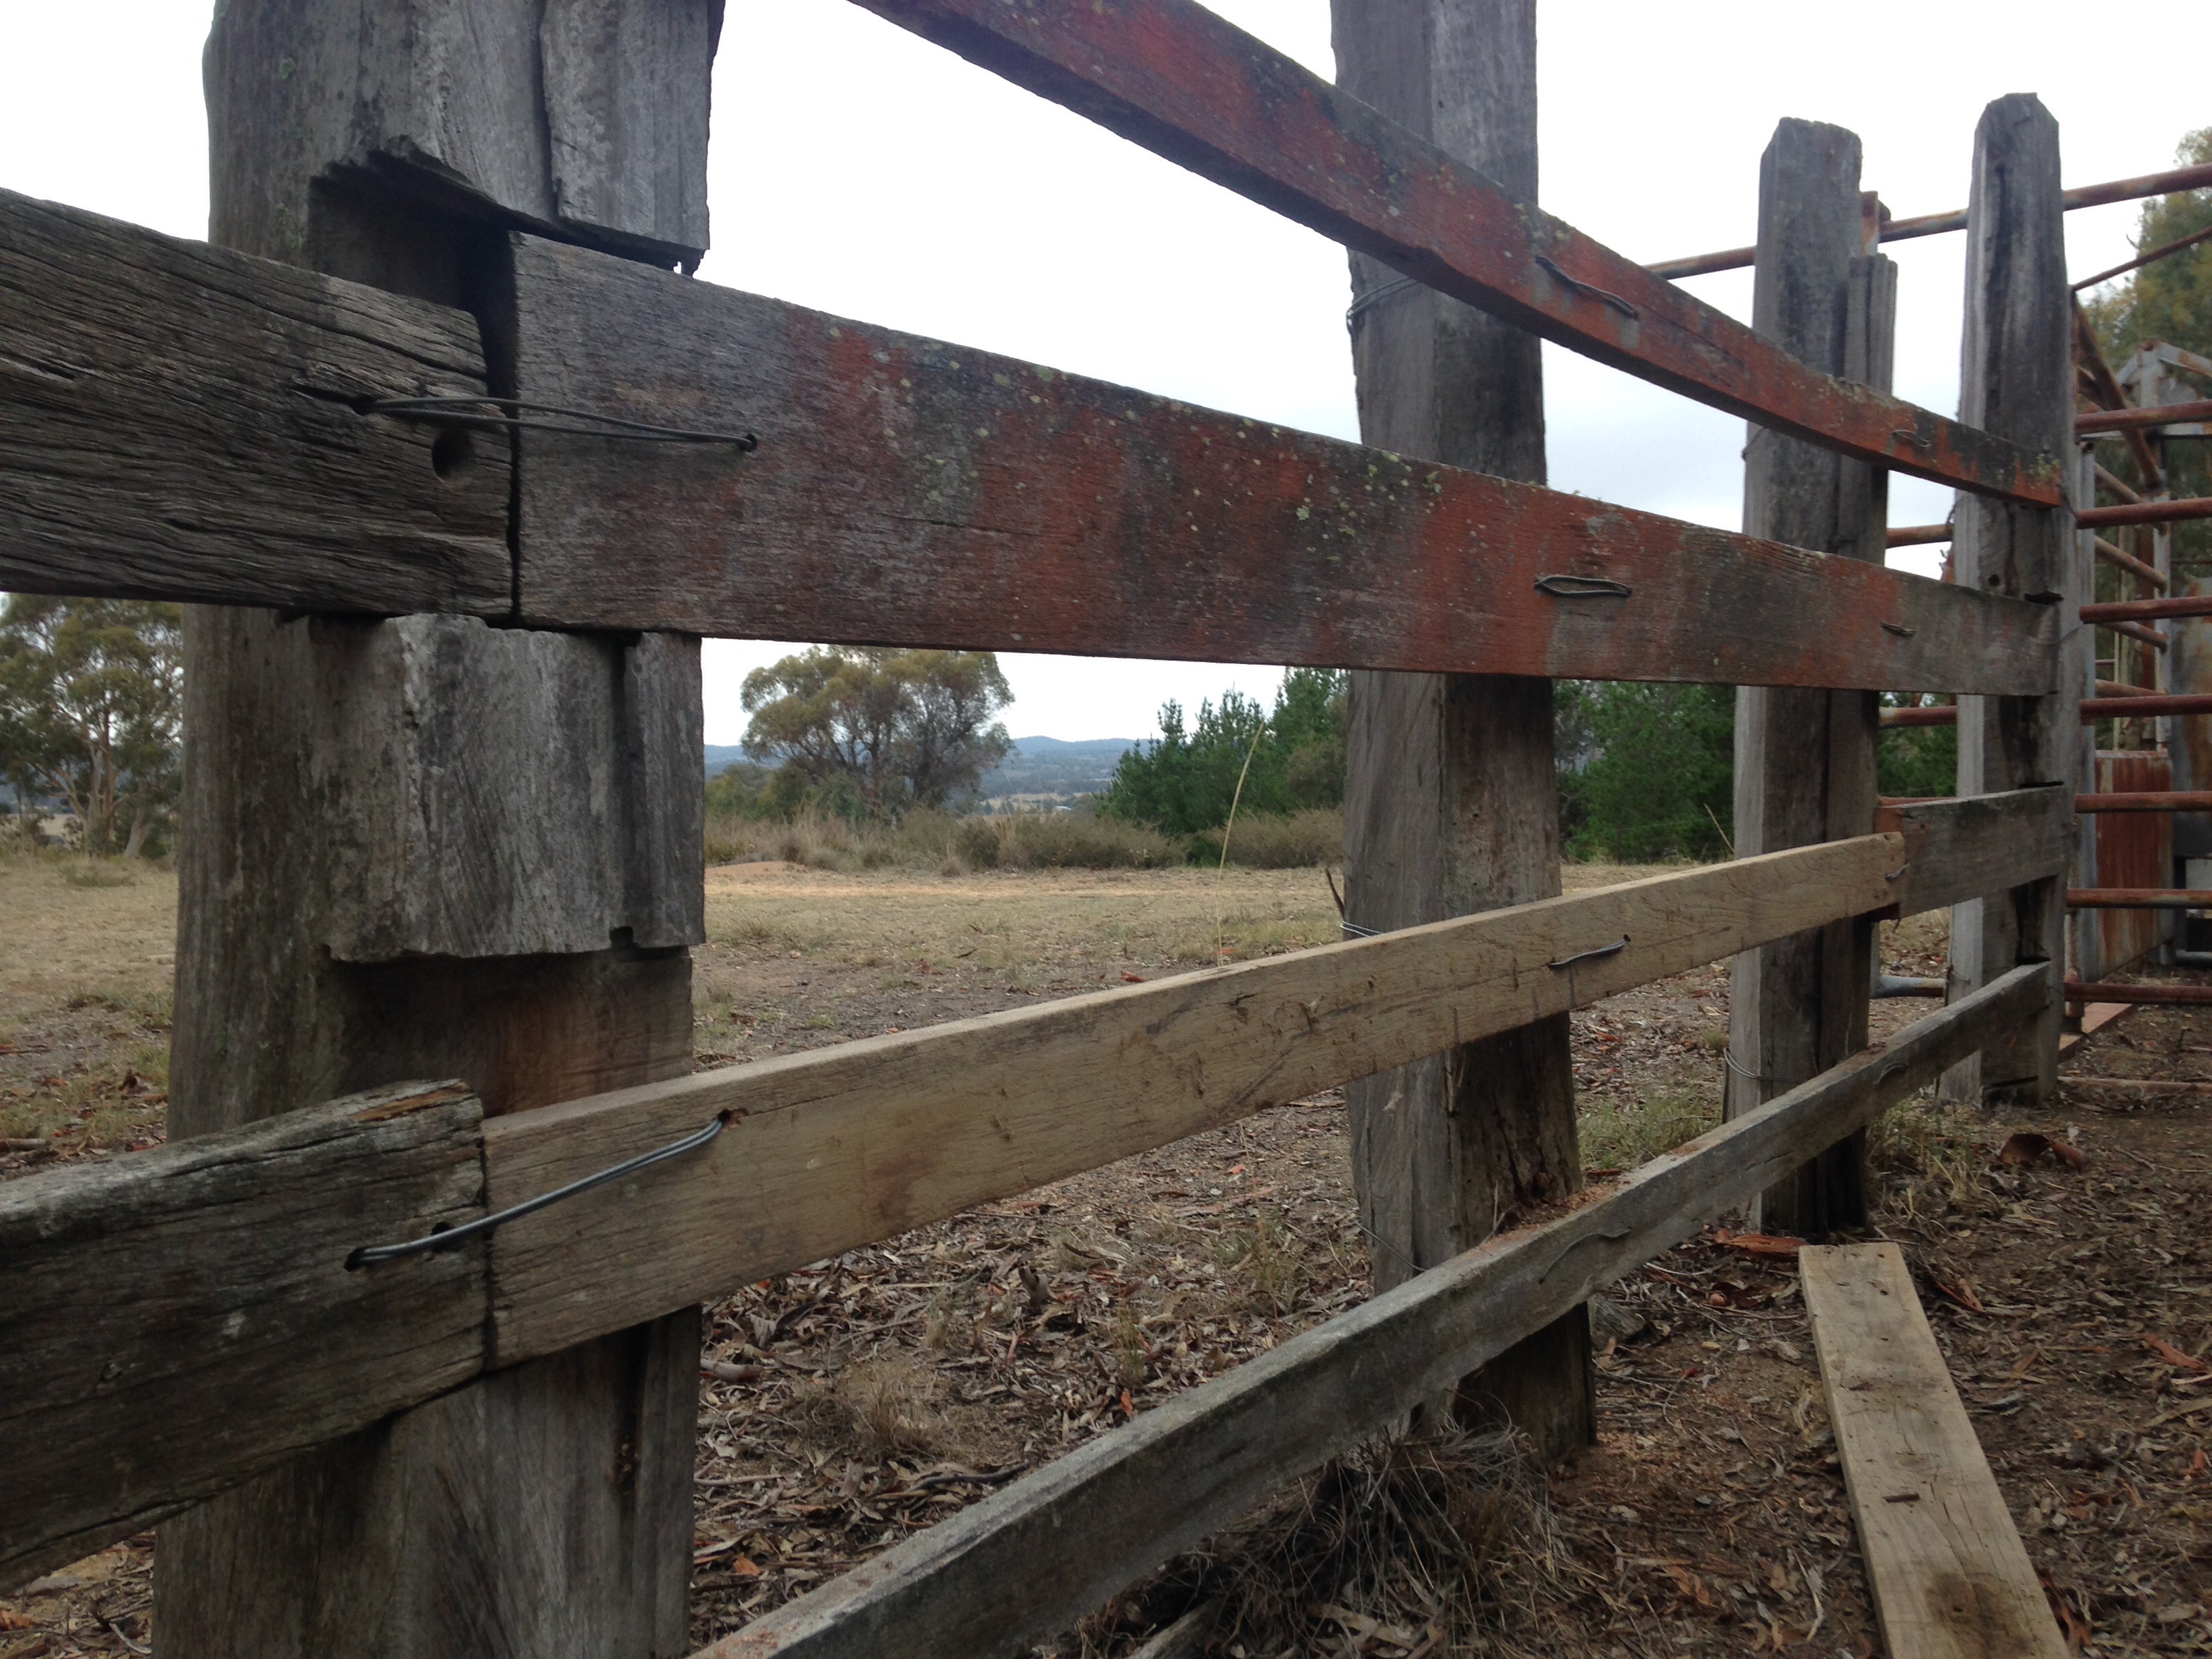
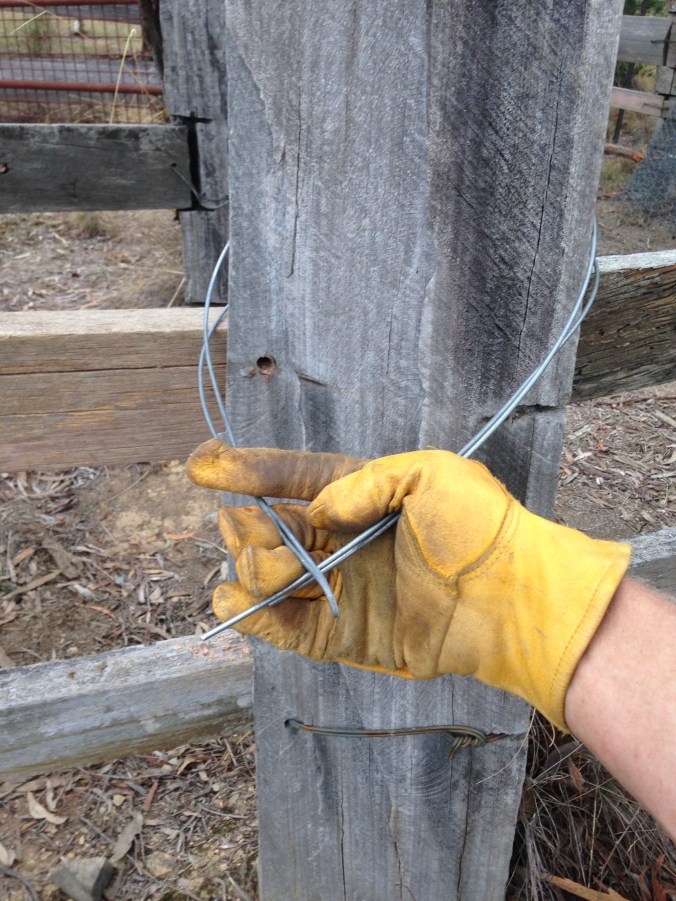
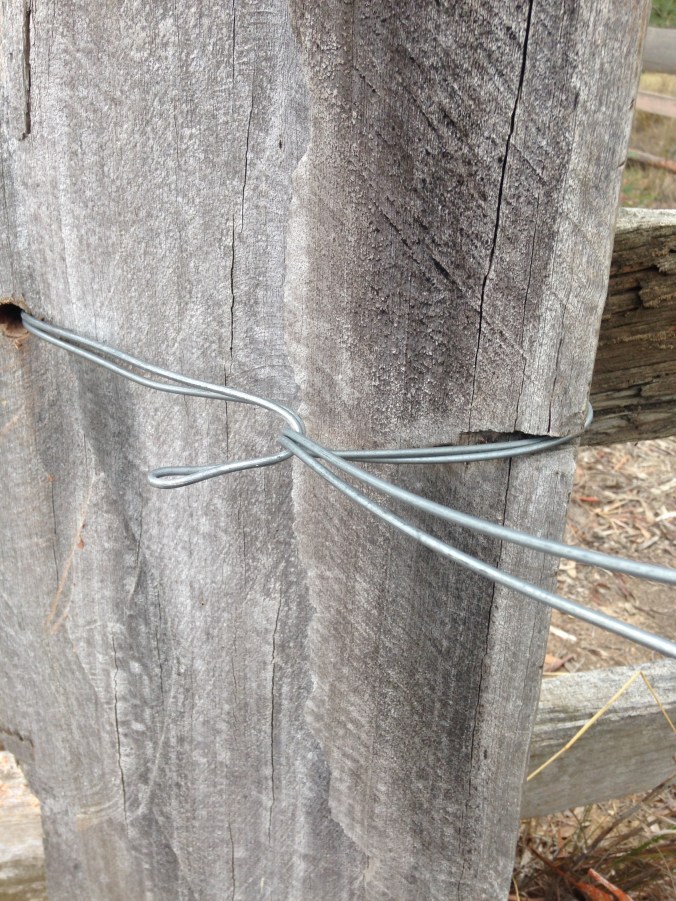
Being on a hobby farm, it is easy to find excuses to get outside.  Other than the obvious work tending the vegetable gardens, or harvesting firewood, there is plenty of scope to have fun too.  The Little Helper loves nothing more than kicking about with his best four legged friend.  Together the boy’s have a wonderful time building forts, tree houses or even helping me fix fences!

Top reasons to live on a hobby farm

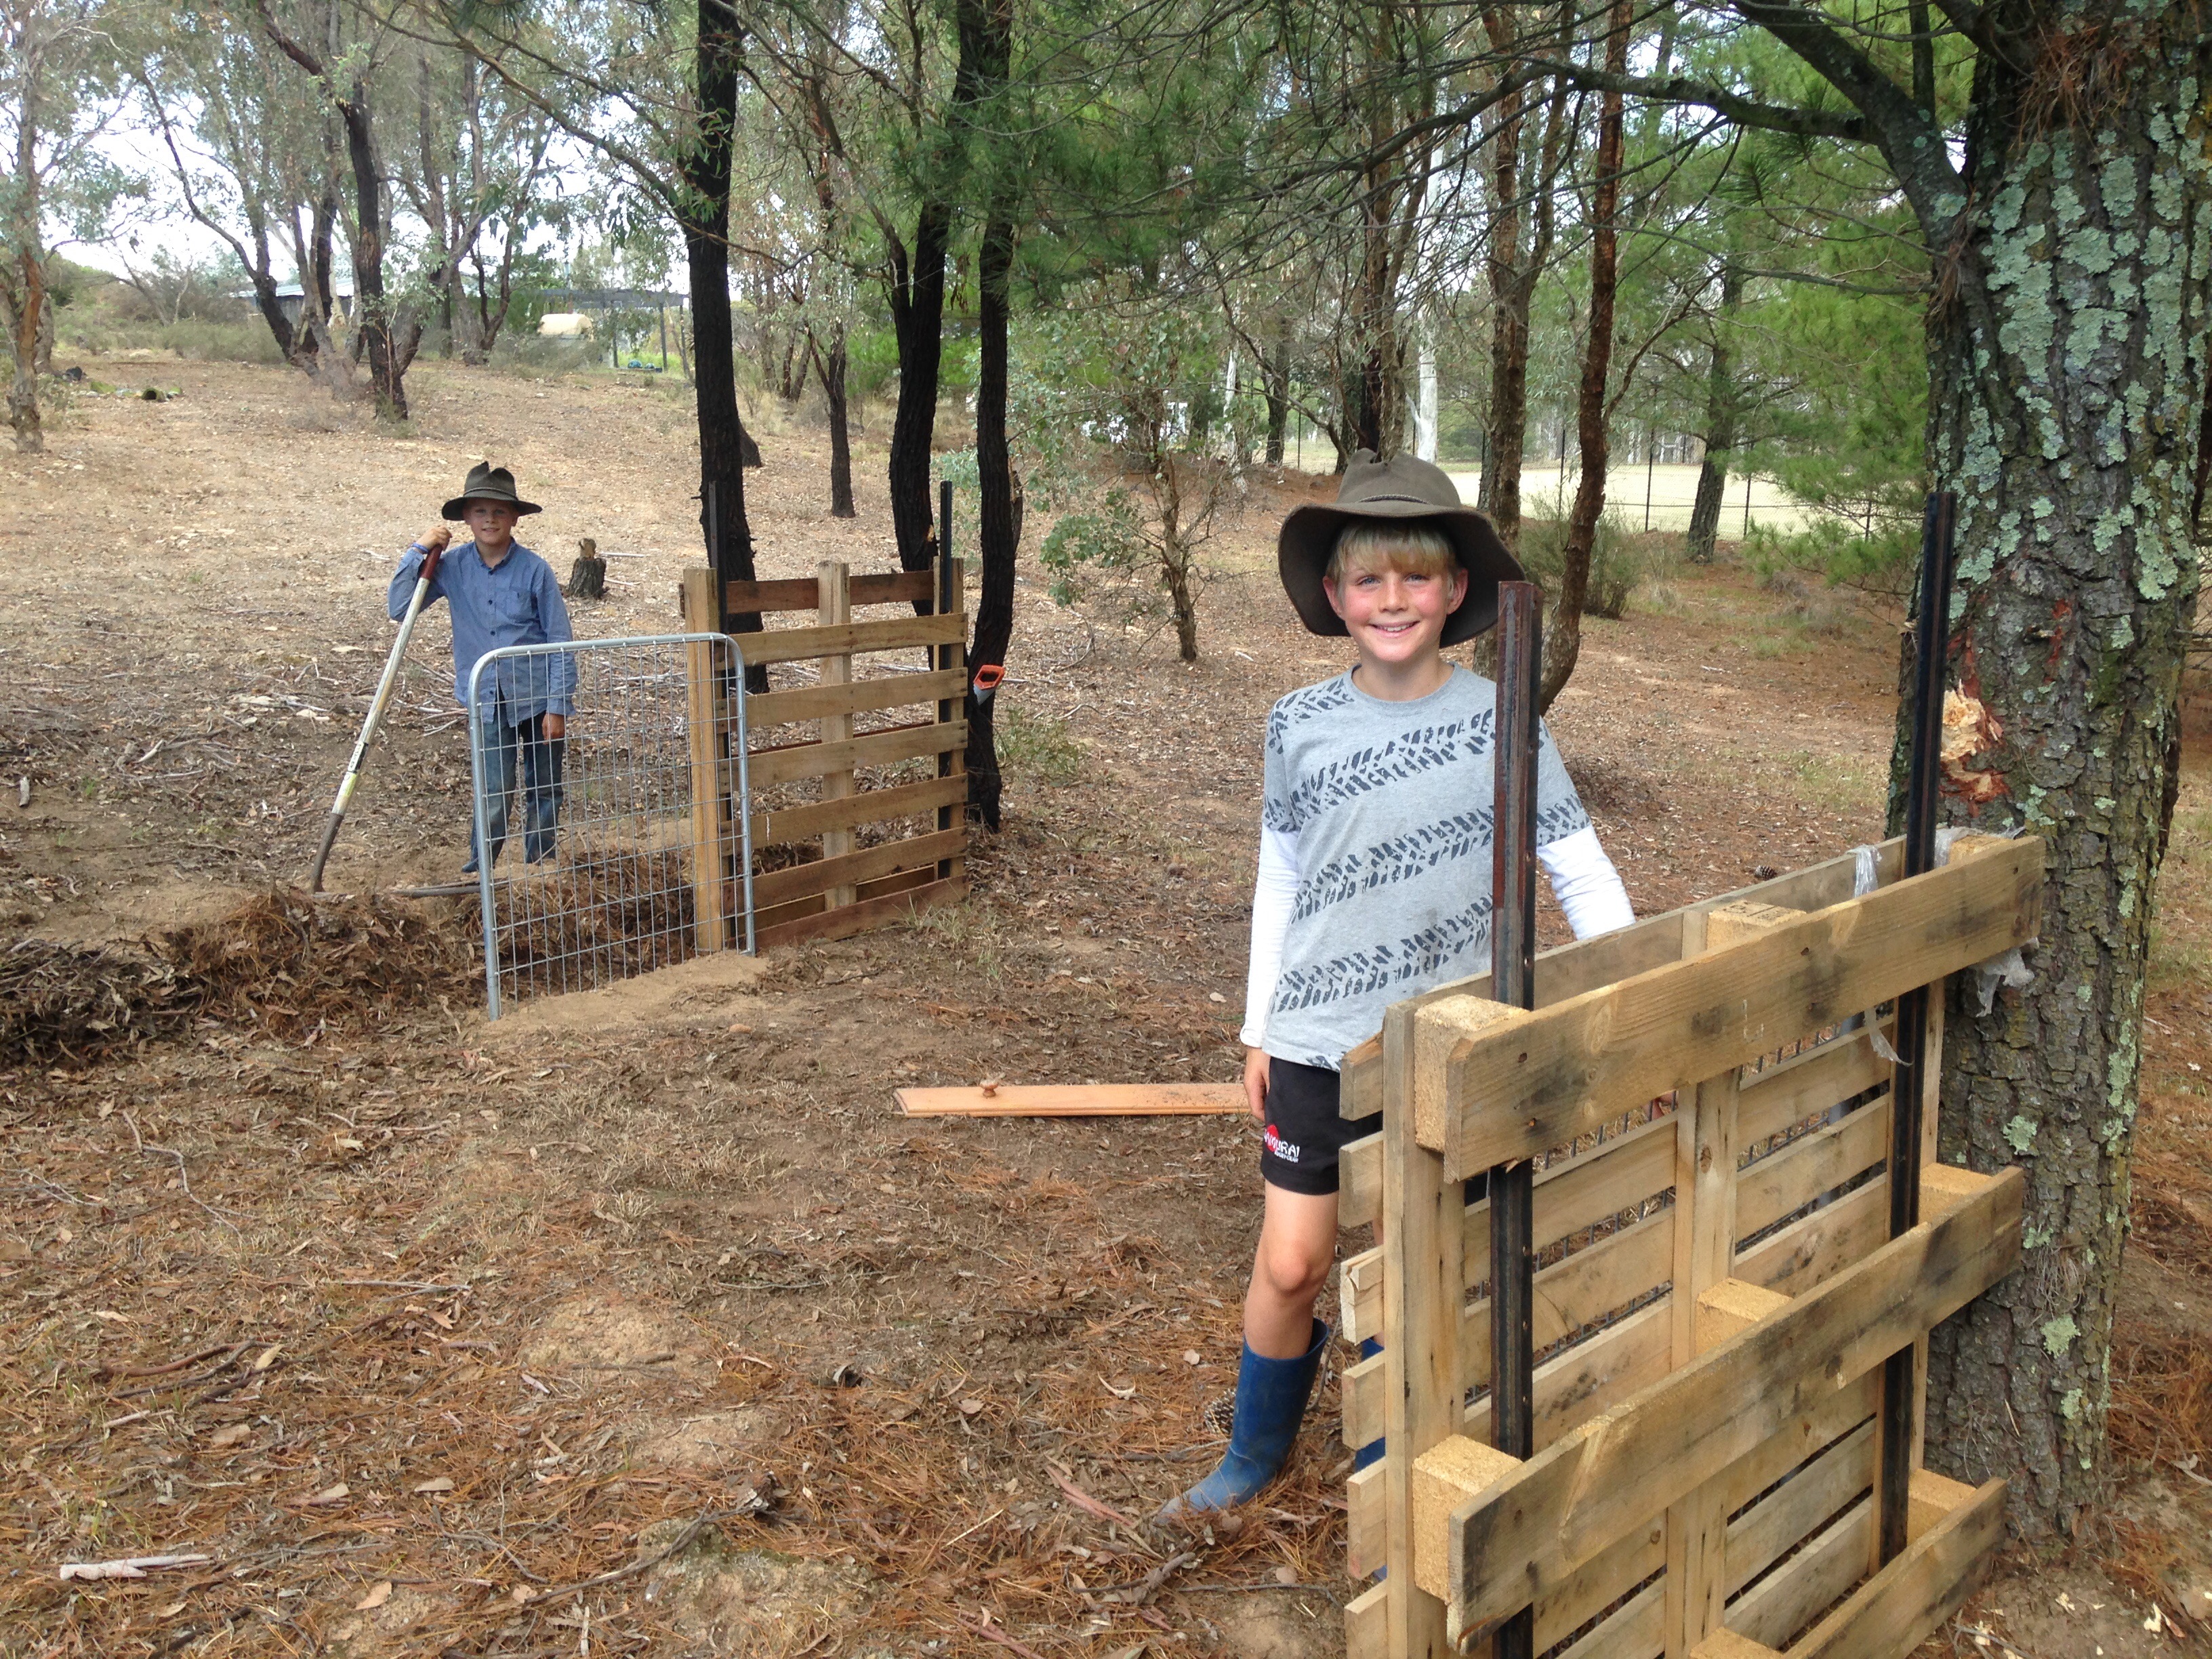
The boy’s love living on the hobby farm

I find it much more rewarding to spend some time and effort doing something around the hobby farm, than to spend my money on fancy gym membership.   The physical activity keeps me healthy, and I feel good knowing I have contributed something to the farm or the family.

Top reasons to live on a hobby farm

Nothing like taking a walk with friends… on the hobby farm

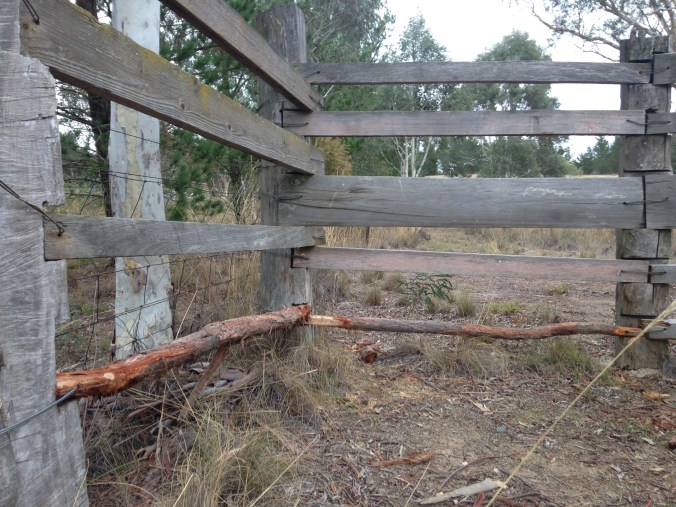
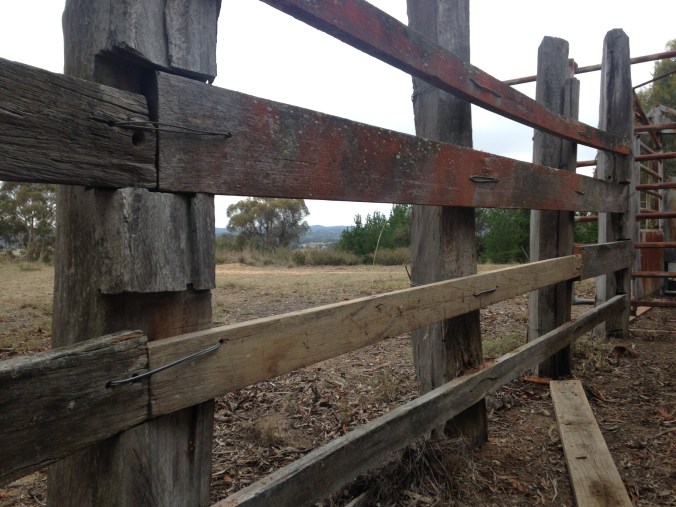
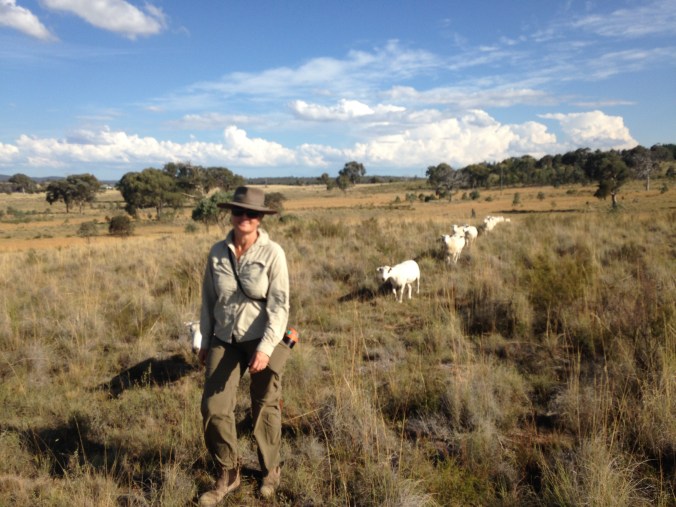
There is nothing nicer than going for a walk around the property along the boundary fence.  It is good exercise, there is no traffic to watch out for, and often you have some friends follow along too!
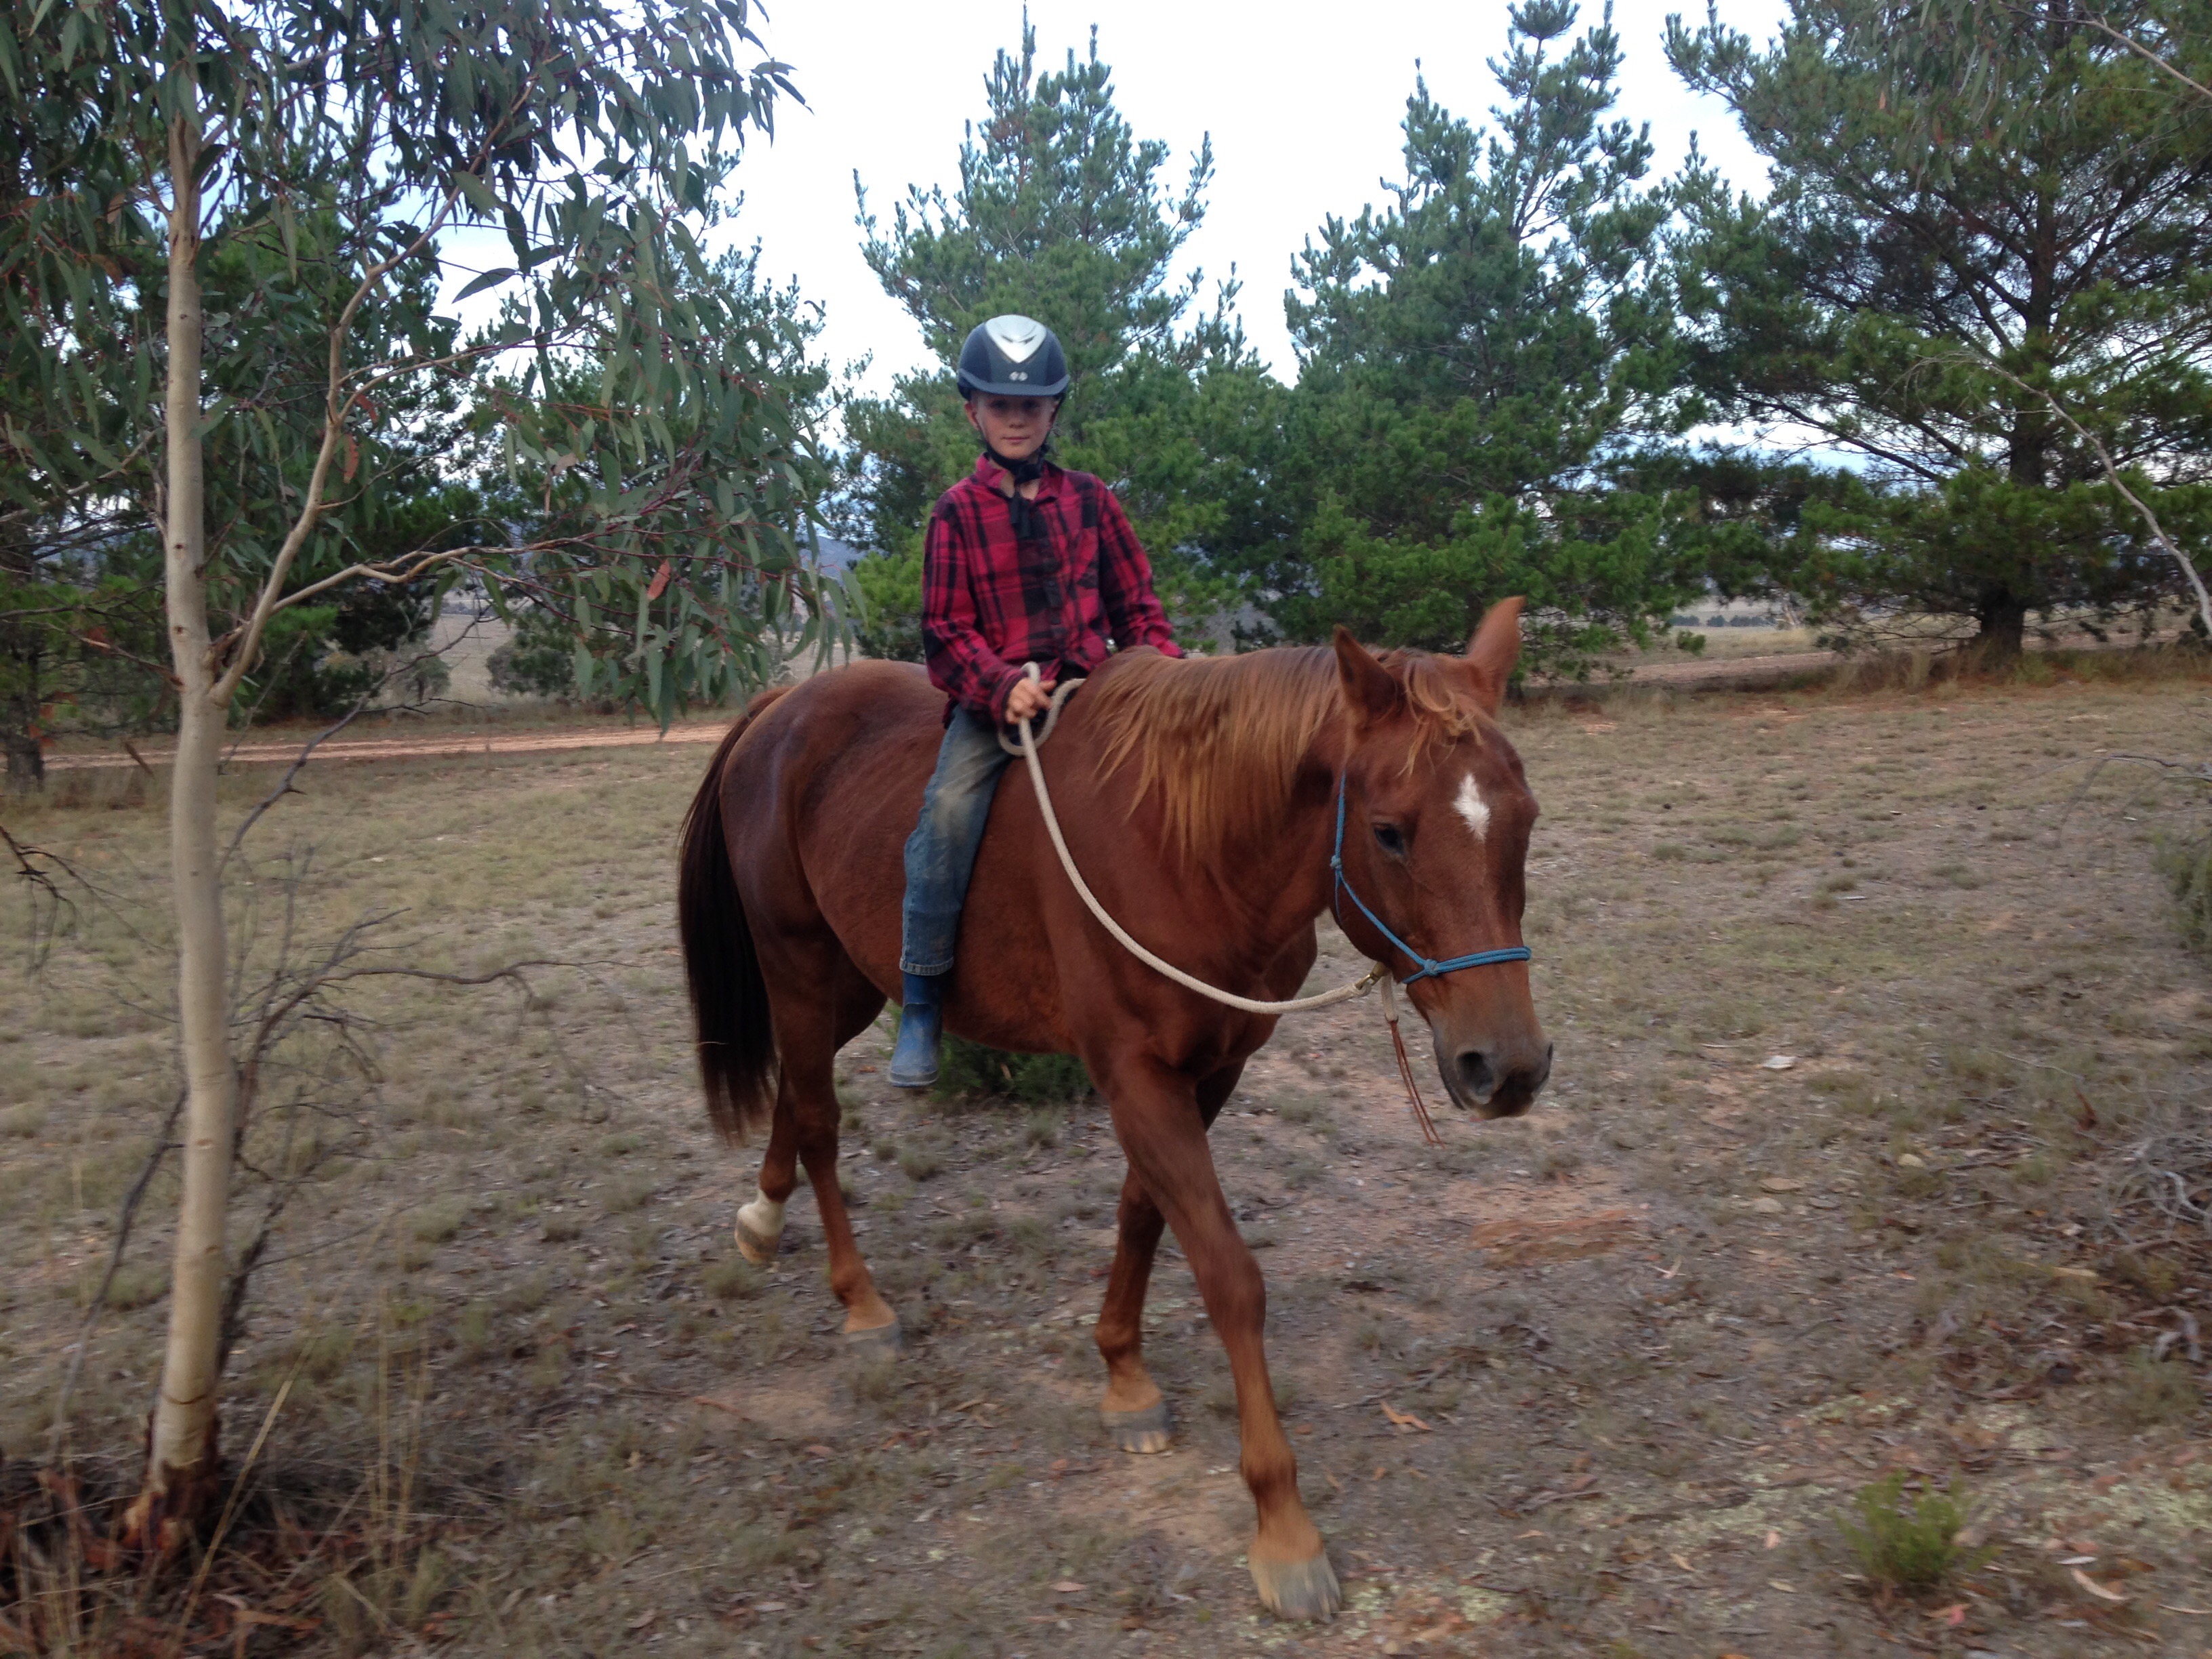
Teaching kids

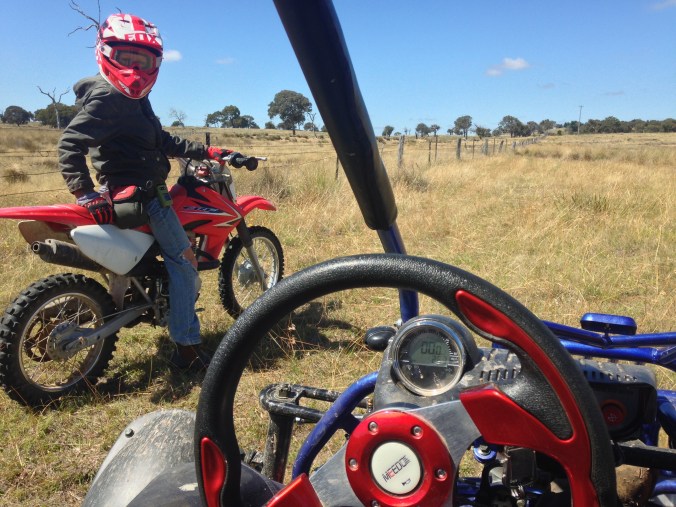
I’ve alluded to this earlier, but the hobby farm gives so much to the kids.  Both our boys love living on the farm.  For them it is one big adventure playground, but please don’t tell them they are learning far more than just how to ride horses or motorbikes.

Top reasons to live on a hobby farm

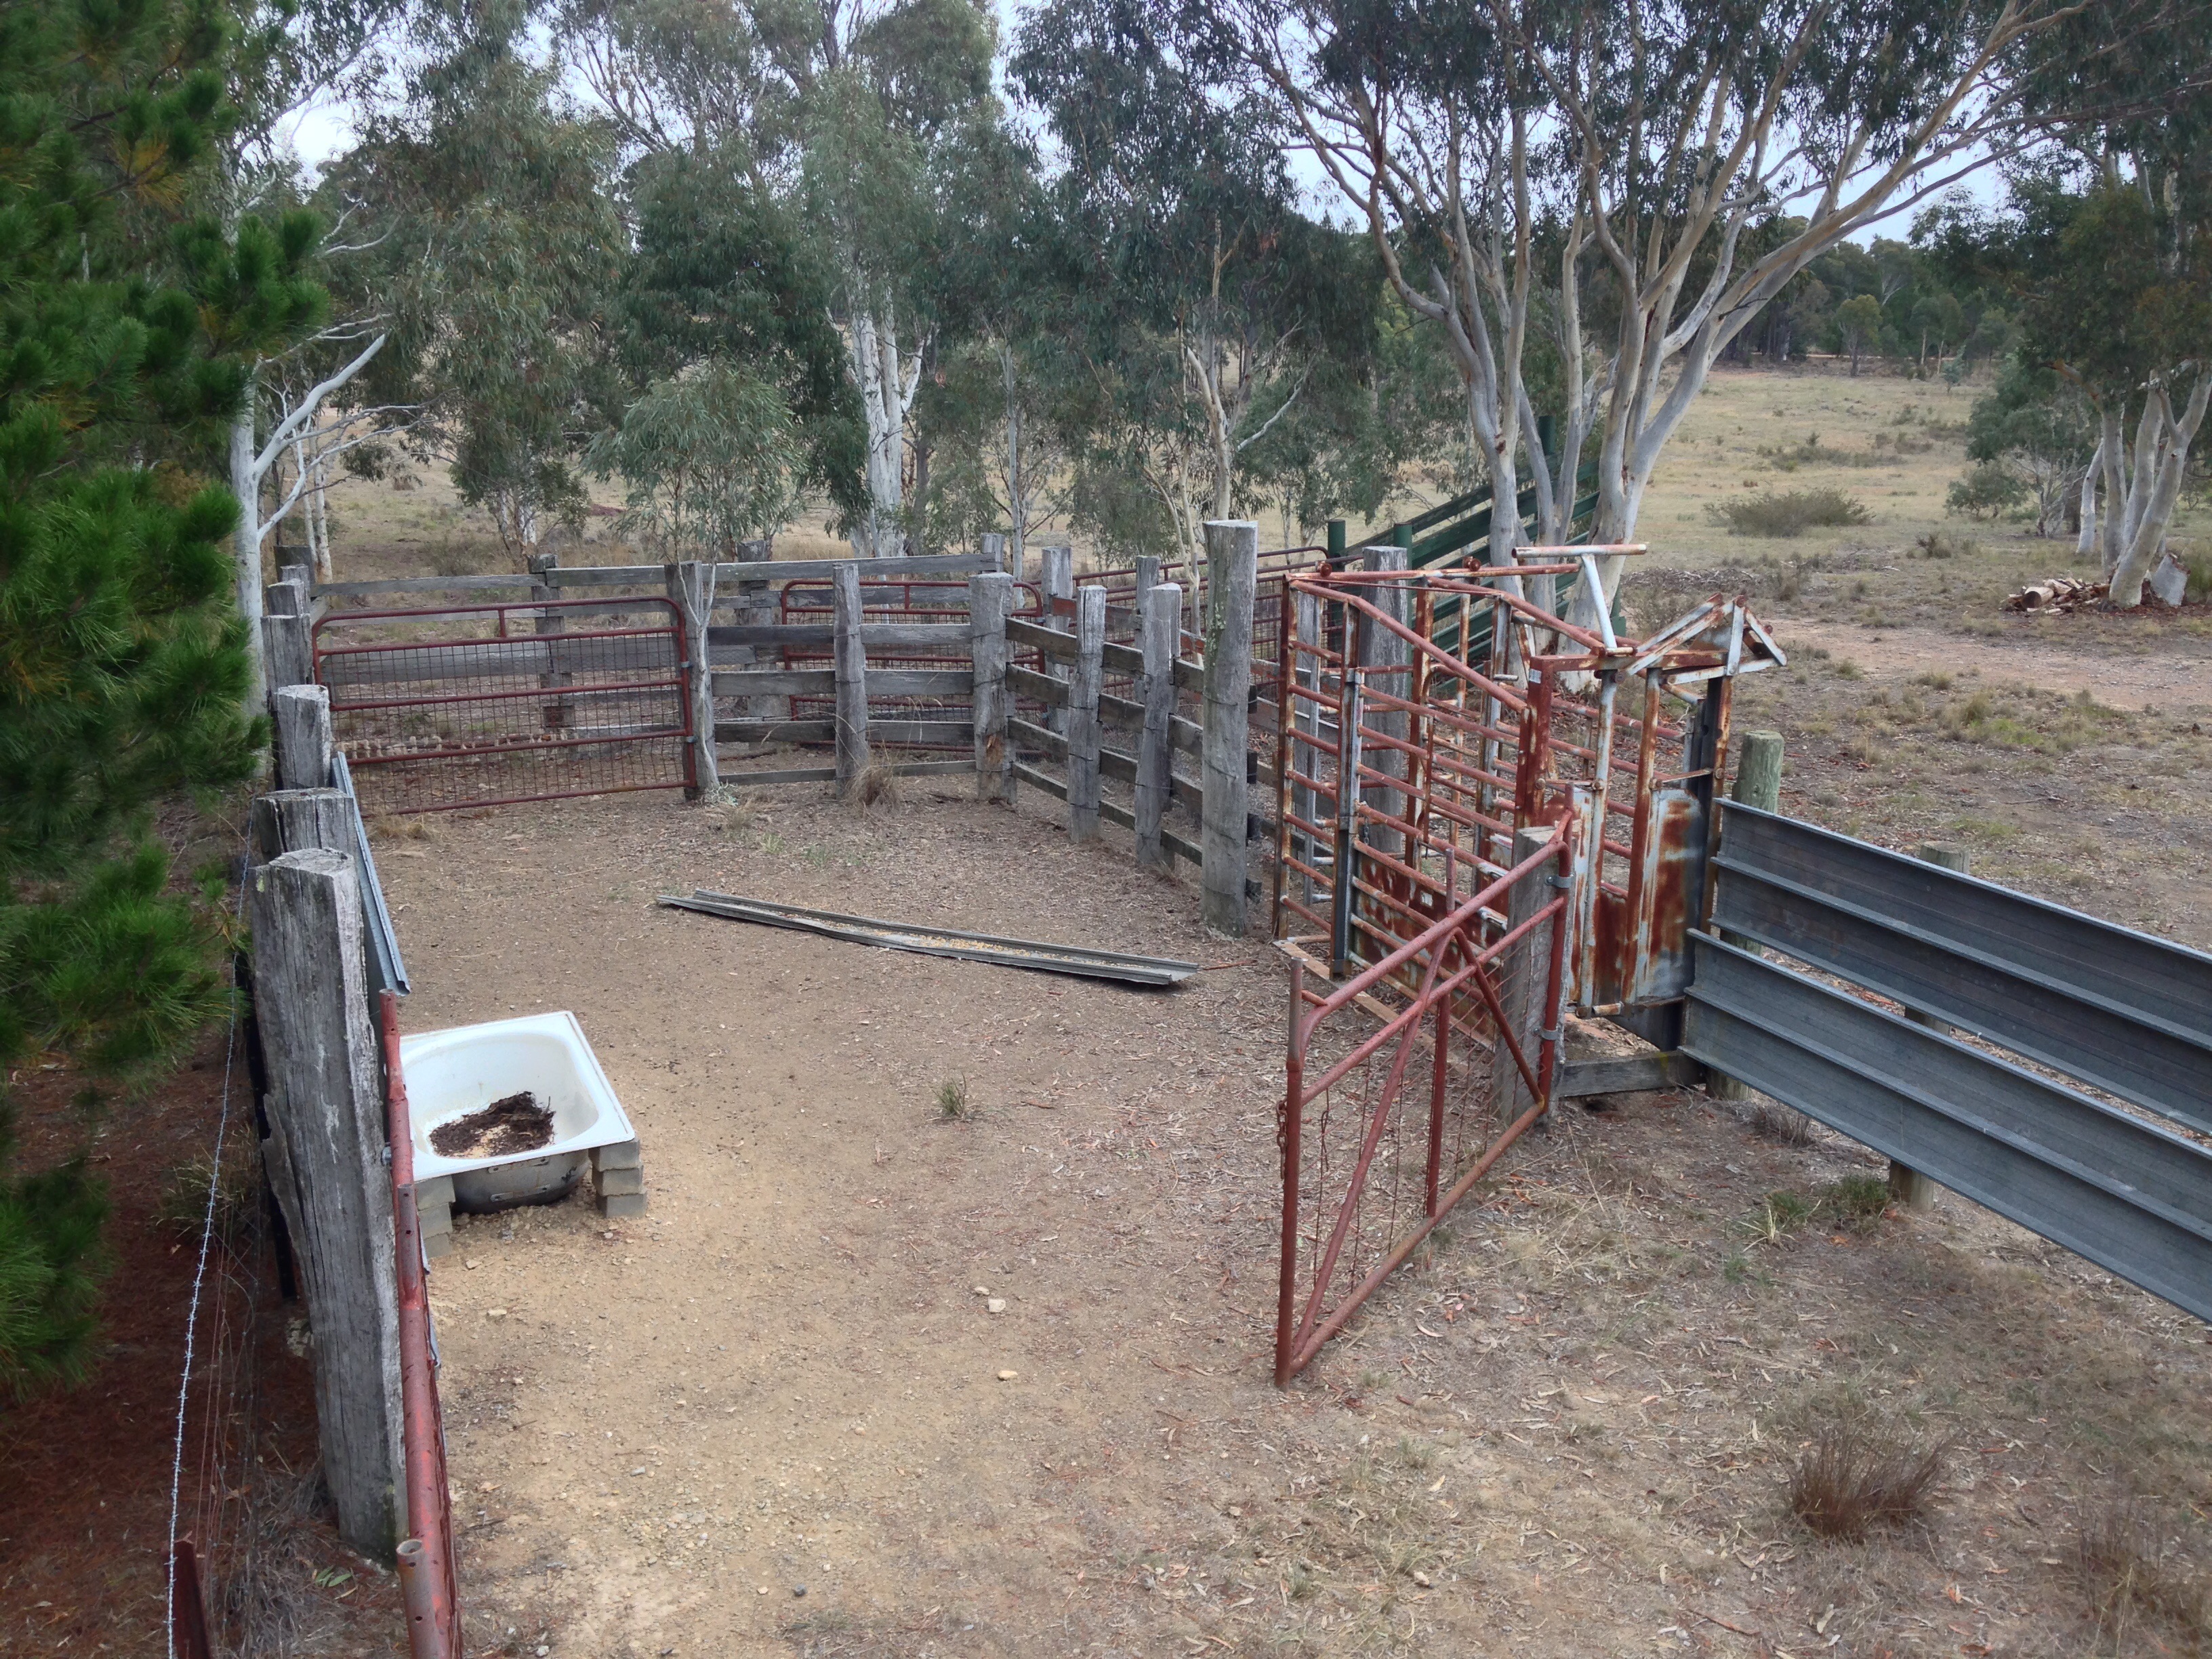
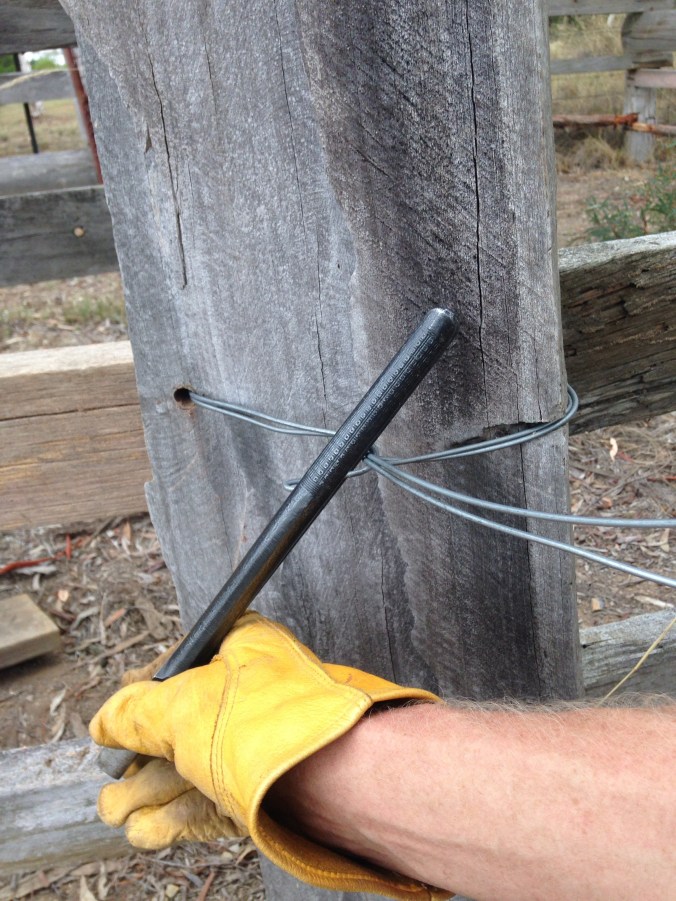
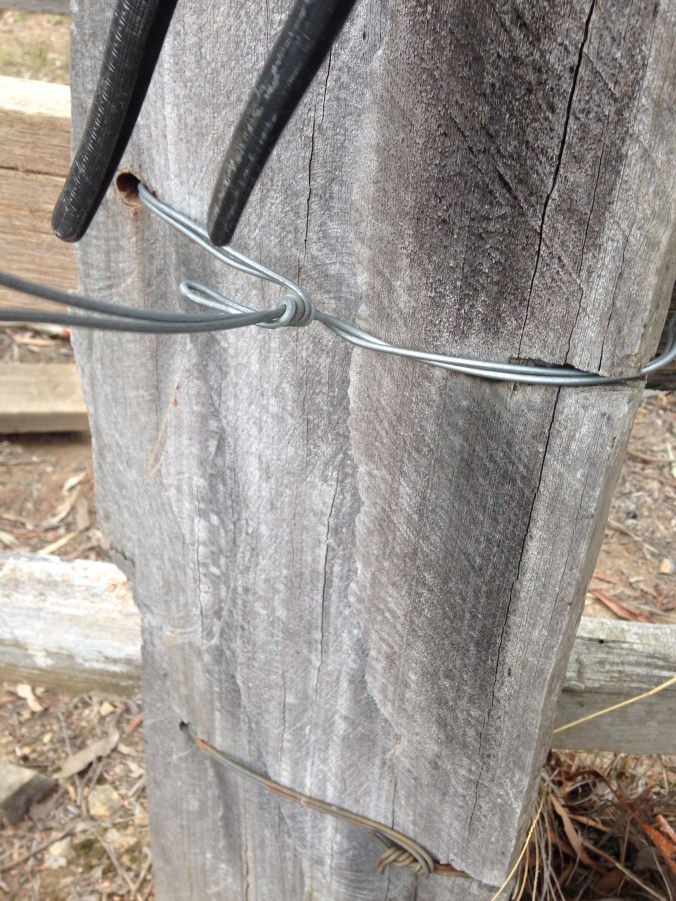
Who said checking the boundary fence was boring!

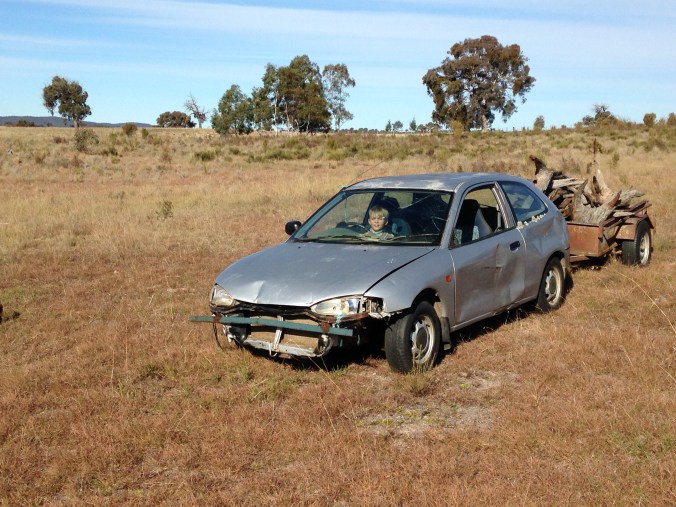
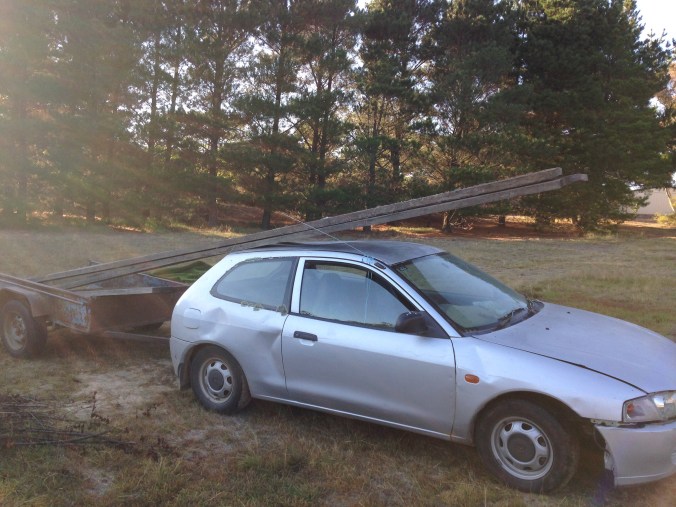
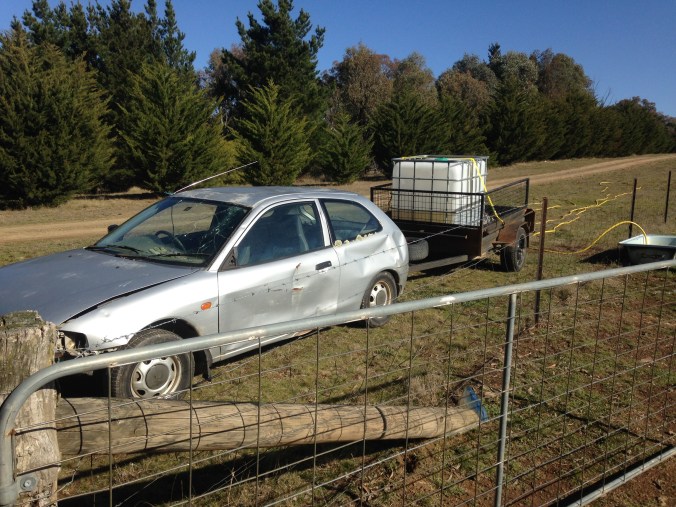
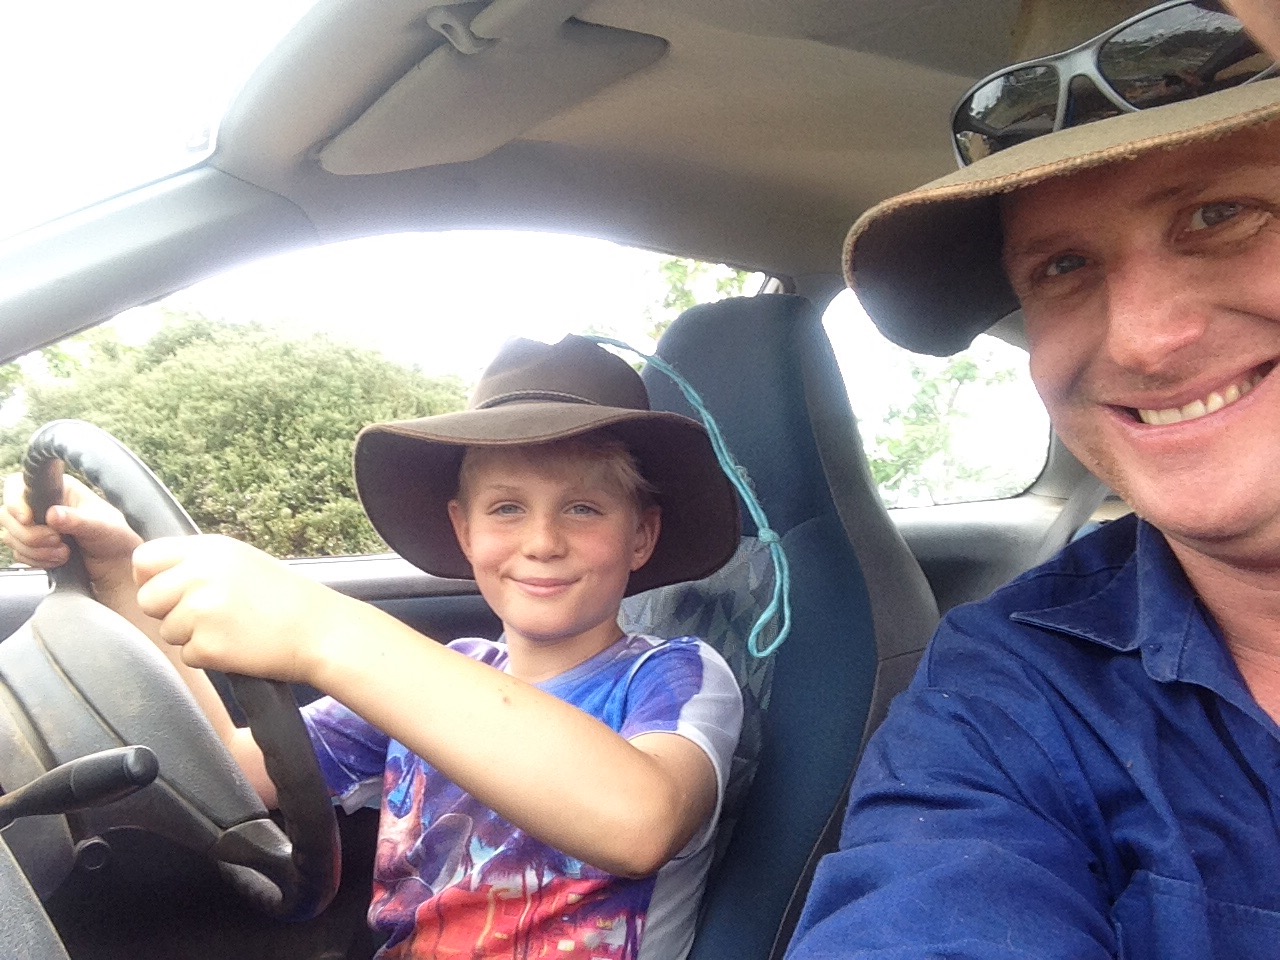
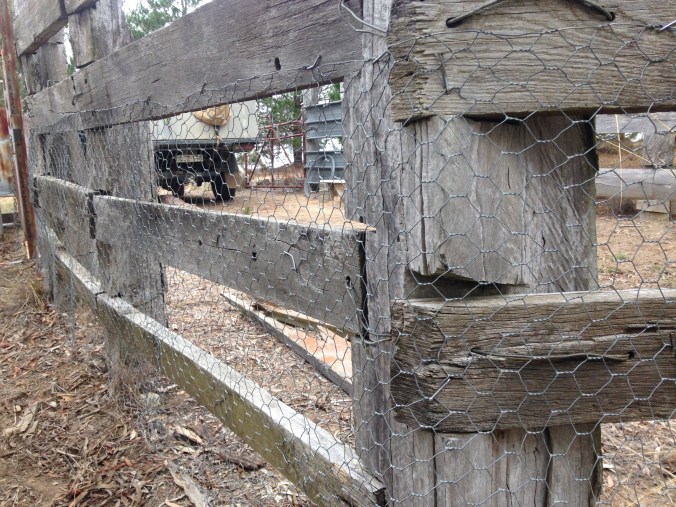
They are learning all kids of lessons.  Lessons about how to fix fences, repair small engines, care for animals, care for the land, the differences between weeds and grasses, and the list goes on.  By the age of nine, they were both driving a car.  They can check the oil, and change a tyre.

Best reasons for living on a hobby farm

Changing a tyre… adjusting the brakes or fixing a wheel bearing – these kids can lend a hand to almost anything

More importantly, they are learning responsibility.  They have to check and feed the chooks each day.  The horses need to be fed, and rugged in winter.  They know that we volunteer in our community and can’t wait until they’re old enough to join the Rural Fire Service.  In the meantime they come along  and help set up or pack up for fundraising functions.  Their little chores become foundations for a responsible life.

Top reasons to live on a hobby farm

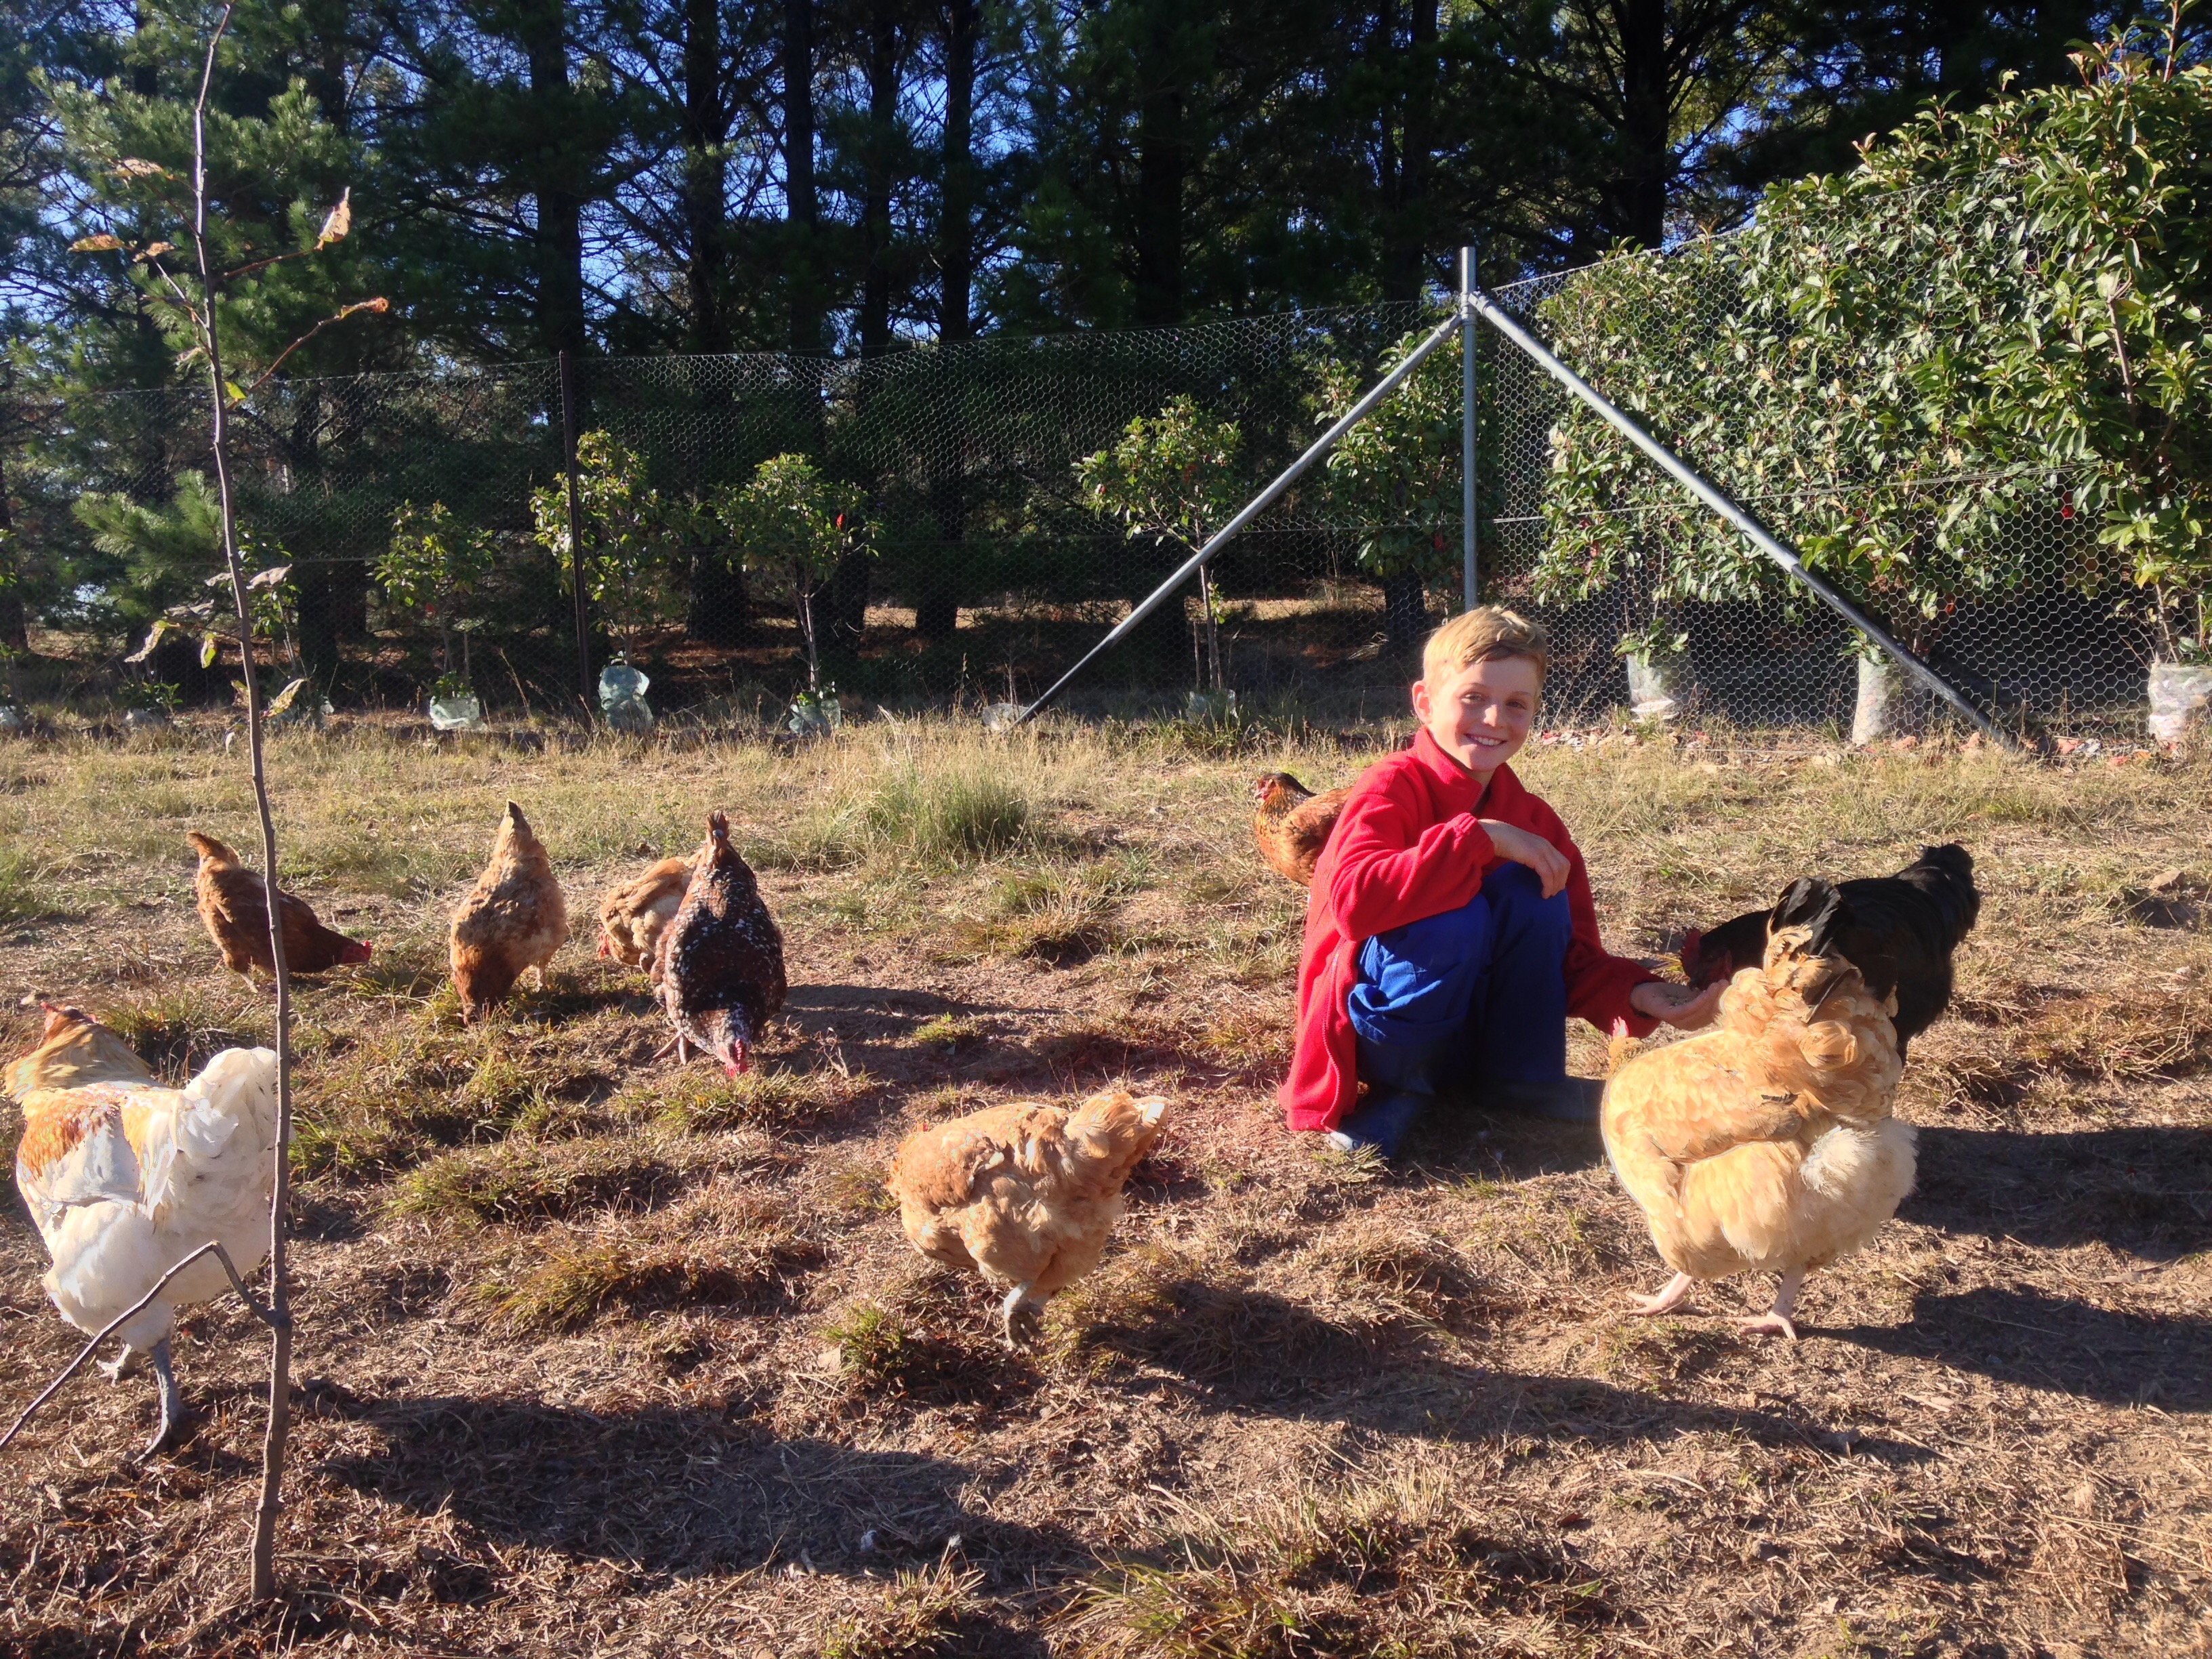
The Little Helper loves his chooks on the hobby farm

Freedom – with consequences

Our hobby farm allows us enormous choice.  Whilst we still have council rules to comply with, we have a lot more freedom as to what we can do on our place.  We can run just about whatever kind of stock we want. If we want to paint our house purple, or make a track for the kid’s motorbike, we can.

Top reasons for living on a hobby farm

Watch TV, or go for a ride…. tough choice!

If we want to run a sprinkler on a 40 degree day, we can… it is our water.  That said, we are also responsible for the consequences.  If we run out of water, then we will have to buy some.  But I am much happier being in control of our destiny, than being dictated to by some council.

Healthy Food Choices

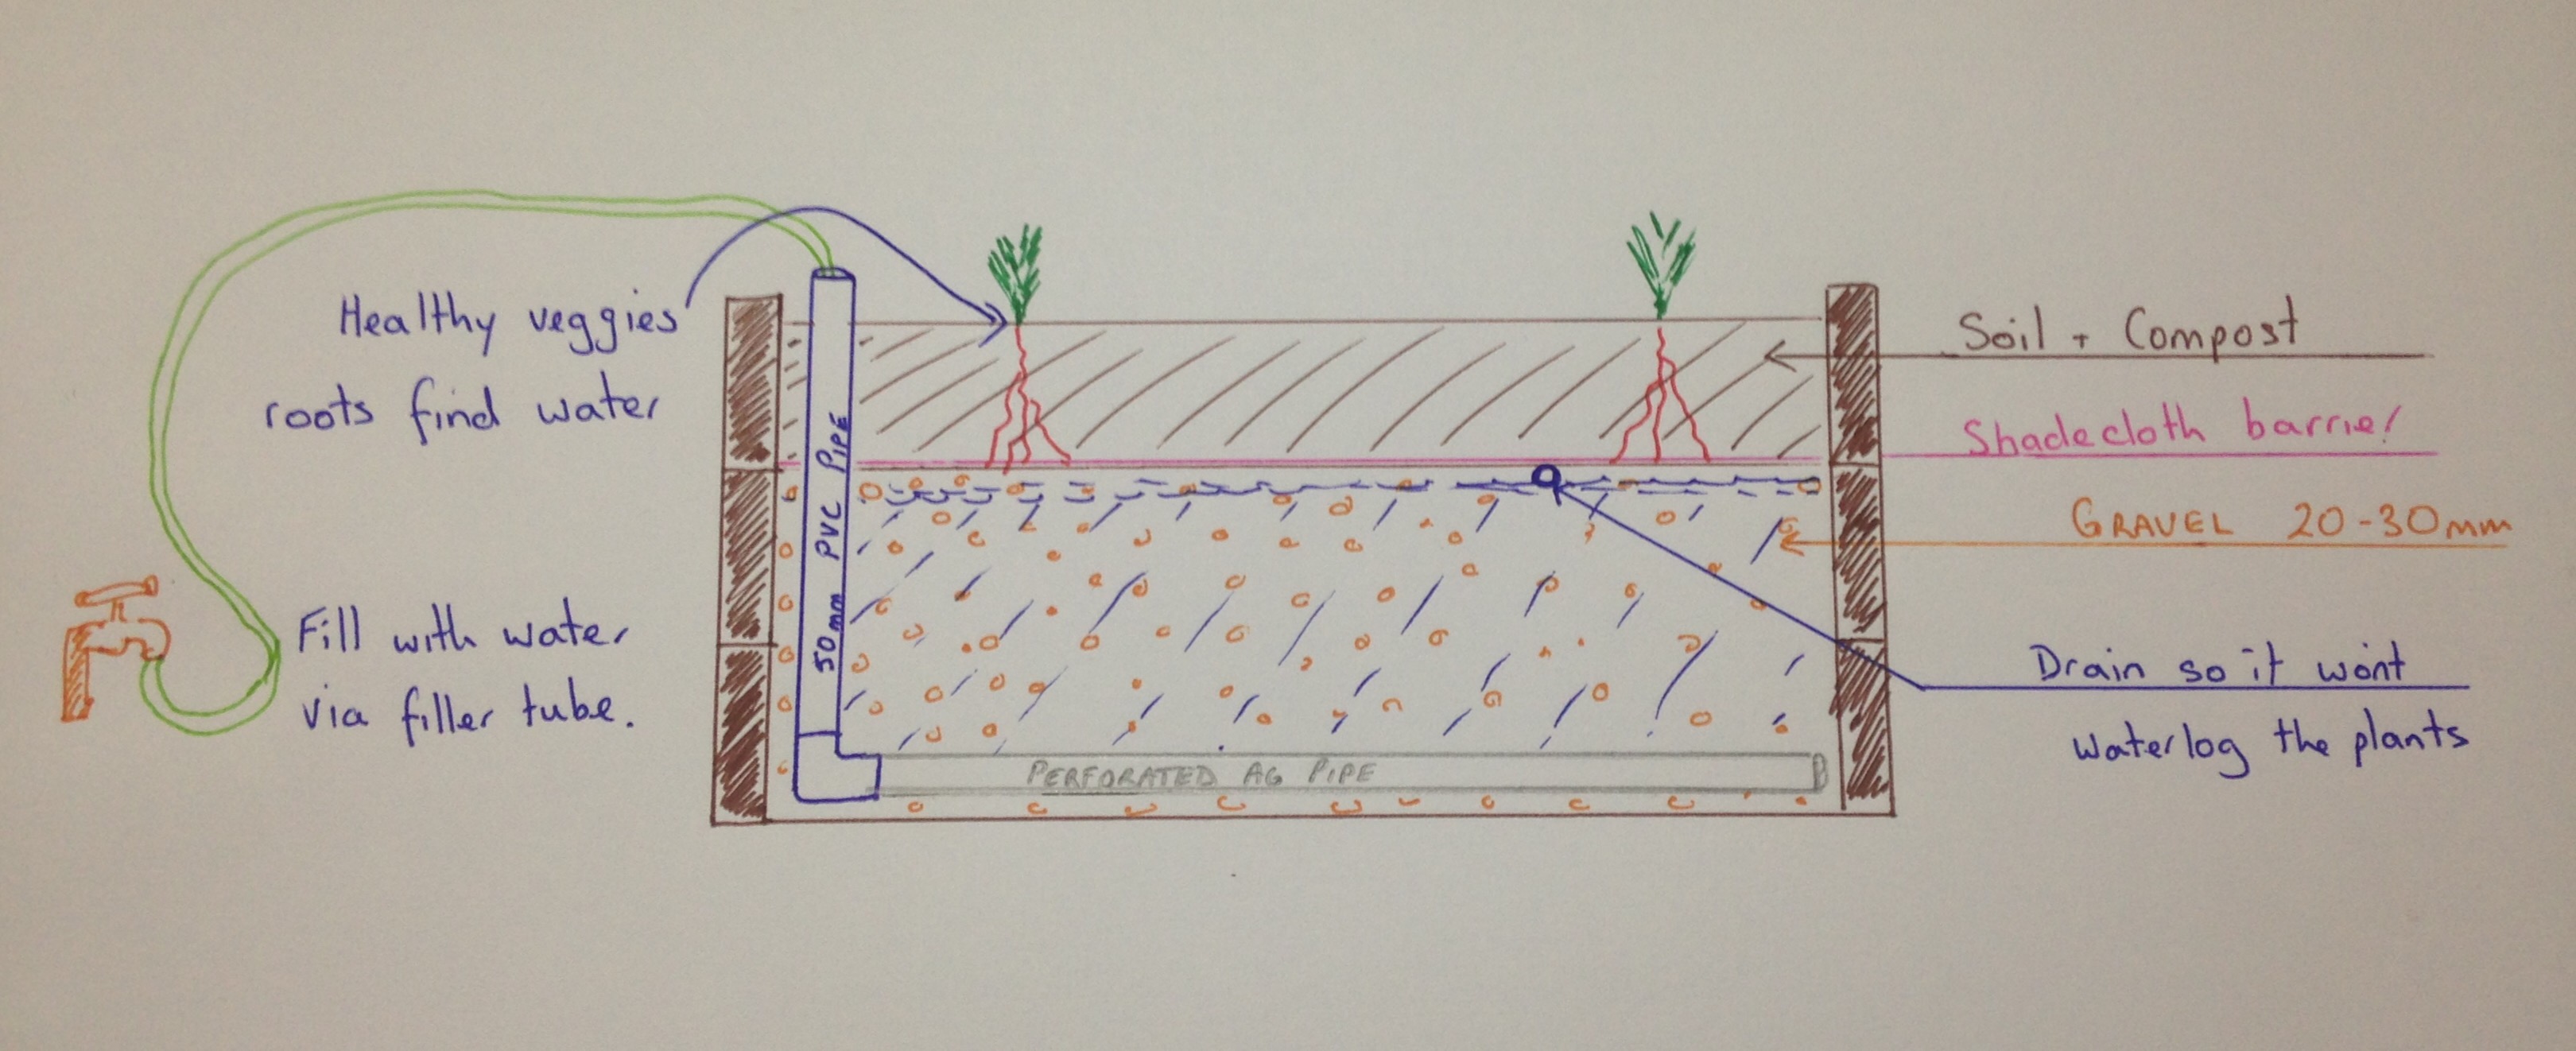
Whilst our little hobby farm isn’t self sufficient, it allows us to explore healthy food choices with our children.  We try to encourage our children to tend their their own vegetable beds.  Nothing teaches them the value of food more than trying to grow some vegetables themselves.

How to build a wicking garden bed.

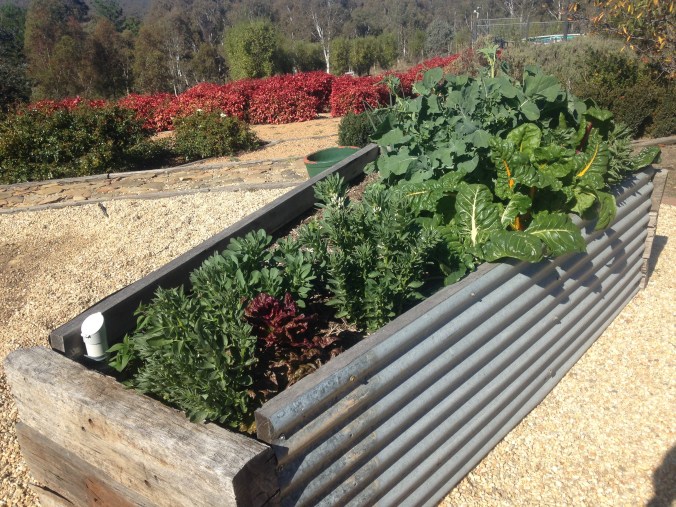
Fresh vegetables on the hobby farm

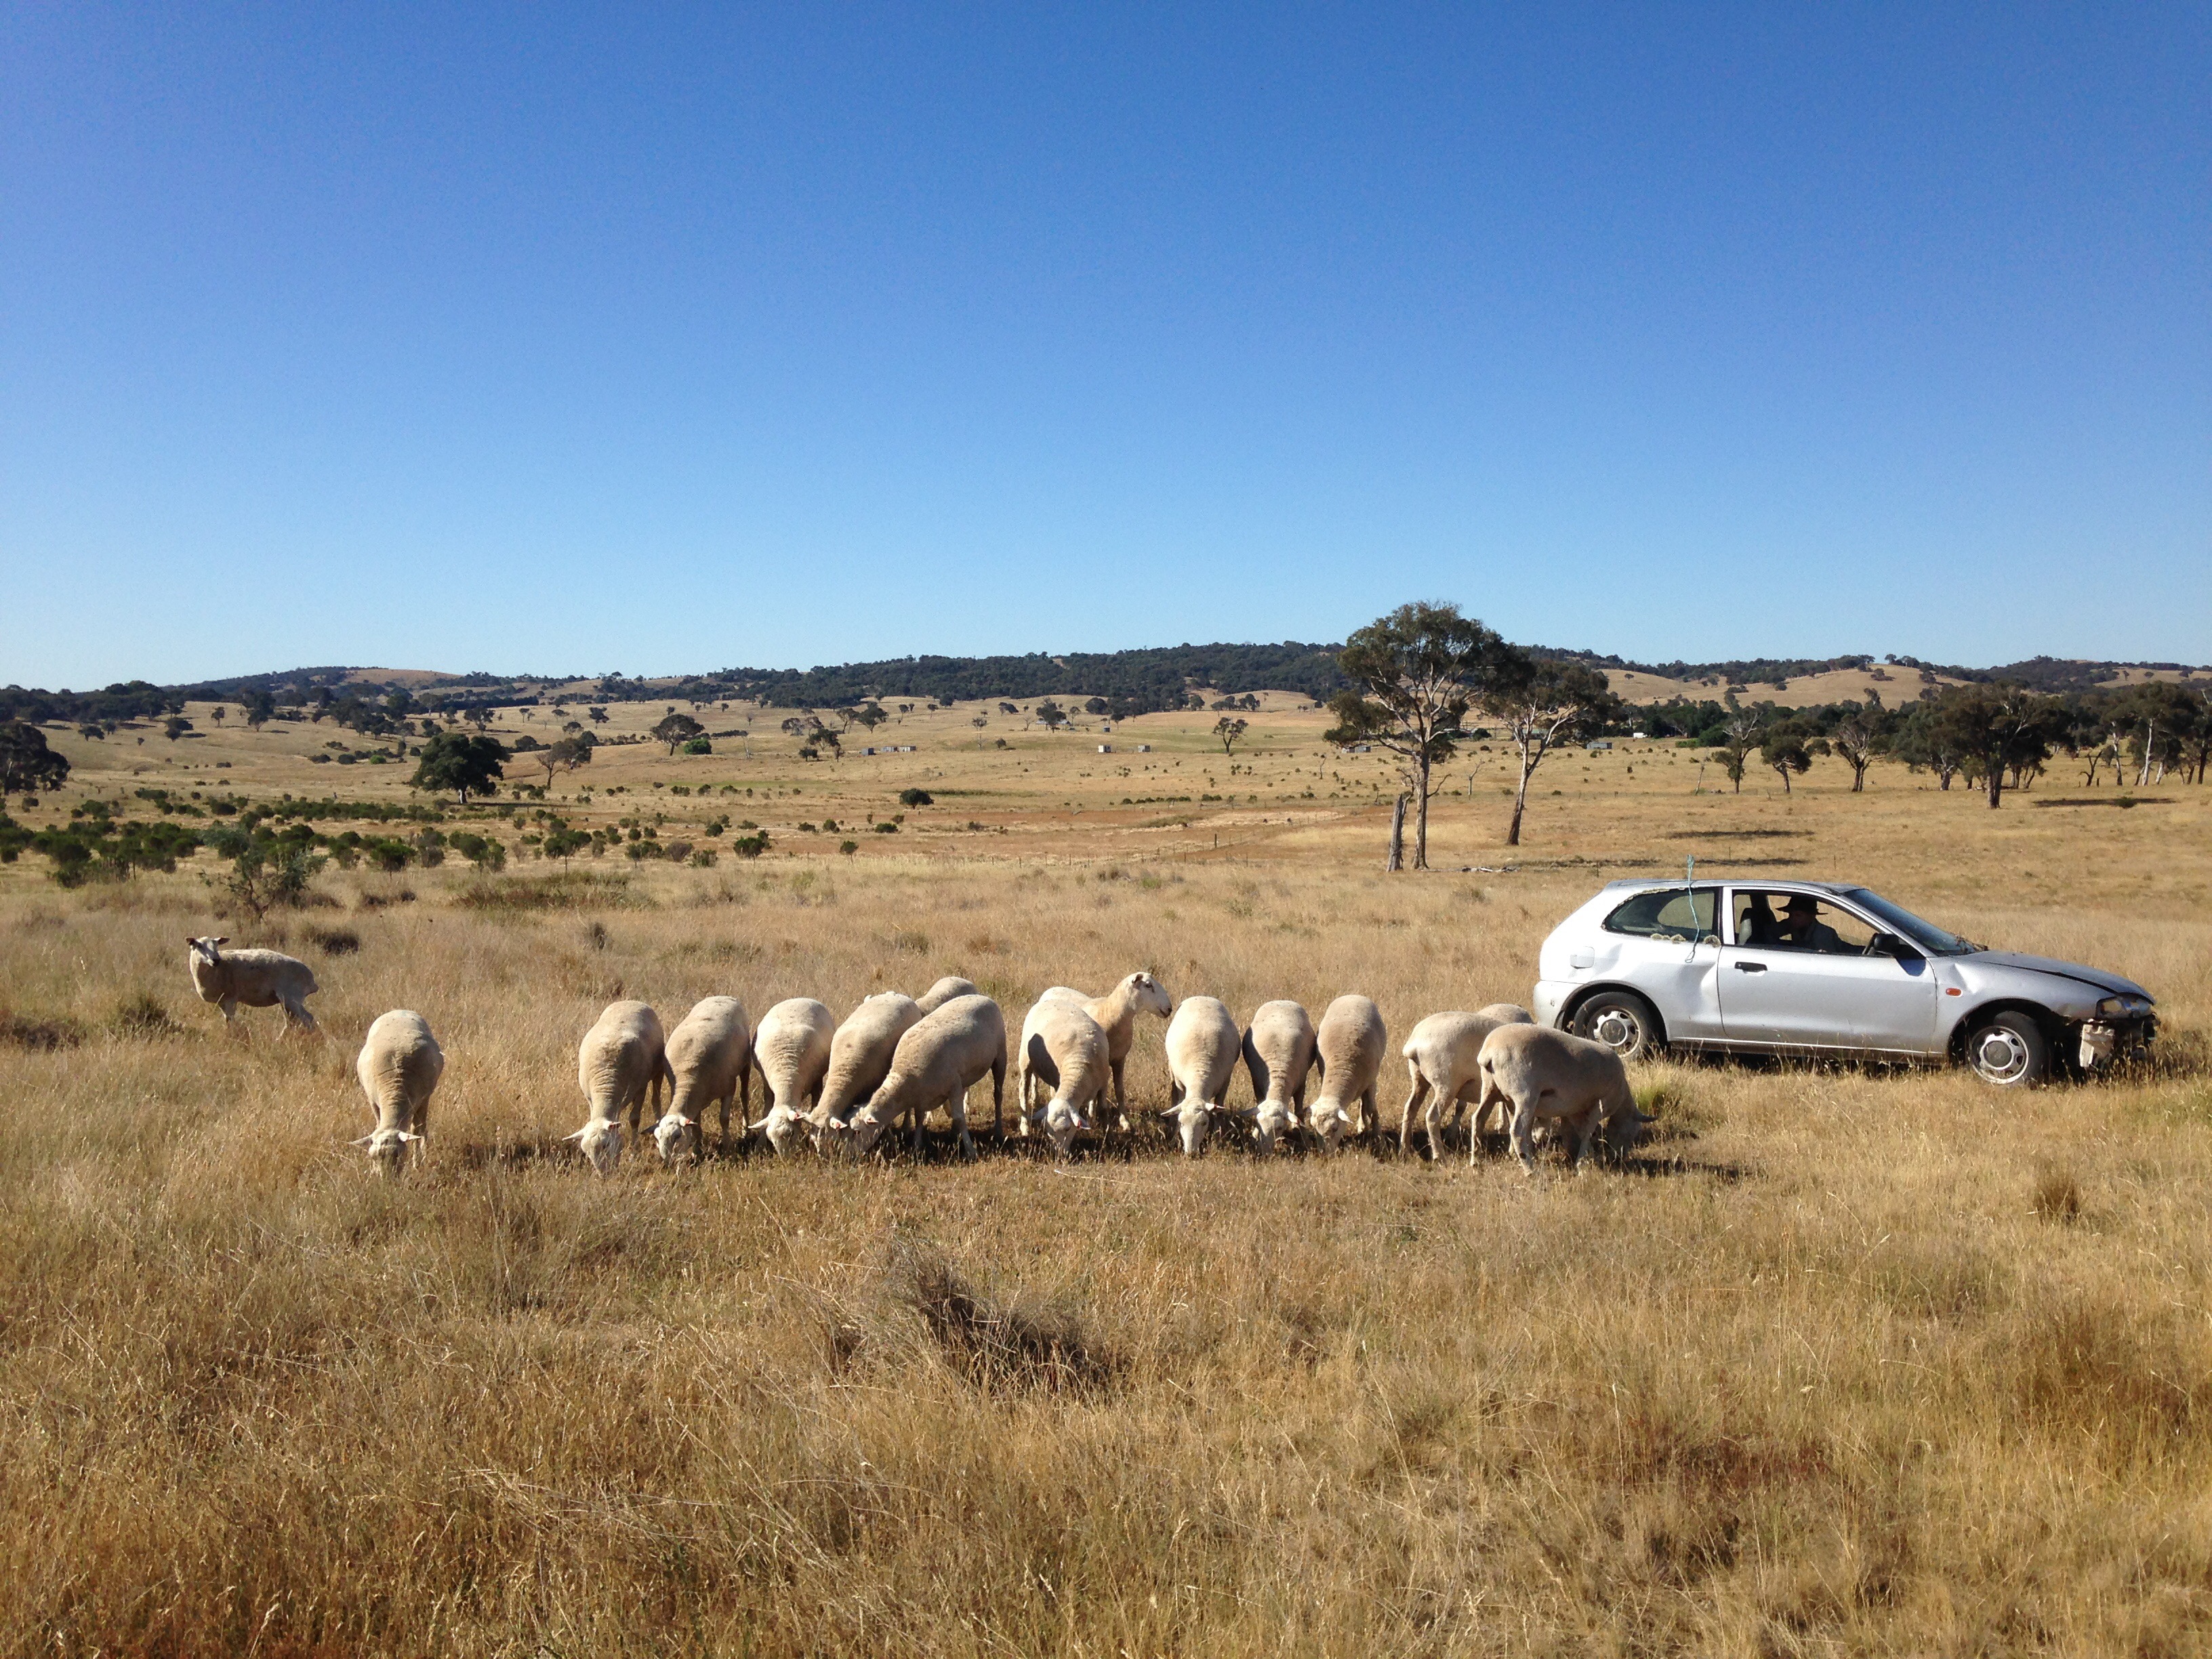
We also can explore ethical raising of animals for slaughter with our children.  I think it is extremely important that we understand our food supply chain.  Our children are well aware that we have a responsibility to our sheep for their welfare.  We are comfortable knowing that our sheep have a wonderful quality of life, and that their slaughter will be humane.

Top reasons to live on a hobby farm

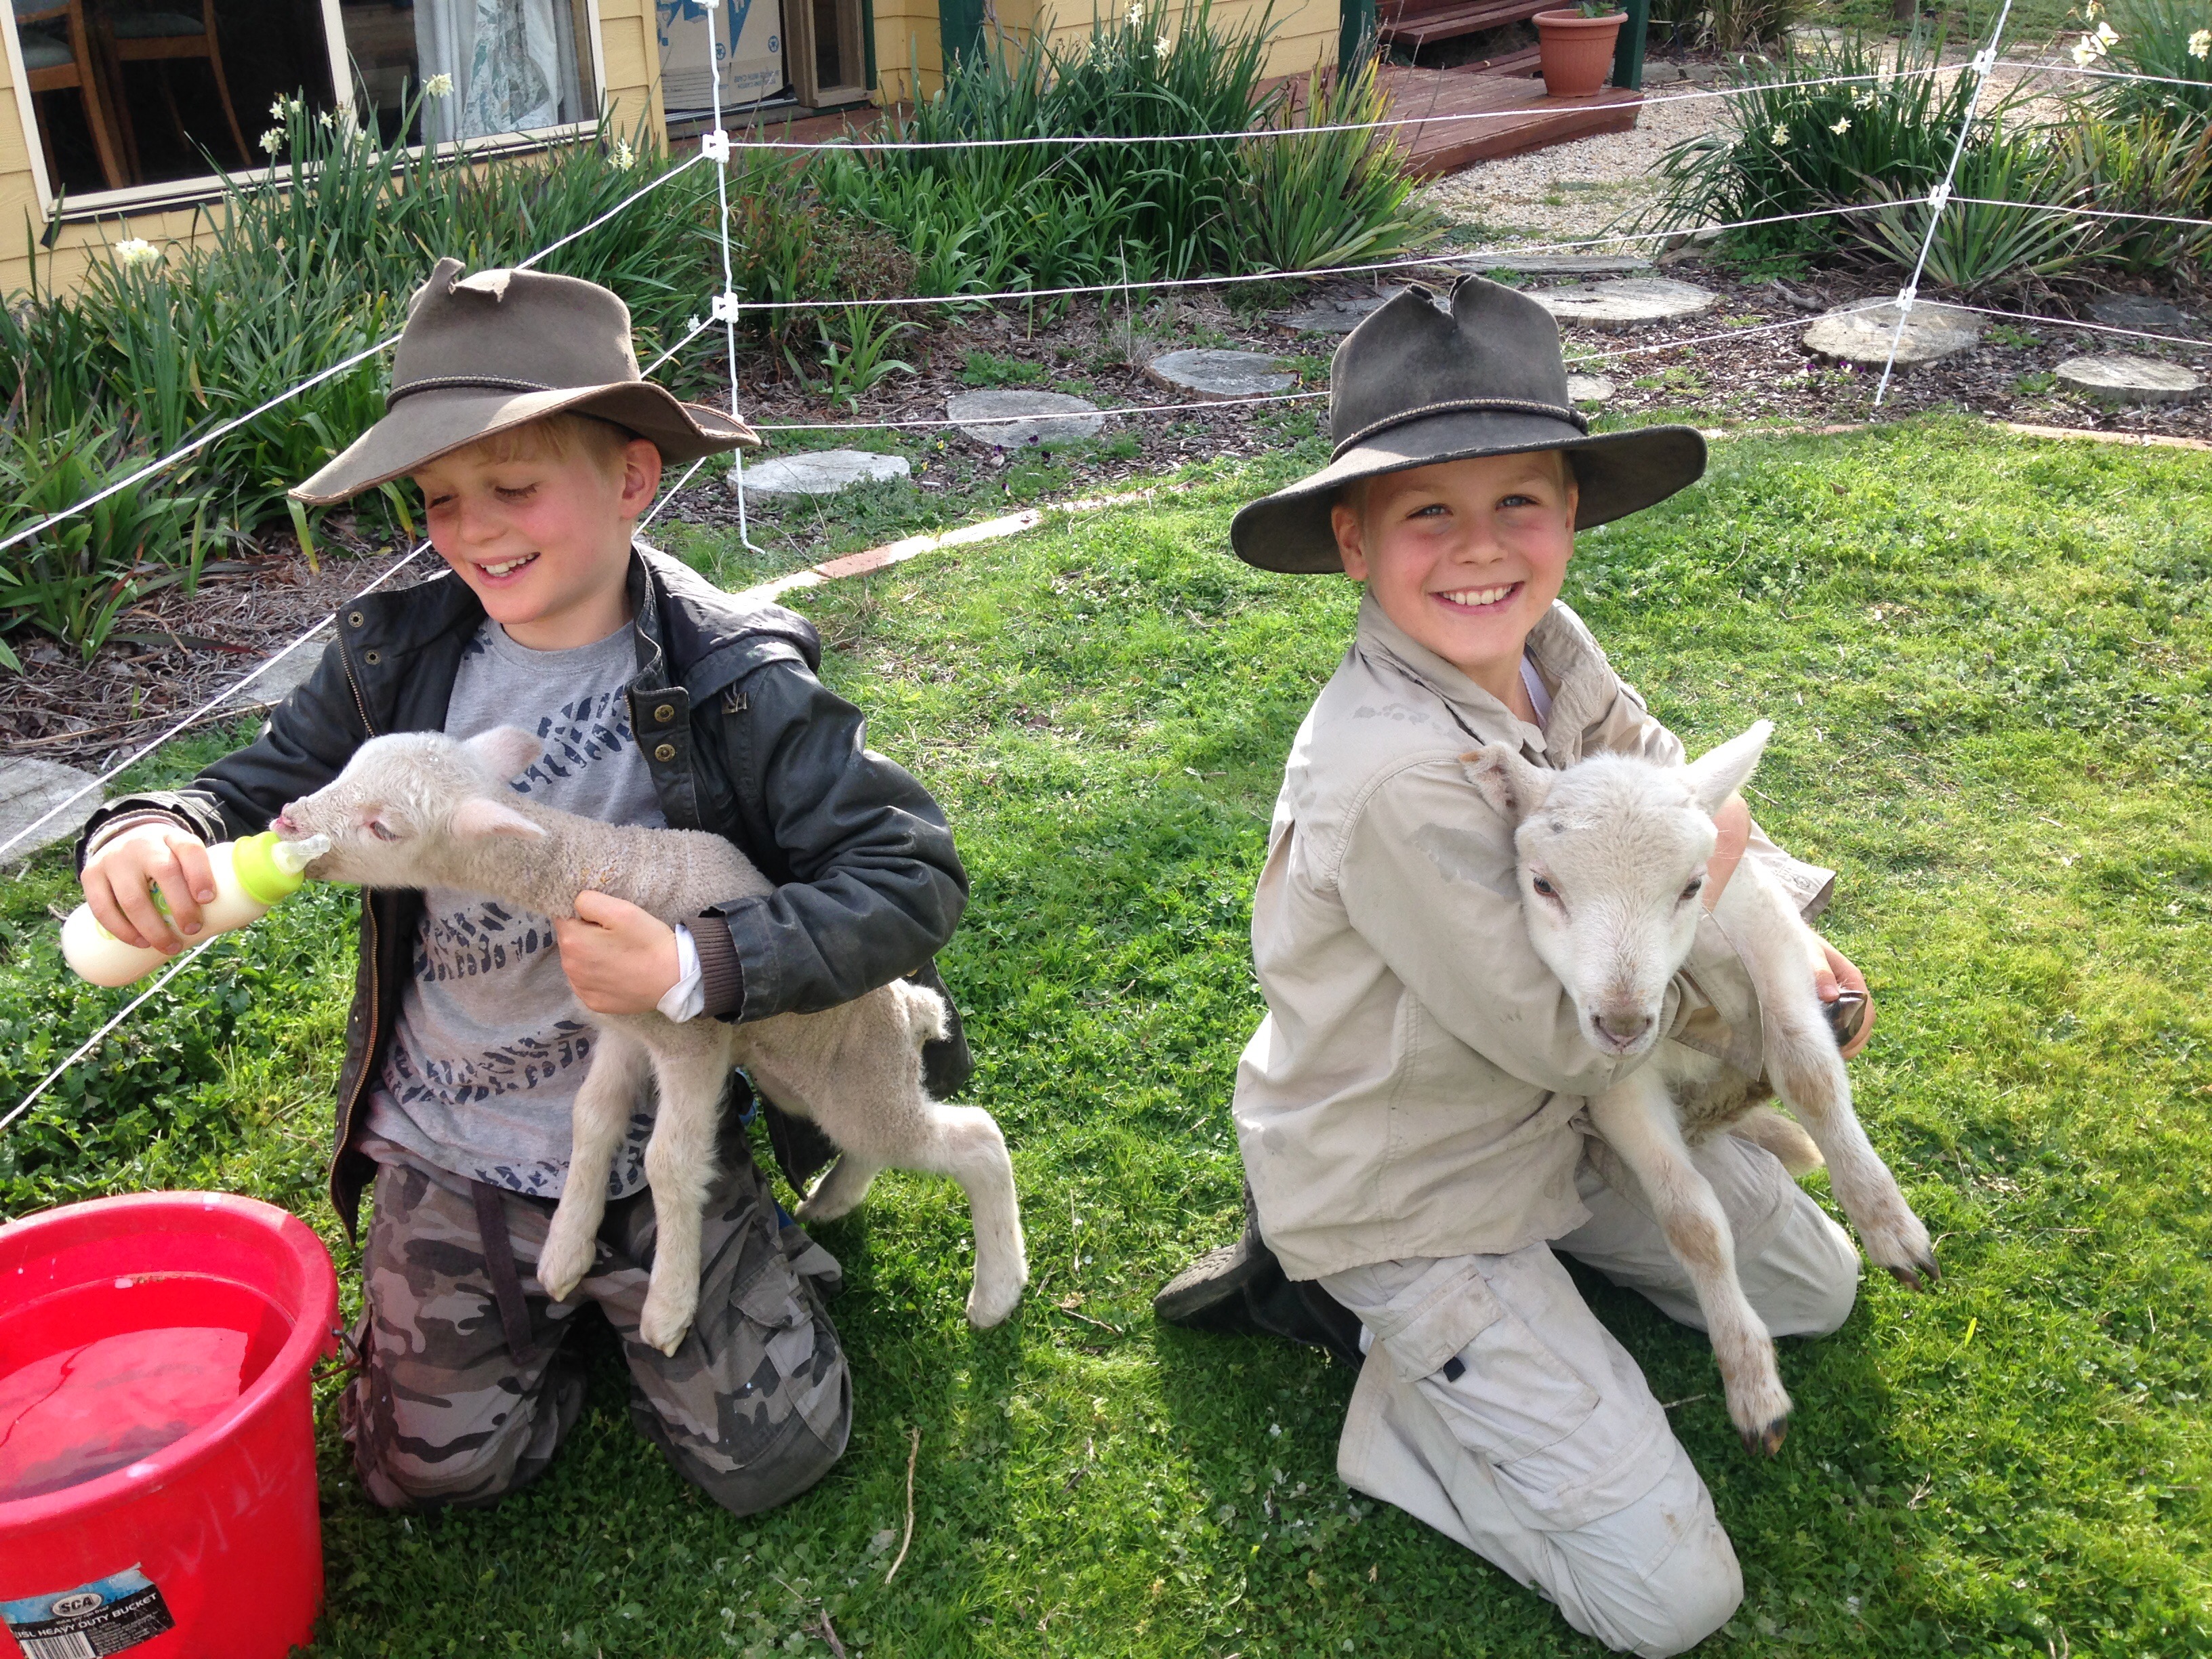
Poddy lambs – one will grow to make jumpers… the other will taste delicious. Both will have a great life.

Custodians of the land

One of the most exciting parts of owning a hobby farm is the sense of responsibility we have to future generations .  Instead of watching the TV and seeing the consequences of years of misunderstanding and neglect of the land, we see ourselves as part of the solution.

Top reasons to live on a hobby farm

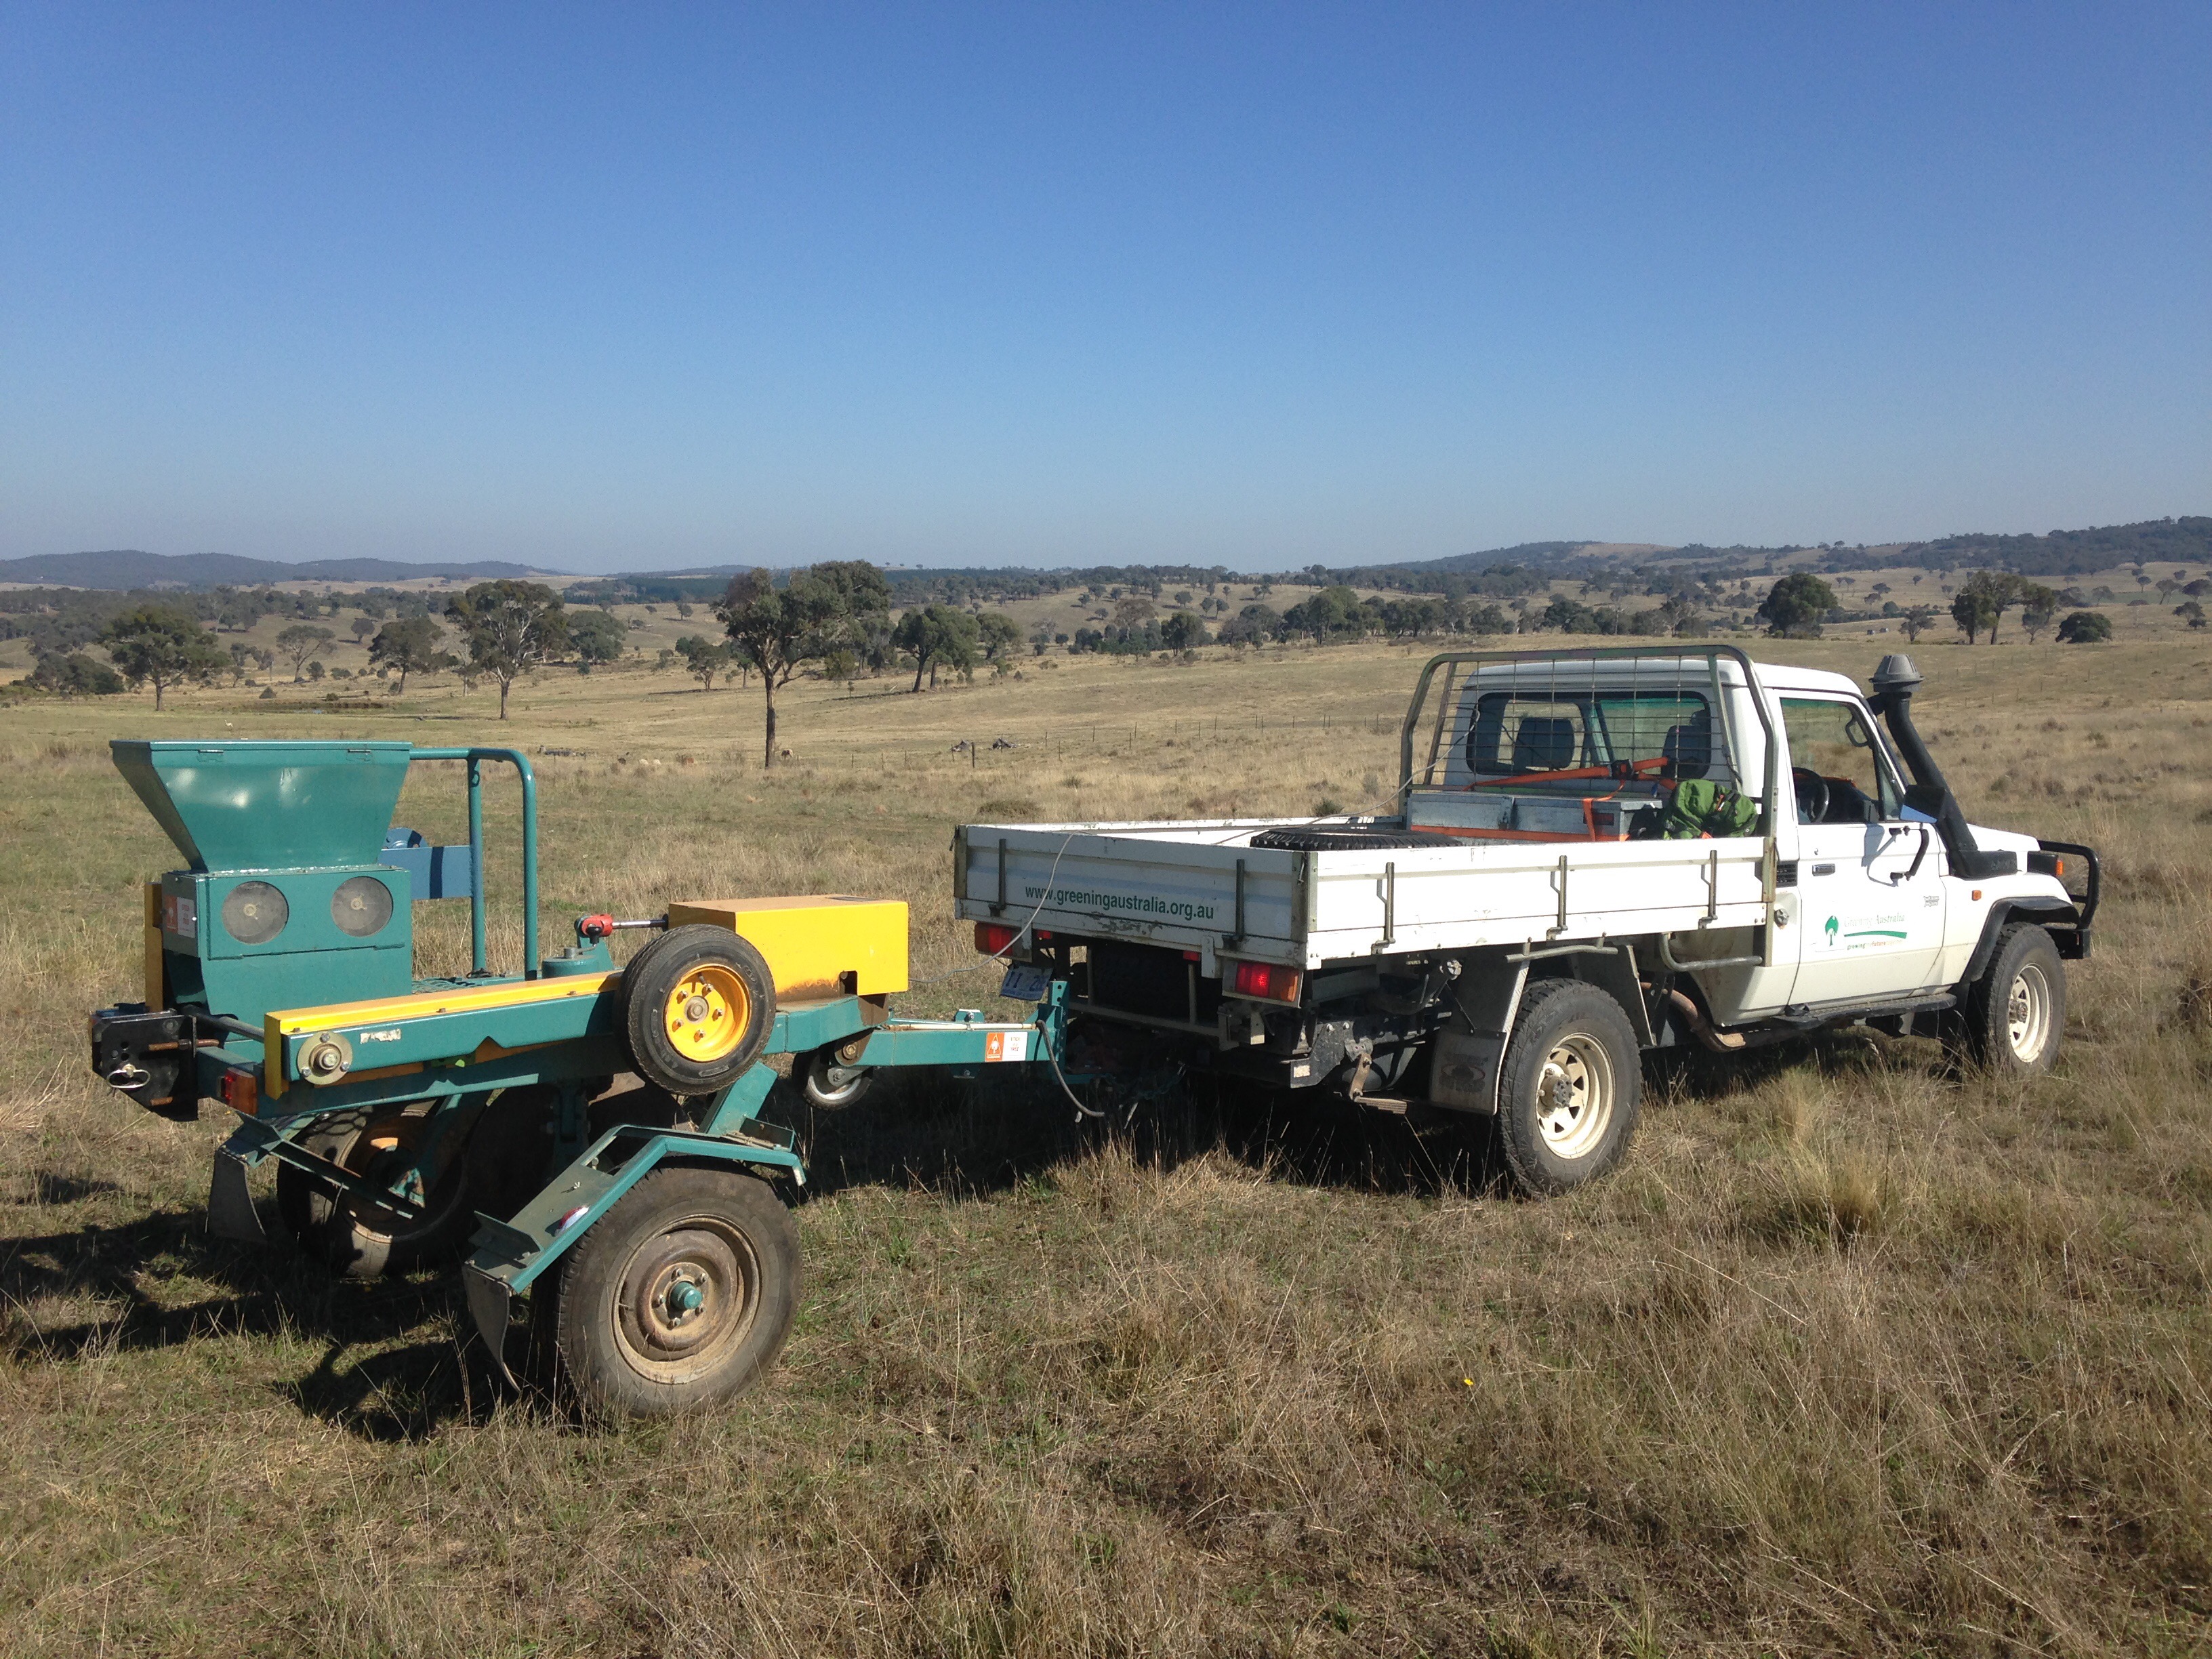
Tree planting with the good folk at Greening Australia – restoring the health of the soil

Our land was cleared and then heavily grazed in its distant past.  We are excited to be planting thousands of trees in spring to start returning health to the soil,.  We  also  will be  trying to graze a small number of sheep (and the odd horse or two) in a sustainable way.  We believe that we can strike a balance between the need to conserve nature and our requirements to feed our selves.

Connection with nature

Our hobby farm abounds with native plants and animals.  In spring, a walk around our paddocks is a stroll of discovery, with so many native plants bursting into colour.  We have kangaroos, walaroos a plenty.  In the poa tussocks, we often find shingle back lizards, marsupial mice and the odd echidna.  Our hobby farm is a teeming hot-spot of bio diversity, but that is not to say we can’t do better.

Top reasons to live on a hobby farm

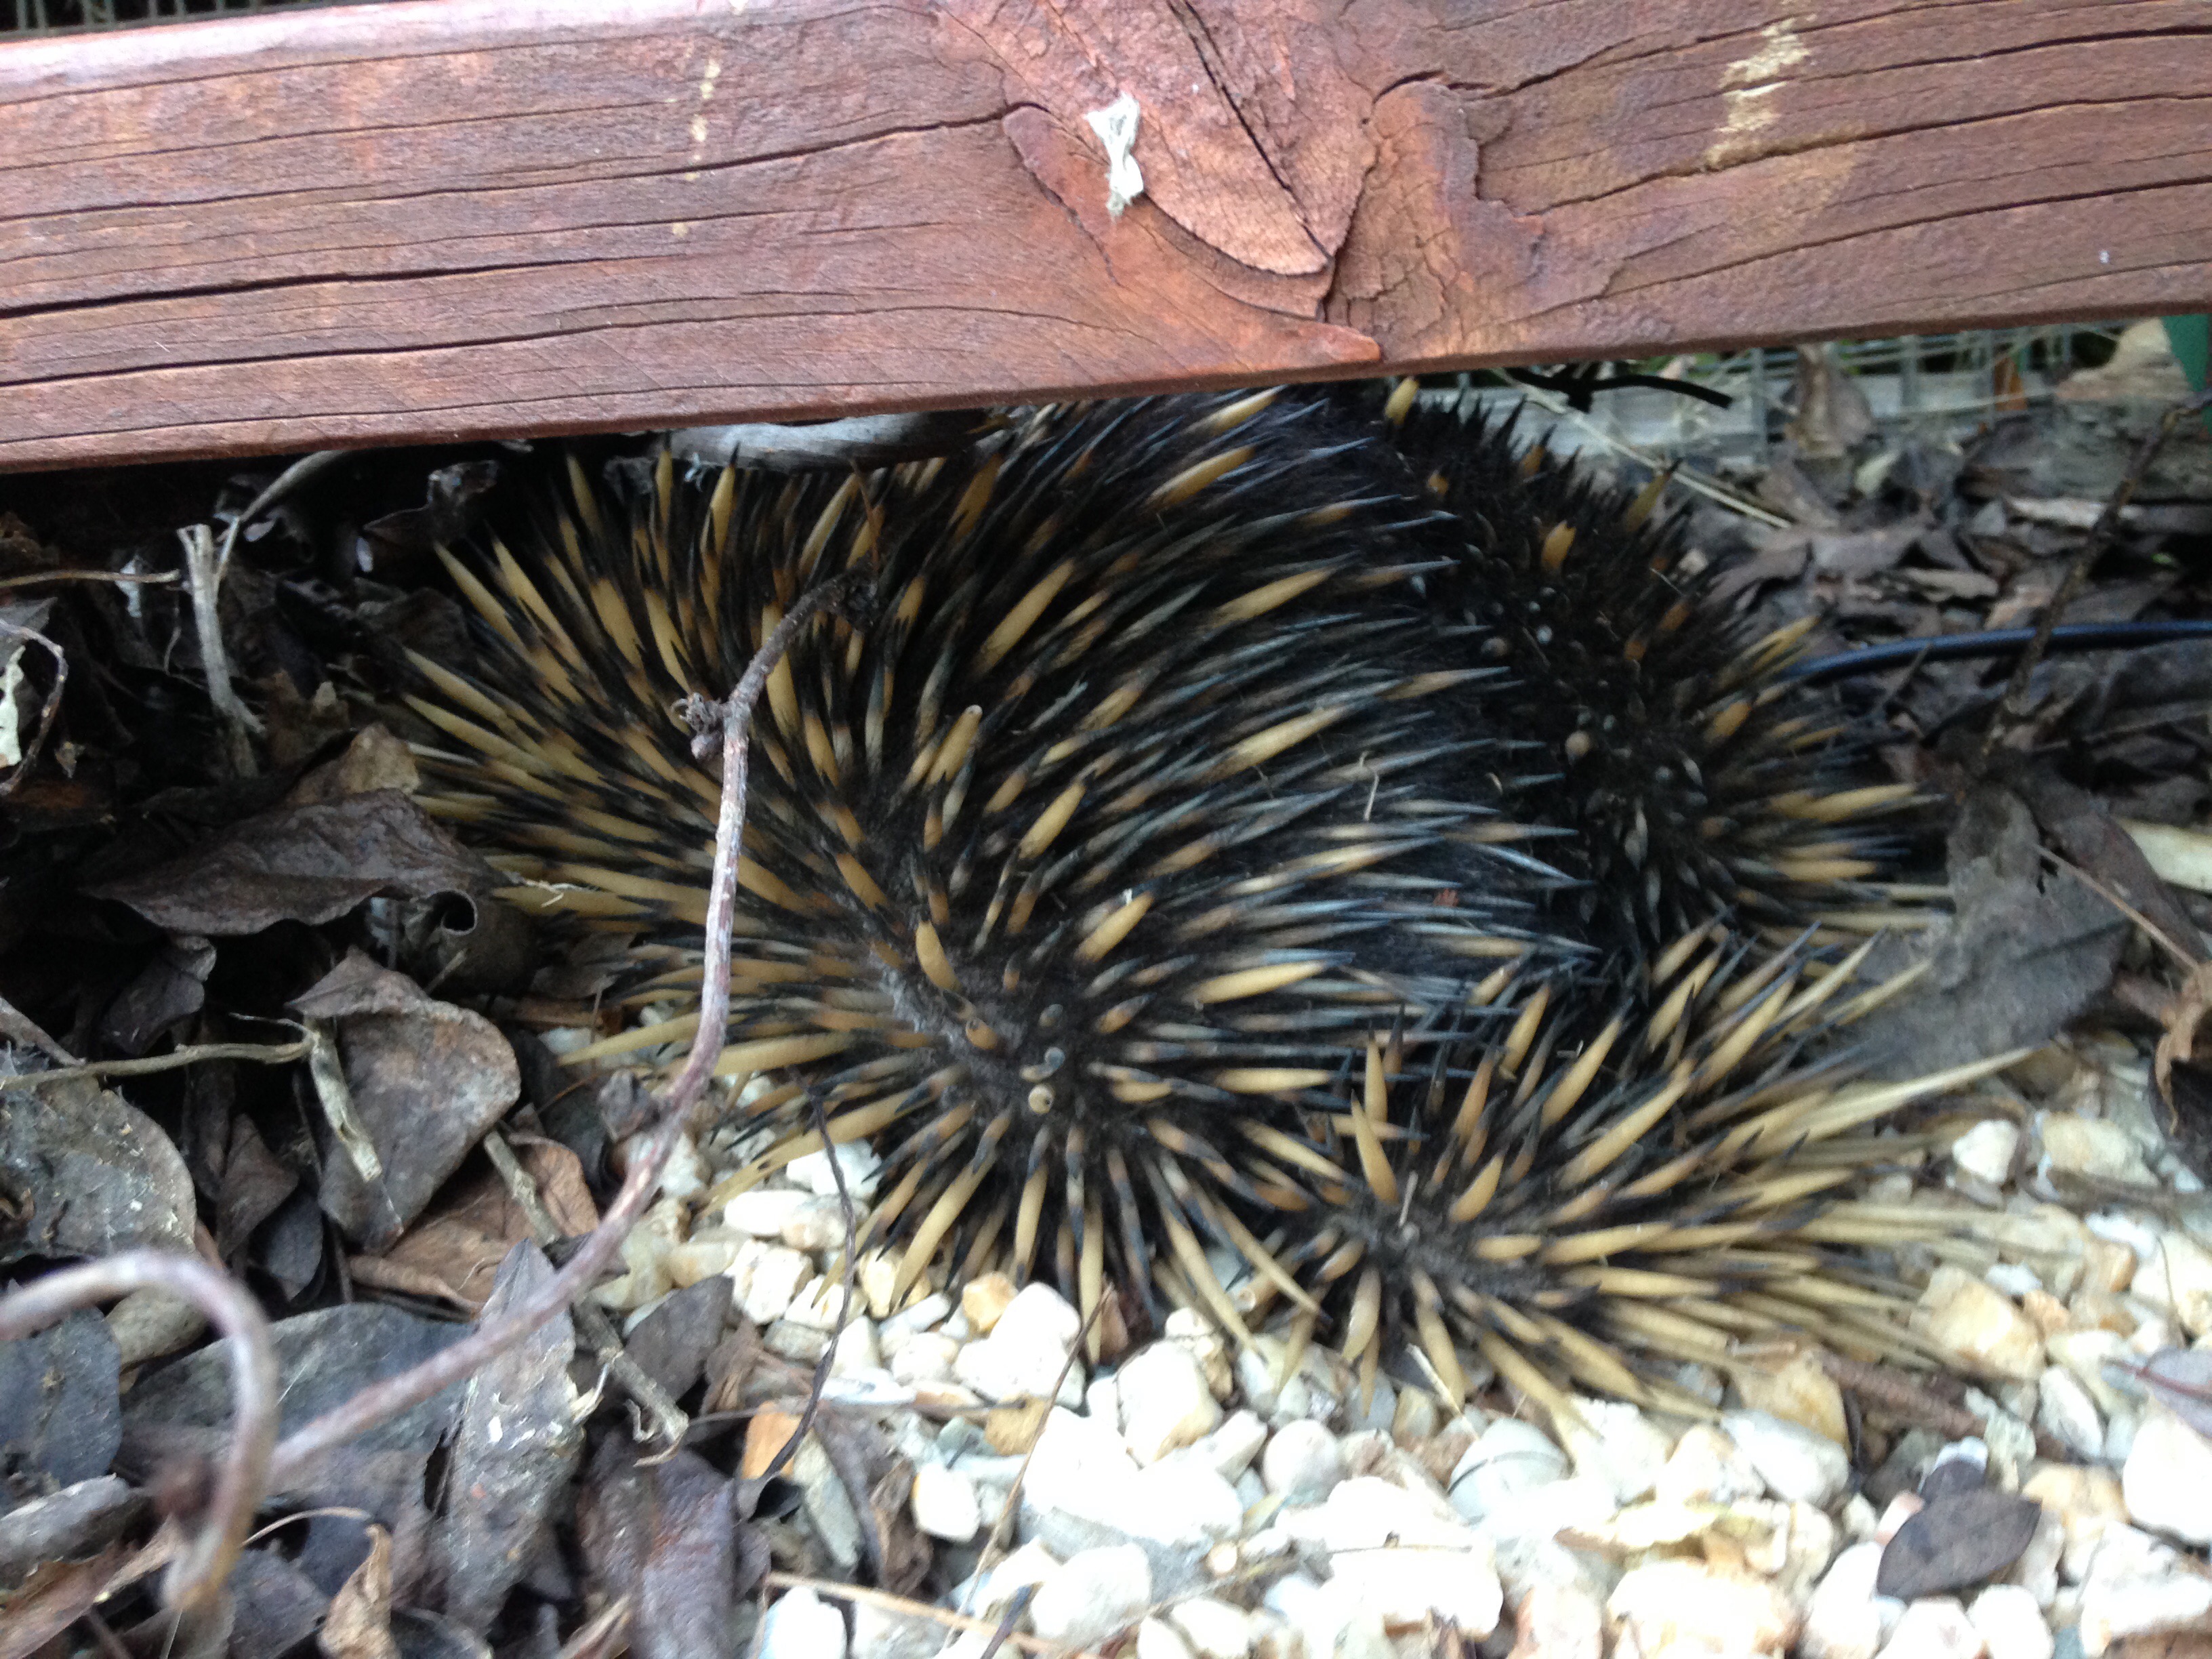
The shy echidna – a delightful visitor at the Rock Farm

When harvesting firewood, I generally cut green branches off living trees.  I leave a part of the branch on the ground to become a log for beetles and other animals to live in.   The leafy branches are left to mulch and return nutrients and organic matter to the soil.   Over time this will help improve the quality of our soil, but importantly increase the biodiversity on our place by providing habitat for the insects and small animals that underpin it all.

Community

It’s a funny thing, but I think the further apart people live, the stronger the community is.  We might not be able to see our neighbours, but our community is strong.  We are part of our local school, Rural Fire Service, and Scout Group communities.  Our children are growing up to be responsible members of our society.  It is wonderful to share this journey with them too.
Every day our choice rewards us with an immense feeling of satisfaction, but it does have some minor drawbacks.  I will talk about some of these in my next blog.

Let me know what you love about living on a hobby farm 🙂

Best vehicle for a hobby farm

I have often been asked what is the best vehicle for a hobby farm?  And the choice is bewildering.  There are side by side ATVs, quad bikes, tractors and even 4wd utes that can all be mighty handy on a small farm.  It depends a bit on your terrain, but if you don’t need a rock crawling 4wd, then you have a wide variety of vehicles to choose from.

For us, the vehicle must be:

  • Cheap to buy – this counted out the ATVs, quad bikes and even 4wds
  • Reliable – it must start first time, every time
  • Light – to reduce soil compaction
  • Easy and cheap to maintain
  • Practical – it must be able to carry a load
  • Safe – which counted out quad bikes due to their extremely poor safety record

Our farm vehicle met the first and most important criteria.  It was cheap, very cheap.  In fact, we inherited our paddock basher by good fortune when we bought our farm.  It might not have been our first choice in farm vehicle – but it has proved to be every bit up to the task.

The mighty Mitsubishi Mirage with its trusty 6×4 box trailer has had a rough life.  One time wrecked in a hail storm, it became a regular commuter running up well over 300 thousand kilometres in its on road life.  At some stage it finally failed registration, and became a farm only vehicle.  It continues to amaze me with its amazing feats of strength and endurance.

The best paddock basher, the best farm car

The mighty Mitsubishi Mirage – Could this be the best farm car ever?

I have often said what it lacks in ground clearance, it makes up for with enthusiasm.  The small wheels and minuscule ground clearance is a bit of a risk, but we have only managed to get it stuck twice.  Usually a bit of right foot pressure (sometimes in reverse) is enough to get us out of mischief.   It also is able to use many talents you wouldn’t dare use on a road registered vehicle, such as carrying 8 metre lengths of timber… on its roof!

Best farm vehicle ever

It can carry long loads with ease

Of course things don’t always go to plan.  I did have to replace the air cleaner after it became fully blocked.  The fuel filter has been bypassed, and the main engine fuse was repaired with a bit of wire (I did replace that with a new fuse to reduce the chance of starting a fire).  Surprisingly the engine still starts first go, and it doesn’t use any oil.  The fan belt is looking very shabby and will need to be replaced soon…. when it finally snaps.

At some stage in its past, it did suffer a major hit to the right front wheel bending the axle back.  This eventually led to the steering arm falling out one day.  It was repaired in the best bush mechanic tradition with some fencing wire.  Unfortunately it will never steer quite the same again, but as it rarely gets above second gear, it is unlikely to be a real problem.

Best farm car

It is easy to maintain. If it can’t be fixed with either of the three hammers, then it will be retired.

The trailer is nearly permanently attached, and is nicknamed the wheelbarrow.  It is certainly used as such, moving garden prunings to the paddocks and collecting fire wood.  The floor is all but rusted out, but some rubber conveyor belt keeps the good stuff in the trailer.  The frame of the trailer has also been reinforced with an old bed frame – making it as strong as the day it rolled off the factory floor… er… almost.

The Wheelbarrow is put to use

The Wheelbarrow is put to use

This poor car has been used as a ladder when lopping high branches.  It has jump started the lawn mower on the odd occasions it is required on the Rock Farm.  It is used to check the fences, collect firewood, haul water and even move rocks.

The best vehicle for hobby farms

The full load of water was a bit much for the front wheel drive car – but half a tank is well within capabilities

But perhaps the best thing this car has done is allowed the Little Helpers the opportunity to learn to drive.  I have now been demoted to “Gate Opener”, as the Little Chauffeurs drive me around the place.  It took a bit of time for them to master the clutch – and we still struggle with hill starts, but both of the boy’s feel super important when I ask them to take me around the paddocks.

Best farm vehicle

The little chauffeur standing on the roof – just because he can

It is simply a lot of fun!  The fact that I don’t mind if they ride the clutch for a bit, or scrape the side against some shrub means that we can all have a great time.  And that is what makes this the best farm vehicle ever.

The best farm vehicle

I have been demoted to Gate Opener… and I love it!

How to build Wicking Garden Beds – Part 1

If you think lush green vegetables require too much water to produce  successful crop, or if water is a precious resource, then think again.  Wicking or self watering garden beds may provide the solution you require.  Even of the Rock Farm, we have been able to enjoy some fresh vegetables during a long hot summer by this simple principle.

How to build a wicking garden bed.

Lush green vegetables even in severe drought.

Wicking beds essentially provide water from below, meaning that they are particularly frugal with water consumption, especially during a long hot summer.  They also don’t cost a fortune to make – especially if your wife is a hoarder and you have plenty of old railway sleepers and corrugated iron lying about the place.

The basic concept is simple.  Water is held in a reservoir at the base.  Moisture is drawn up into the soil via capillary action or wicking.  The moisture is distributed more evenly through the soil, creating better growing conditions for plants.

How to build a wicking garden bed.

Basic design principles – wicking bed

The best part is that you can make these beds out of almost any material.  It is simple to modify the style and shape of these beds to suit your garden or materials at hand.

We chose to make our wicking beds in a wedge shape around a central fire pit.  This allowed us to recycle some original railway sleepers.  In this way, each wicking bed only used three sleepers.  The 2400mm sleepers were cut at the 16000/800mm mark to make the wedge shape.  The corrugated iron sheets were 2400mm long.

The first step was to clear the ground where the new beds will go and get everything nice and level.
How to build a wicking garden bed.

Once I was happy that the base was in the right spot, I placed the next sleeper on top, and secured it using a backing plate and bugle head screws.  This is extremely hard work on the electric drill.  Indeed it destroyed my first drill – so be careful with your drill.  Pre-drilling the holes only helps marginally.

img_8049

Our wicking beds were designed to be the height of three sleepers.  We anchored the sleepers to each other using the backing plate.  This will be hidden once the beds are constructed.

How to build a wicking garden bed.

After I had built both ends, I fitted a hardwood brace or frame for the corrugated iron.  This brace was cut to the same length as the corrugated iron and will anchor the iron and provide an edge for the beds.  I had to take out a small corner in each end to allow the boards to sit level between the two end sections.

How to build a wicking garden bed.

I then cut the corrugated iron to fit.  You can use tin snips for this, but an angle grinder makes short work of it.  The cut edge is placed on the ground and is buried slightly, and the original edge is placed along the timber frame.  I used regular roofing screws to hold the iron against the frame.

How to build a wicking garden bed.

After I had fitted the corrugated iron, I placed a bracing piece in the centre of each sheet.  This provides an anchor for the sheets and helps prevent the beds from swelling or bulging once the beds are full of gravel and water.

How to build a wicking garden bed.

After I was happy that all was in its place, It was time to scrape back the dirt and smooth out the base of the beds.

How to build a wicking garden bed.

How to build a wicking garden bed.

The bulk of the construction is complete. Now to line and fill the beds

At this time the main construction of the beds is complete.  There is still a whole heap of work to go.

  • The beds need to be lined with old carpet underlay / cardboard to protect the builders plastic.
  • Then the beds need to be lined with builders plastic to make them watertight.
  • A filling tube needs to be inserted to allow the beds to be watered from ‘underneath’
  • Once the pipe-work is installed,the beds need to be filled with gravel to about 2/3rd depth
  • A drain or overflow pipe needs to be fitted at this mark
  • Shade cloth or weed mat is to be laid over the top of the gravel
  • Then soil and compost fills the remainder of the beds.

These steps will be covered in Part 2 of this series.

The beautiful thing with these garden beds is that you can build these with just about any material.  It takes a little imagination and work to bring your ideas to life.  If you have wicking beds, please feel free to share photos of them with me at hamalochonline@gmail.com and I will post them for others to see here.

How to sharpen a chainsaw

It is that time of the year again when the organised people have all their firewood neatly stacked in preparation for the winter season.  For the rest of us, the chill in the air means it is time to give the chainsaw a pre-season service and get ready to harvest firewood for the winter.  One of the most important parts of a service is to sharpen the chain,

Chainsaws work best when they are sharp.  Dull chains are slow to cut, and become dangerous.  An easy way to tell how sharp your chain is, is to check the size of your shavings – good size chips mean your saw is sharp.  Fine powdery dust means you need to sharpen your chain.  It might also mean you are cutting seasoned Australian hardwood, which can be almost impossible to cut with a chainsaw.

Cutting seasoned hardwood can be extremely hard on chains

Cutting seasoned hardwood can be extremely hard on chains – I used two sharp chains to cut through this trunk.

Many people find it easier to have more than one chain on the go.  I generally buy a new chain each year, and over the past few years have gathered half a dozen chains.

Continue reading

How to turn cattle yards into sheep yards on a budget

If you are going to run stock on your hobby farm, sooner or later you will need a set of yards.  Yards are essential to safely work stock, allowing you to perform regular health checks on your animals.

On hobby farms, it is often difficult to justify a large sum of money for a shiny new set of cattle or sheep yards, that will only get used a handful of times a year.  If you’re really lucky, you may have inherited  a set of yards on your block that you may be able to repair and modify to suit your needs.  After all the best set of yards is a free set of yards!

The old adage, they don’t make them like they used to certainly rings true when it comes to yards.  Modern yards are usually made out of steel, and you purchase a number of panel sections to construct your yards. Some yards are designed to be portable, meaning you can reconfigure your layout, or even relocate your yards.  Older yards were usually made with locally milled timber and fencing wire.  Posts were set into the ground and the layout is fixed.

On our block was a tired set of timber cattle yards in need of some maintenance.  I also wanted to modify them to allow me to work sheep.  The first step was to replace a couple of rotten panels.


Panels can be replaced with anything that provides a solid visual barrier to the stock.  With an abundance of stringy-bark saplings, I decided to try using some timber from the block to repair a couple of lower panels.

In the race, a more solid barrier was required.  I found a piece of milled hardwood in my shed that was long enough to be cut to size.

Timber yards are rarely held together with bolts or screws.  Instead fencing wire is used to tie the panels to the posts.  A very simple knot is used that anyone can tie with a pair of pliers.  The knot tensions the joint, providing a secure fixture.

I know the knot as the Cobb and Co Hitch, however it is also called the Cocky’s Hitch.  Don’t use high tensile fencing wire for this knot, you should use a soft or low tensile wire to allow you to twist the wire.    I have written up instructions on how to tie the Cobb and Co Hitch here: https://rockfarming.com/2016/04/07/how-to-tie-a-cobb-and-co-hitch/

Once all the panels were repaired, the next step was to put some chicken wire over the panels to stop the sheep stepping through the panels.  This was achieved by rolling out some short lengths of old chicken wire and nailing it to the panels.

It sounds easier than it was.  The timber was so hard, I needed to pre-drill the holes for the nails!  Finally it was all done – and our yards are now multi-purpose!

Of course not all yards will be as easy to convert as ours were.  In some cases, you might be better off starting from scratch.  It all depends what condition your yards are in, and whether the layout will work for you.  Good luck – and I hope you have as much fun repairing your yards as I did.


How to tie a Cobb and Co Hitch

This knot is called a Cobb and Co Hitch or Cocky’s Hitch. It is used to tie timber together, however has a multitude of uses.  It needs little more than a length of wire and a pair of pliers to twist the knot.  It is particularly useful when constructing or repairing timber cattle or sheep yards.

When working with wire under tension, you should wear appropriate safety clothing such as eye protection and gloves.

Step One: Cut a length of wire a little over twice the length required to go around the joint.  Fold it in half.

img_7975-1

Step Two: Pass the wire around the joint.  In this case a hole was drilled in one part of the post, and a notch cut on the other side.  Pass the loop or bight over the other end of the wire.

img_7977-1

Step Three: Pass your pliers handle through the bight to act as your lever.  If you have rubber grips on your handles, use an old bolt of piece of rod steel.

img_7976-1

Step Four: Using the handle as a lever, twist the loop or bight over the other end of the wire.  Keep twisting until you have enough tension on the joint.  If you go too far, you will break the wire and have to start again.

img_7978-1

Step Five:  Tidy up loose ends, cut off the long tails and admire your work.

img_7979

Step six: Repeat as often as required.

img_7980

If a more structural hitch is required, the wire can be passed diagonally around the joint, across the grains.  If you do two of these knots, forming an X shape, you will have a very strong hitch indeed.

What are the best sheep for hobby farming?

We often get asked what stock we are running on the Rock Farm?  Whilst the property had previously run cattle, we chose to run shedding meat sheep for a couple of reasons:

  •  Shedding sheep do not require shearing and are less susceptible to fly strike than their wool bearing cousins
  • We don’t need to invest in shearing infrastructure or arrange transport to and from a shearing shed annually
  • Sheep are quicker growing than cattle
  • We are able to slaughter our sheep without external assistance (cattle are much larger and difficult to slaughter on farm)
  • Lamb is one of our favourite meals.

Shedding meat sheep have risen in popularity in Australia over the past ten years or so and many breeds are now available.  With plenty of choice available, it is hard to know which is the best sheep for hobby farming.

In my mind, the best sheep for hobby farming must be hardy, quick growing and a proven performer on native pastures.  They must also be easy to manage and low maintenance.  We asked many producers in our local area what type of sheep they were running, and eventually settled on the Wiltipoll.

Wiltipoll Sheep

The Wiltipoll is a breed developed in Australia.  They are large easy care sheep, and may weigh up to 125kg in reasonable conditions.  The ewes breed seasonally and are known as good mothers, with a high percentage of multiple births.  They are also known to perform well on poor or rougher country that normally carries Merino wethers. They seemed to be the perfect sheep for hobby farmers like us.

Based on that information, we contacted a nearby Wiltipoll Association member, and ordered 15 hogget ewes (2 adult teeth, approximately 12 months old) and one ram.  The Wiltipoll Association website is: http://www.wiltipoll.com.au/

A short time later, we received a call from the breeder to let us know our sheep were ready.  A little nervously I hitched up the ancient horse float for the trip.  Thankfully all 16 sheep fitted into the float with no spare room at all – and they were soon eating a fire break in our fresh spring pastures.

These sheep are hardy sheep, bred for meat production.  They shed their wool naturally, meaning they are low maintenance and ideal for the hobby farmer like us.

The first priority was to teach them to come to me – also known as bucket mustering.  A 4 litre bucket of oats was given to them daily for the first couple of weeks, and it didn’t take the sheep long to come when I called.

Even now, at least once a week I give them a small amount of oats, just to keep them coming to me.  It was worth all the effort just once when I found them in the neighbour’s place.  A quick call, and all our sheep were back on our side of the fence – allowing me to repair the kangaroo hole.

Sometimes going for walks in the paddocks means you have a few friends though 🙂

img_7712

We haven’t lambed yet – but when we do, I’ll be sure to post more about our wonderful Wiltipoll sheep here.

Please let us know what your thoughts on the Wiltipoll sheep are, or if you have any questions by leaving us a comment below.

Oops – Simple plumbing repairs are sometimes necessary

Whilst a bubbling brook by the back door sounds wonderfully peaceful, there is nothing peaceful about finding a new water source with a jack hammer.  This happened to me the other day, and caused me some angst.

I was digging to put a new fitting on some 2 inch poly pipe.  I had carefully followed the pipe and avoided the water inlet to the house.  As I found the pipe I was looking for, I brought the jack hammer in to expose the pipe so I could clean it prior to fitting the new joiner, when all of a sudden, water shot up at me.

Jackhammer hits a water pipe

Oops…. The mighty hound is not impressed.

As is always the way when I have just broken something or done something spectacular, Jo arrived and surveyed my handiwork.   So I did  the only sensible thing I could think of.  I enlisted her help to bucket out the water and survey the damage.

Clearing around the broken pipe

Digging reveals the extent of the damage

As feared, I had penetrated a down pipe.  The pipe was full of water destined for our water tank.  It was imperative that I get the pipe repaired as soon as possible.  At this point in time, I could have called a plumber to come and have a giggle at my expense – or I could have a go at repairing the joint myself.

The problem with repairs to 90 mm pipe that is embedded in the ground, is that you can’t use two slip joints to repair the pipe.  I had to use a flexible rubber joint – and of course I didn’t have one of those in the shed.

After a quick dash to town for the relevant bits, it was a simple process to cut out the damaged pipe (it was cracked as well as holed).  After a trial fit, the slip joint was glued into position.  The flexible joint was then slid up over the gap and the hose clamps tightened.  I used a smear of waterproof lubricant to make it easier to slide the flexible joint over the pipe.

Slip joint and flexible coupling repair to 90mm pipe

Testing for leaks

After refilling the system with water (including several flushes) the system was checked and found to be holding water.

Repair complete - 90mm down pipe and poly pipe repair

Repairs complete

I was then able to put the new joint on the rural poly pipe above the down pipe and declare the little job completed.

Well – there was the small matter of filling in the hole and relaying the bricks, but the hard bit was done!