If you think lush green vegetables require too much water to produce successful crop, or if water is a precious resource, then think again. Wicking or self watering garden beds may provide the solution you require. Even of the Rock Farm, we have been able to enjoy some fresh vegetables during a long hot summer by this simple principle.
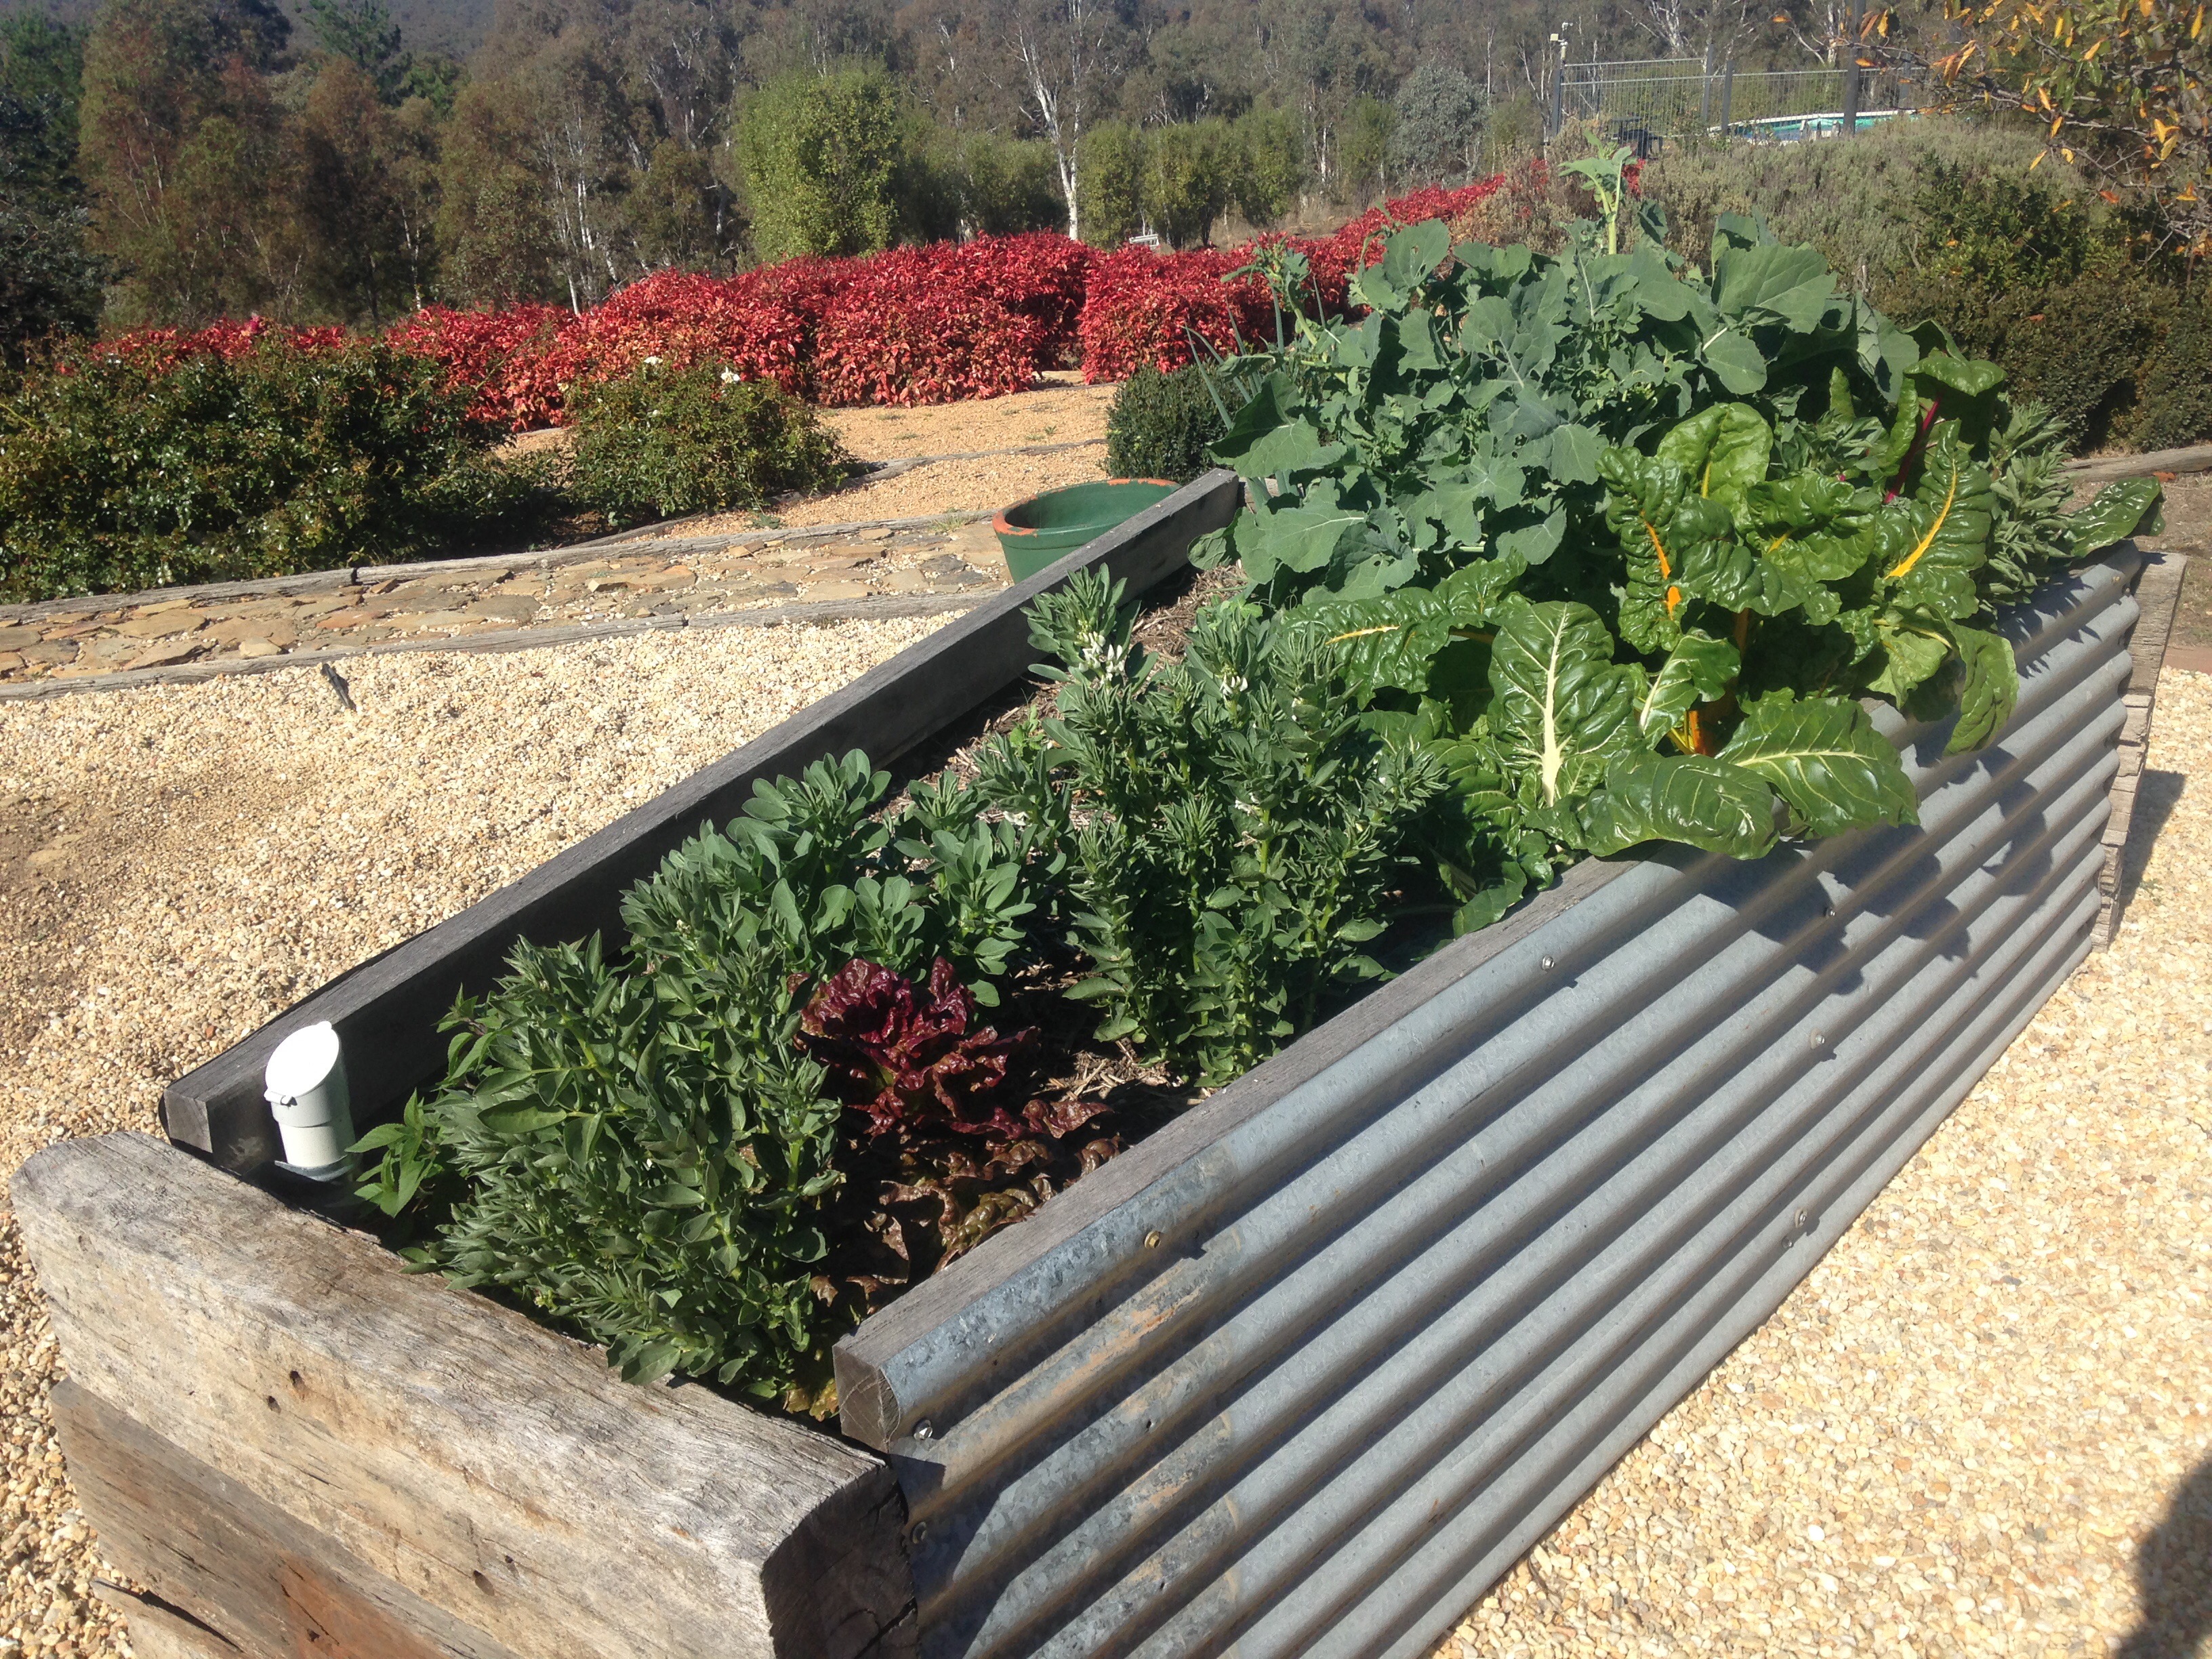
Lush green vegetables even in severe drought.
Wicking beds essentially provide water from below, meaning that they are particularly frugal with water consumption, especially during a long hot summer. They also don’t cost a fortune to make – especially if your wife is a hoarder and you have plenty of old railway sleepers and corrugated iron lying about the place.
The basic concept is simple. Water is held in a reservoir at the base. Moisture is drawn up into the soil via capillary action or wicking. The moisture is distributed more evenly through the soil, creating better growing conditions for plants.
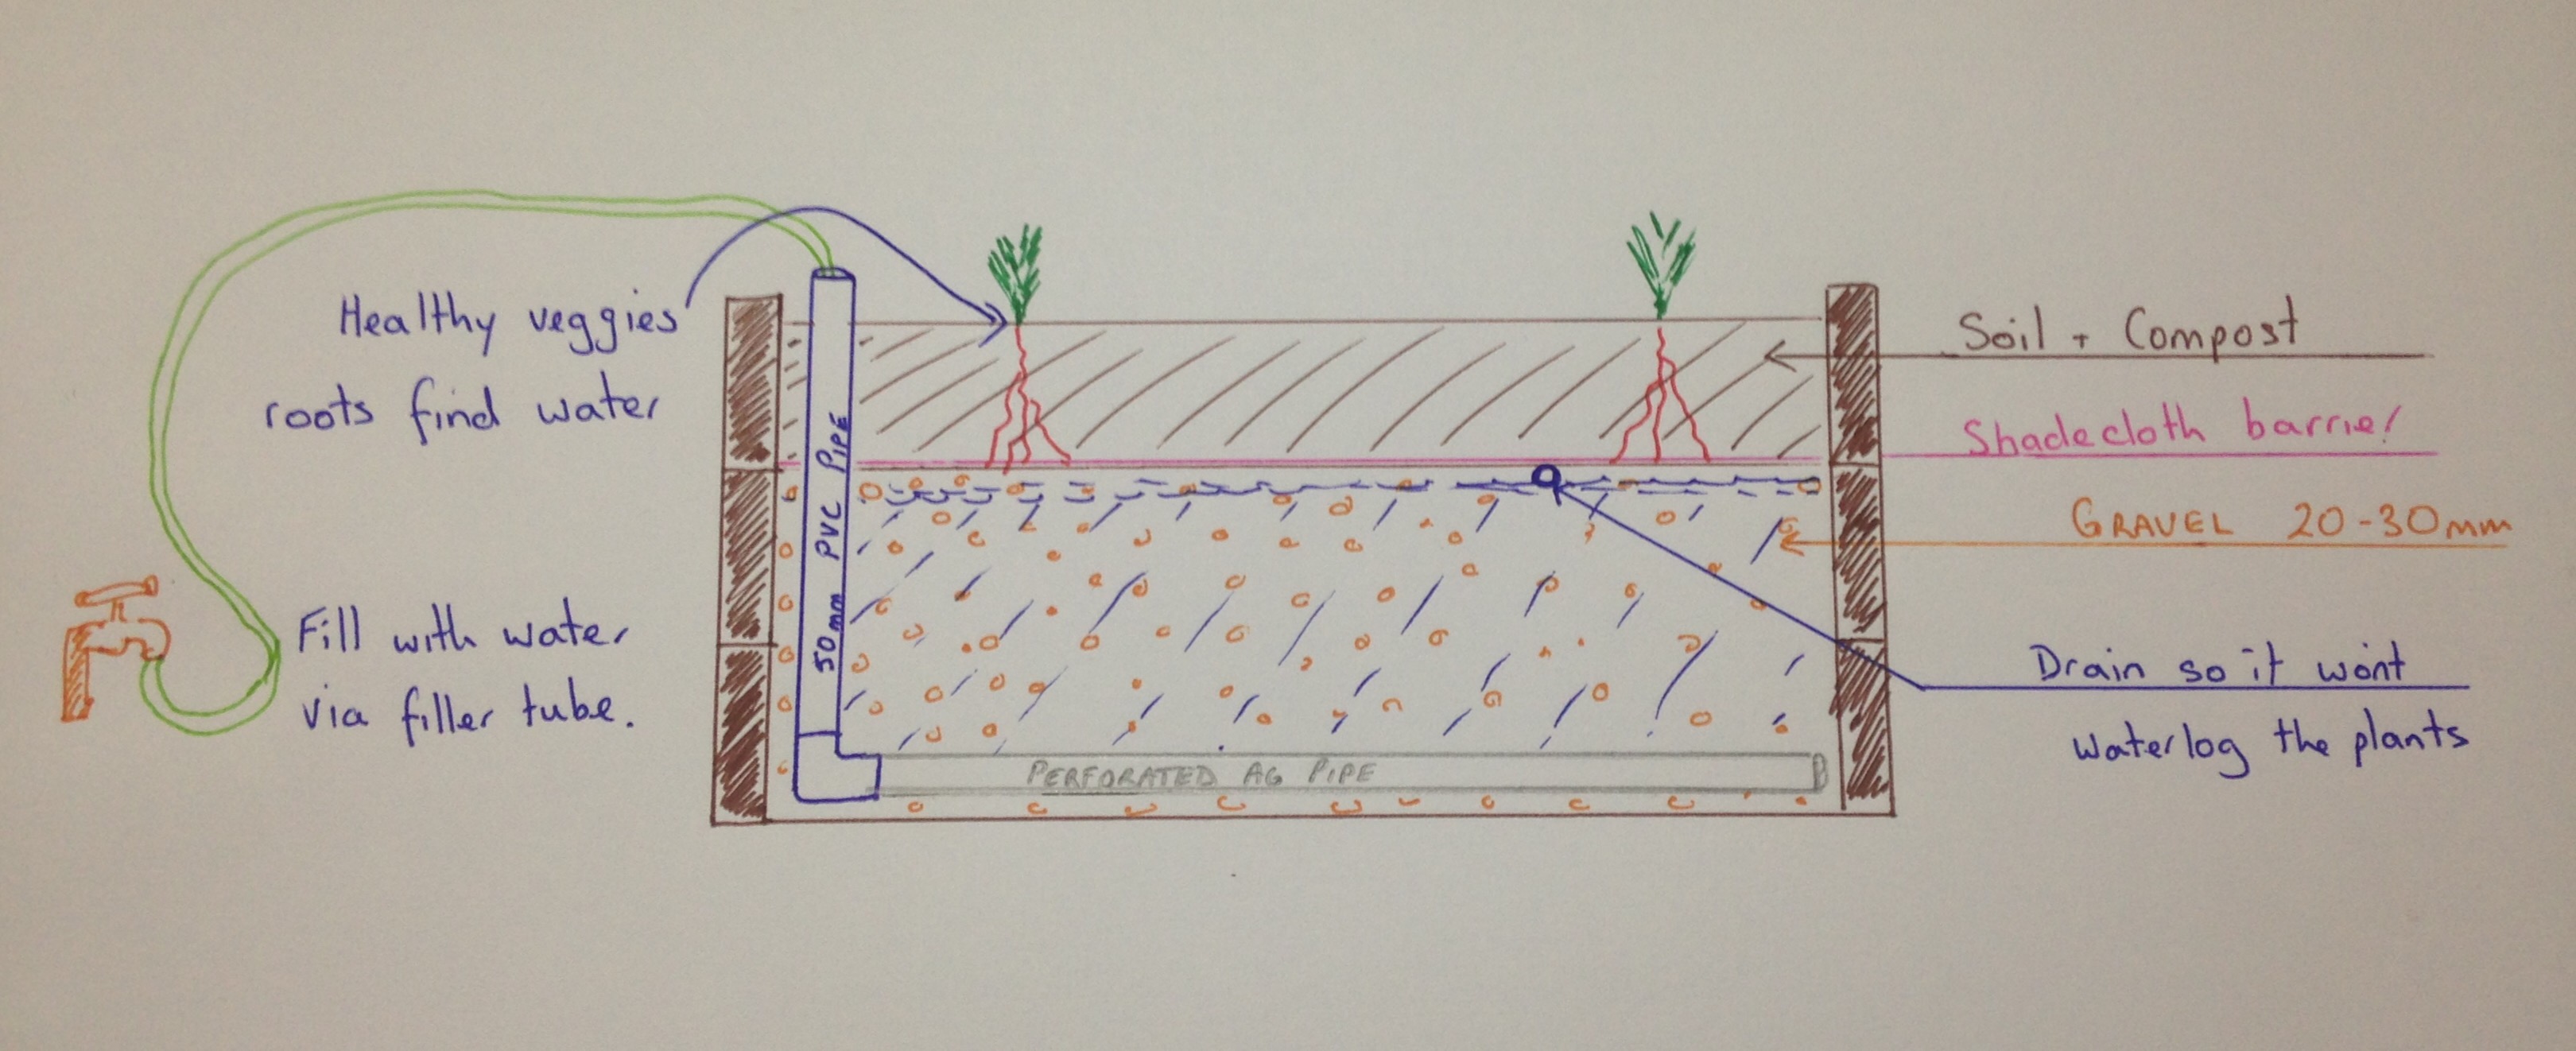
Basic design principles – wicking bed
The best part is that you can make these beds out of almost any material. It is simple to modify the style and shape of these beds to suit your garden or materials at hand.
We chose to make our wicking beds in a wedge shape around a central fire pit. This allowed us to recycle some original railway sleepers. In this way, each wicking bed only used three sleepers. The 2400mm sleepers were cut at the 16000/800mm mark to make the wedge shape. The corrugated iron sheets were 2400mm long.
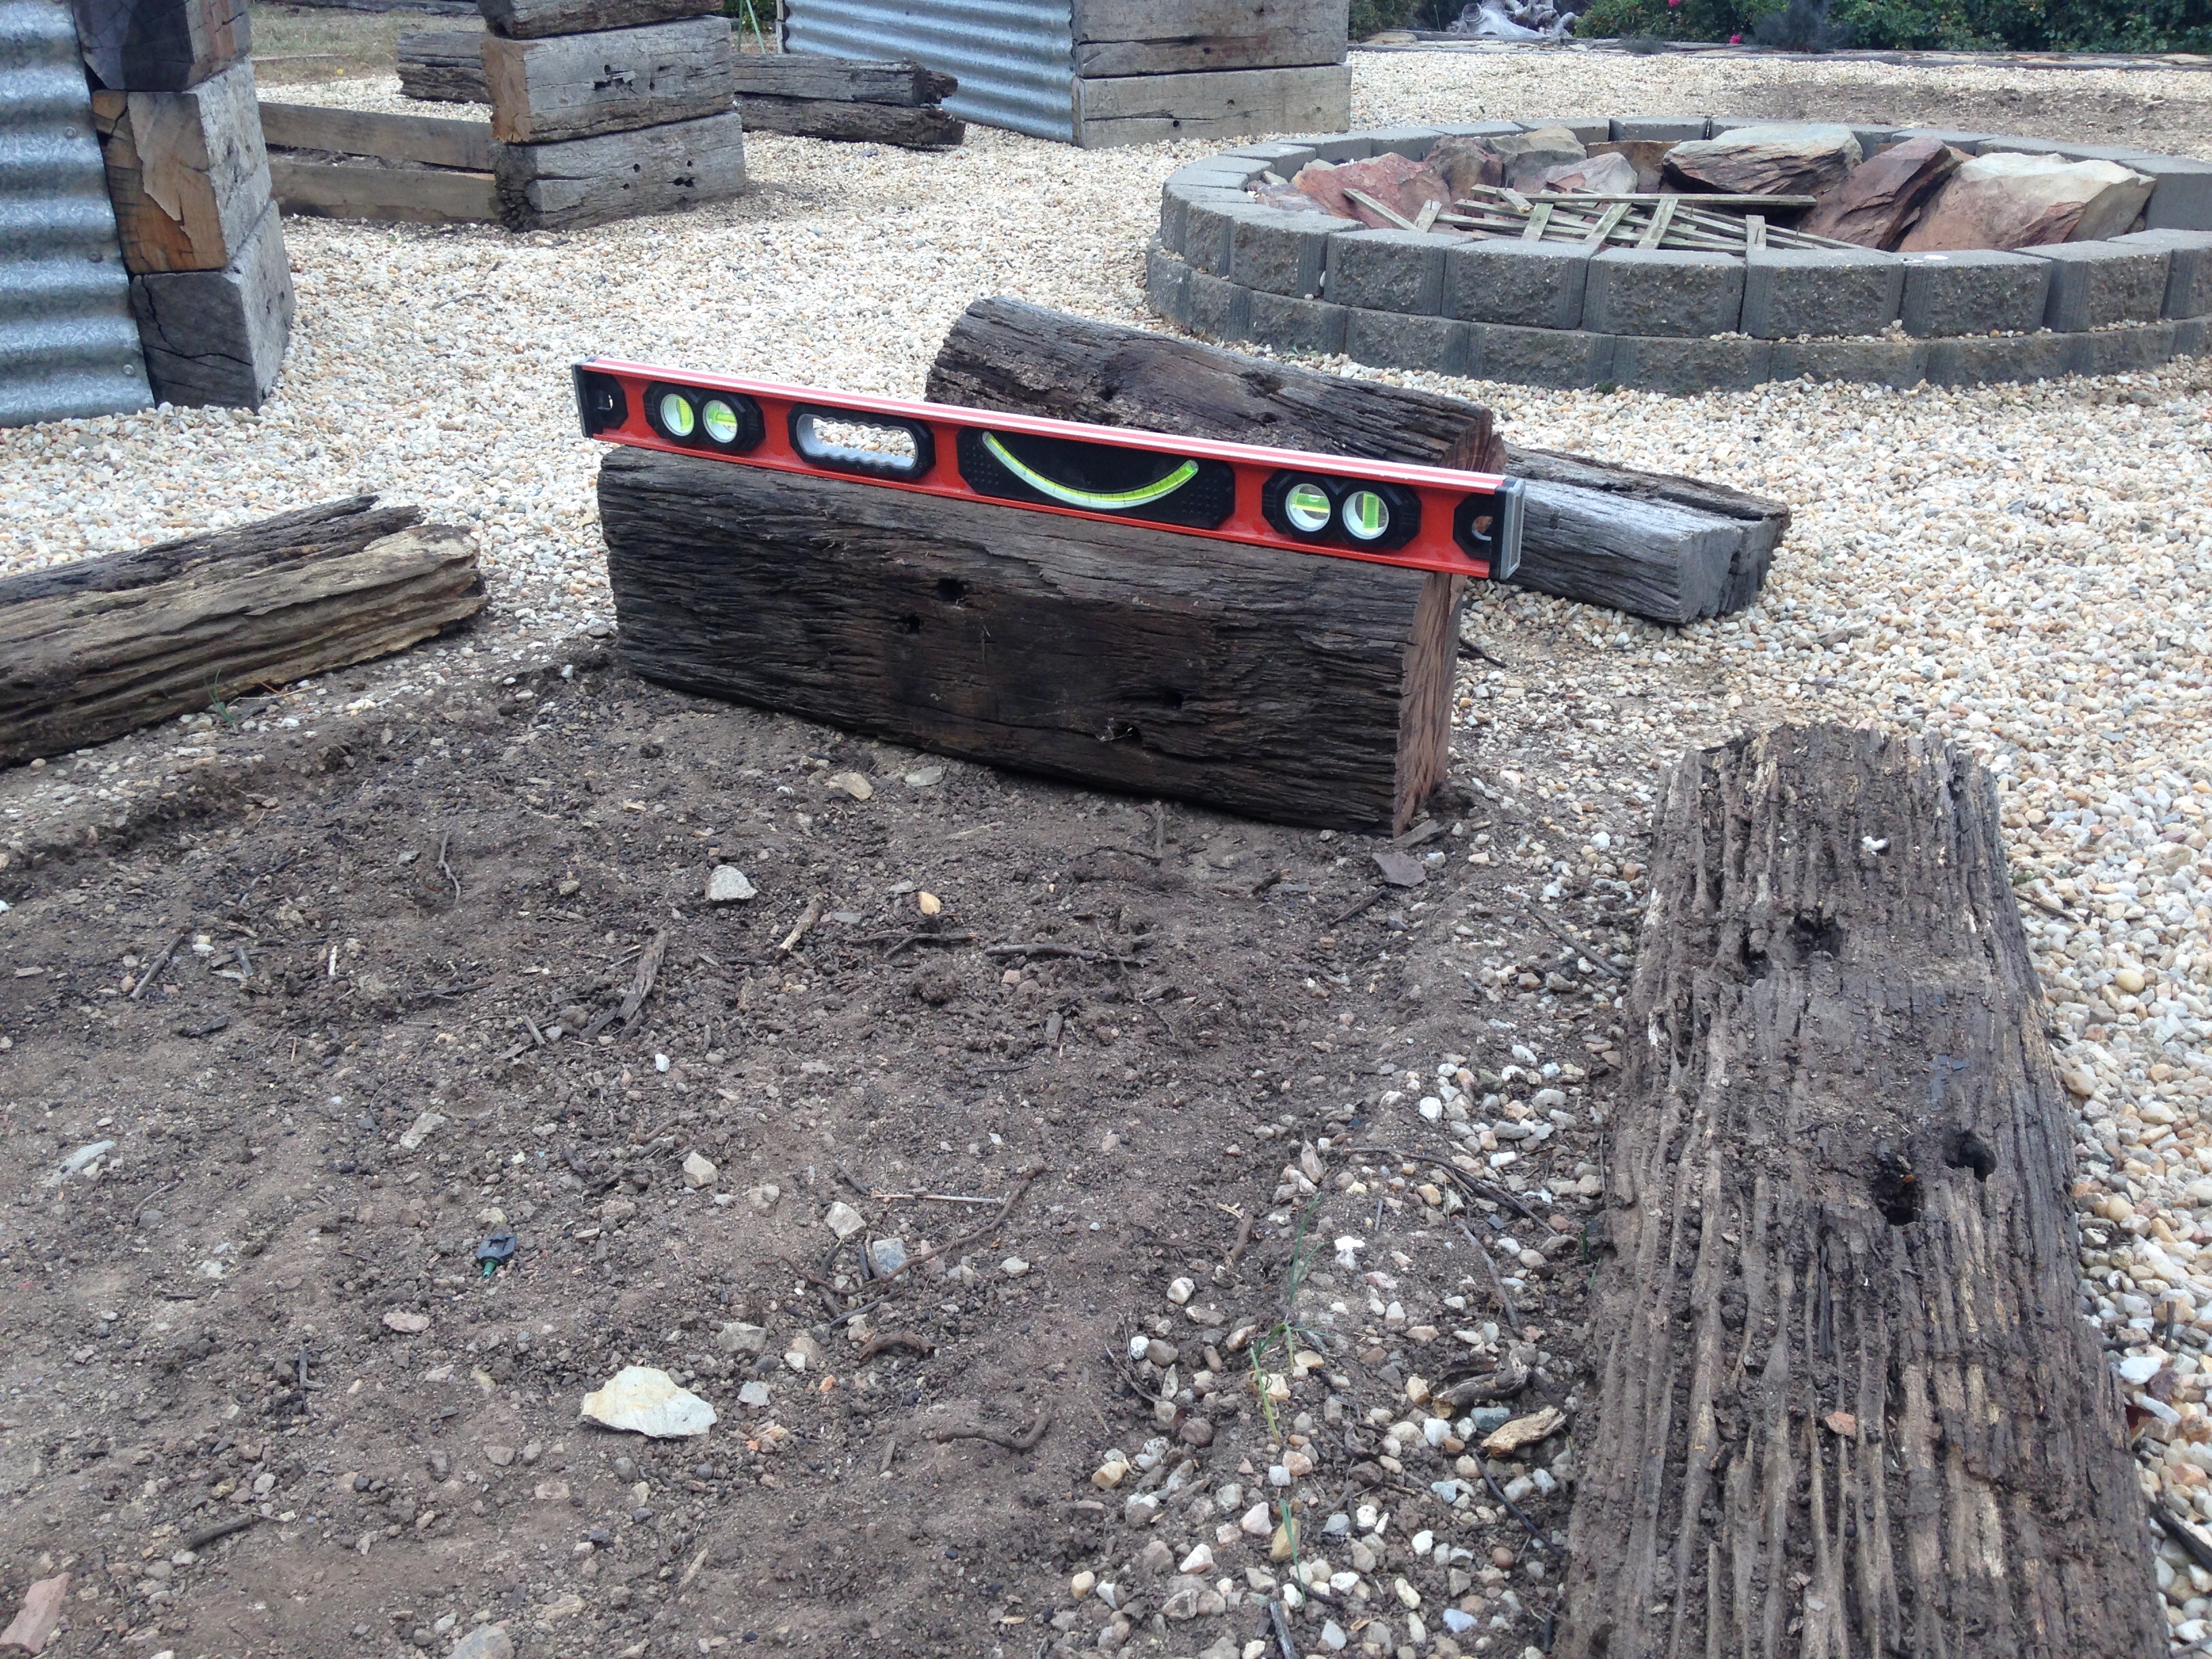
The first step was to clear the ground where the new beds will go and get everything nice and level.
Once I was happy that the base was in the right spot, I placed the next sleeper on top, and secured it using a backing plate and bugle head screws. This is extremely hard work on the electric drill. Indeed it destroyed my first drill – so be careful with your drill. Pre-drilling the holes only helps marginally.

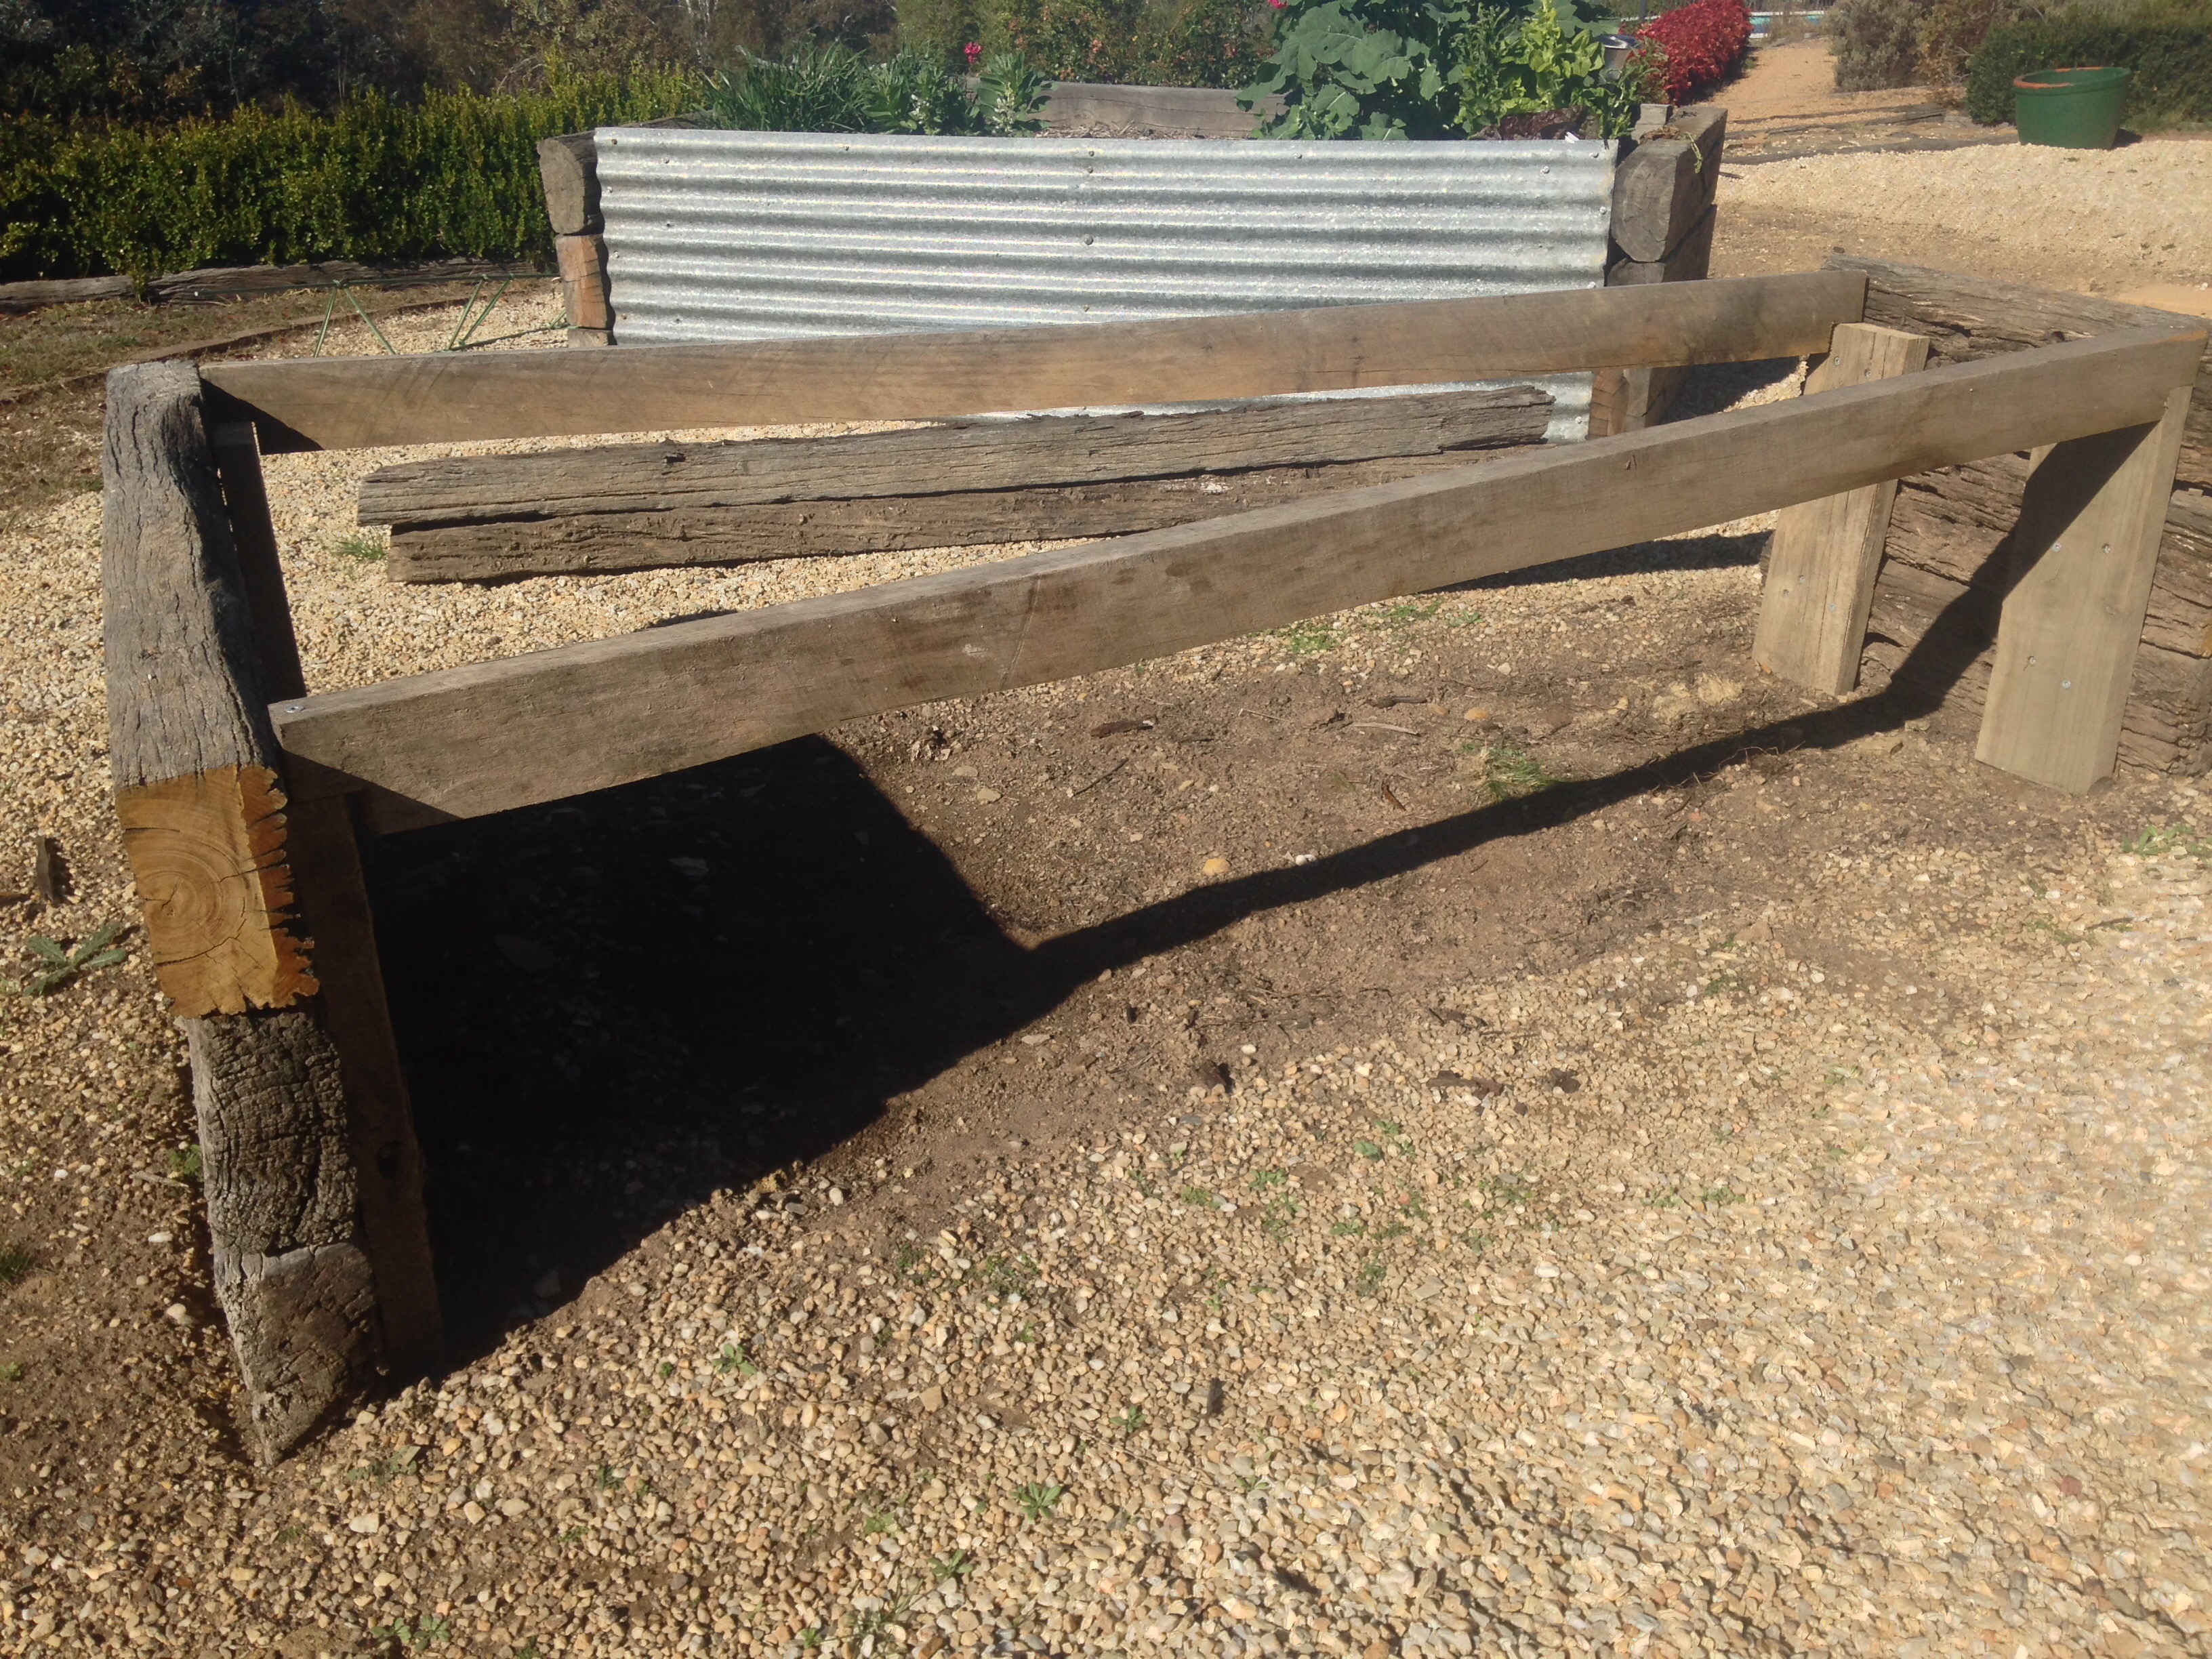
Our wicking beds were designed to be the height of three sleepers. We anchored the sleepers to each other using the backing plate. This will be hidden once the beds are constructed.

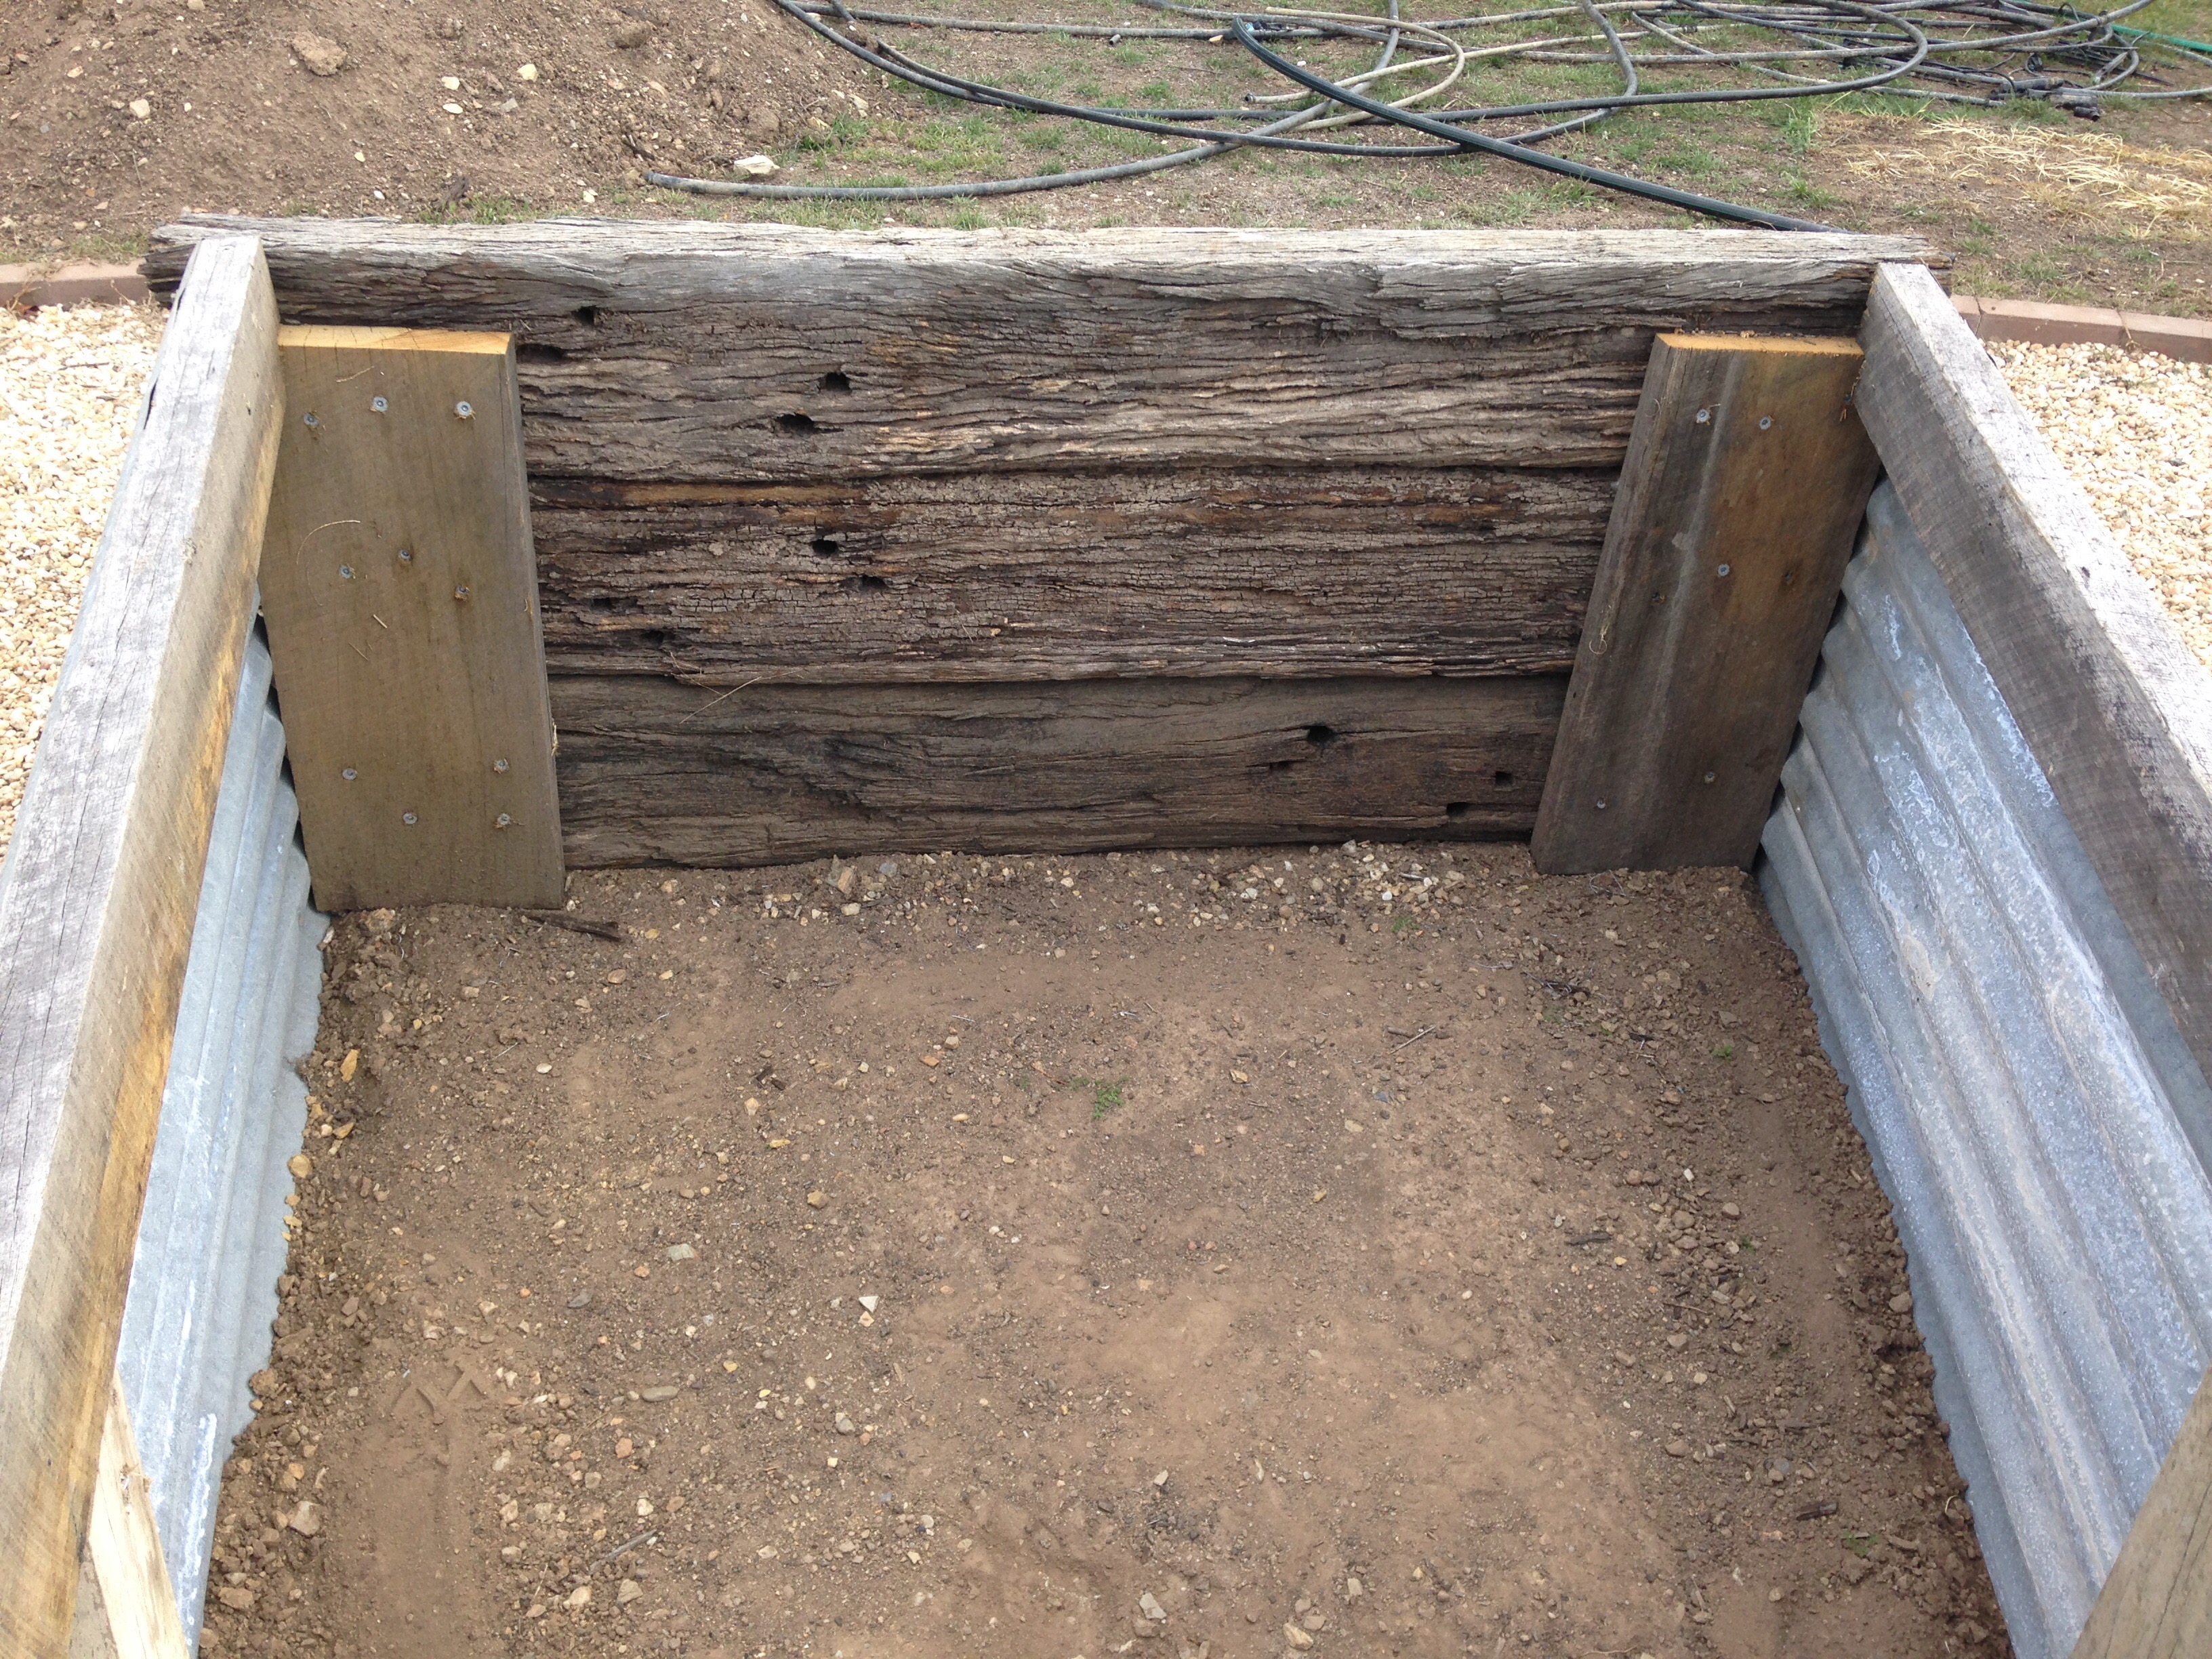
After I had built both ends, I fitted a hardwood brace or frame for the corrugated iron. This brace was cut to the same length as the corrugated iron and will anchor the iron and provide an edge for the beds. I had to take out a small corner in each end to allow the boards to sit level between the two end sections.
I then cut the corrugated iron to fit. You can use tin snips for this, but an angle grinder makes short work of it. The cut edge is placed on the ground and is buried slightly, and the original edge is placed along the timber frame. I used regular roofing screws to hold the iron against the frame.
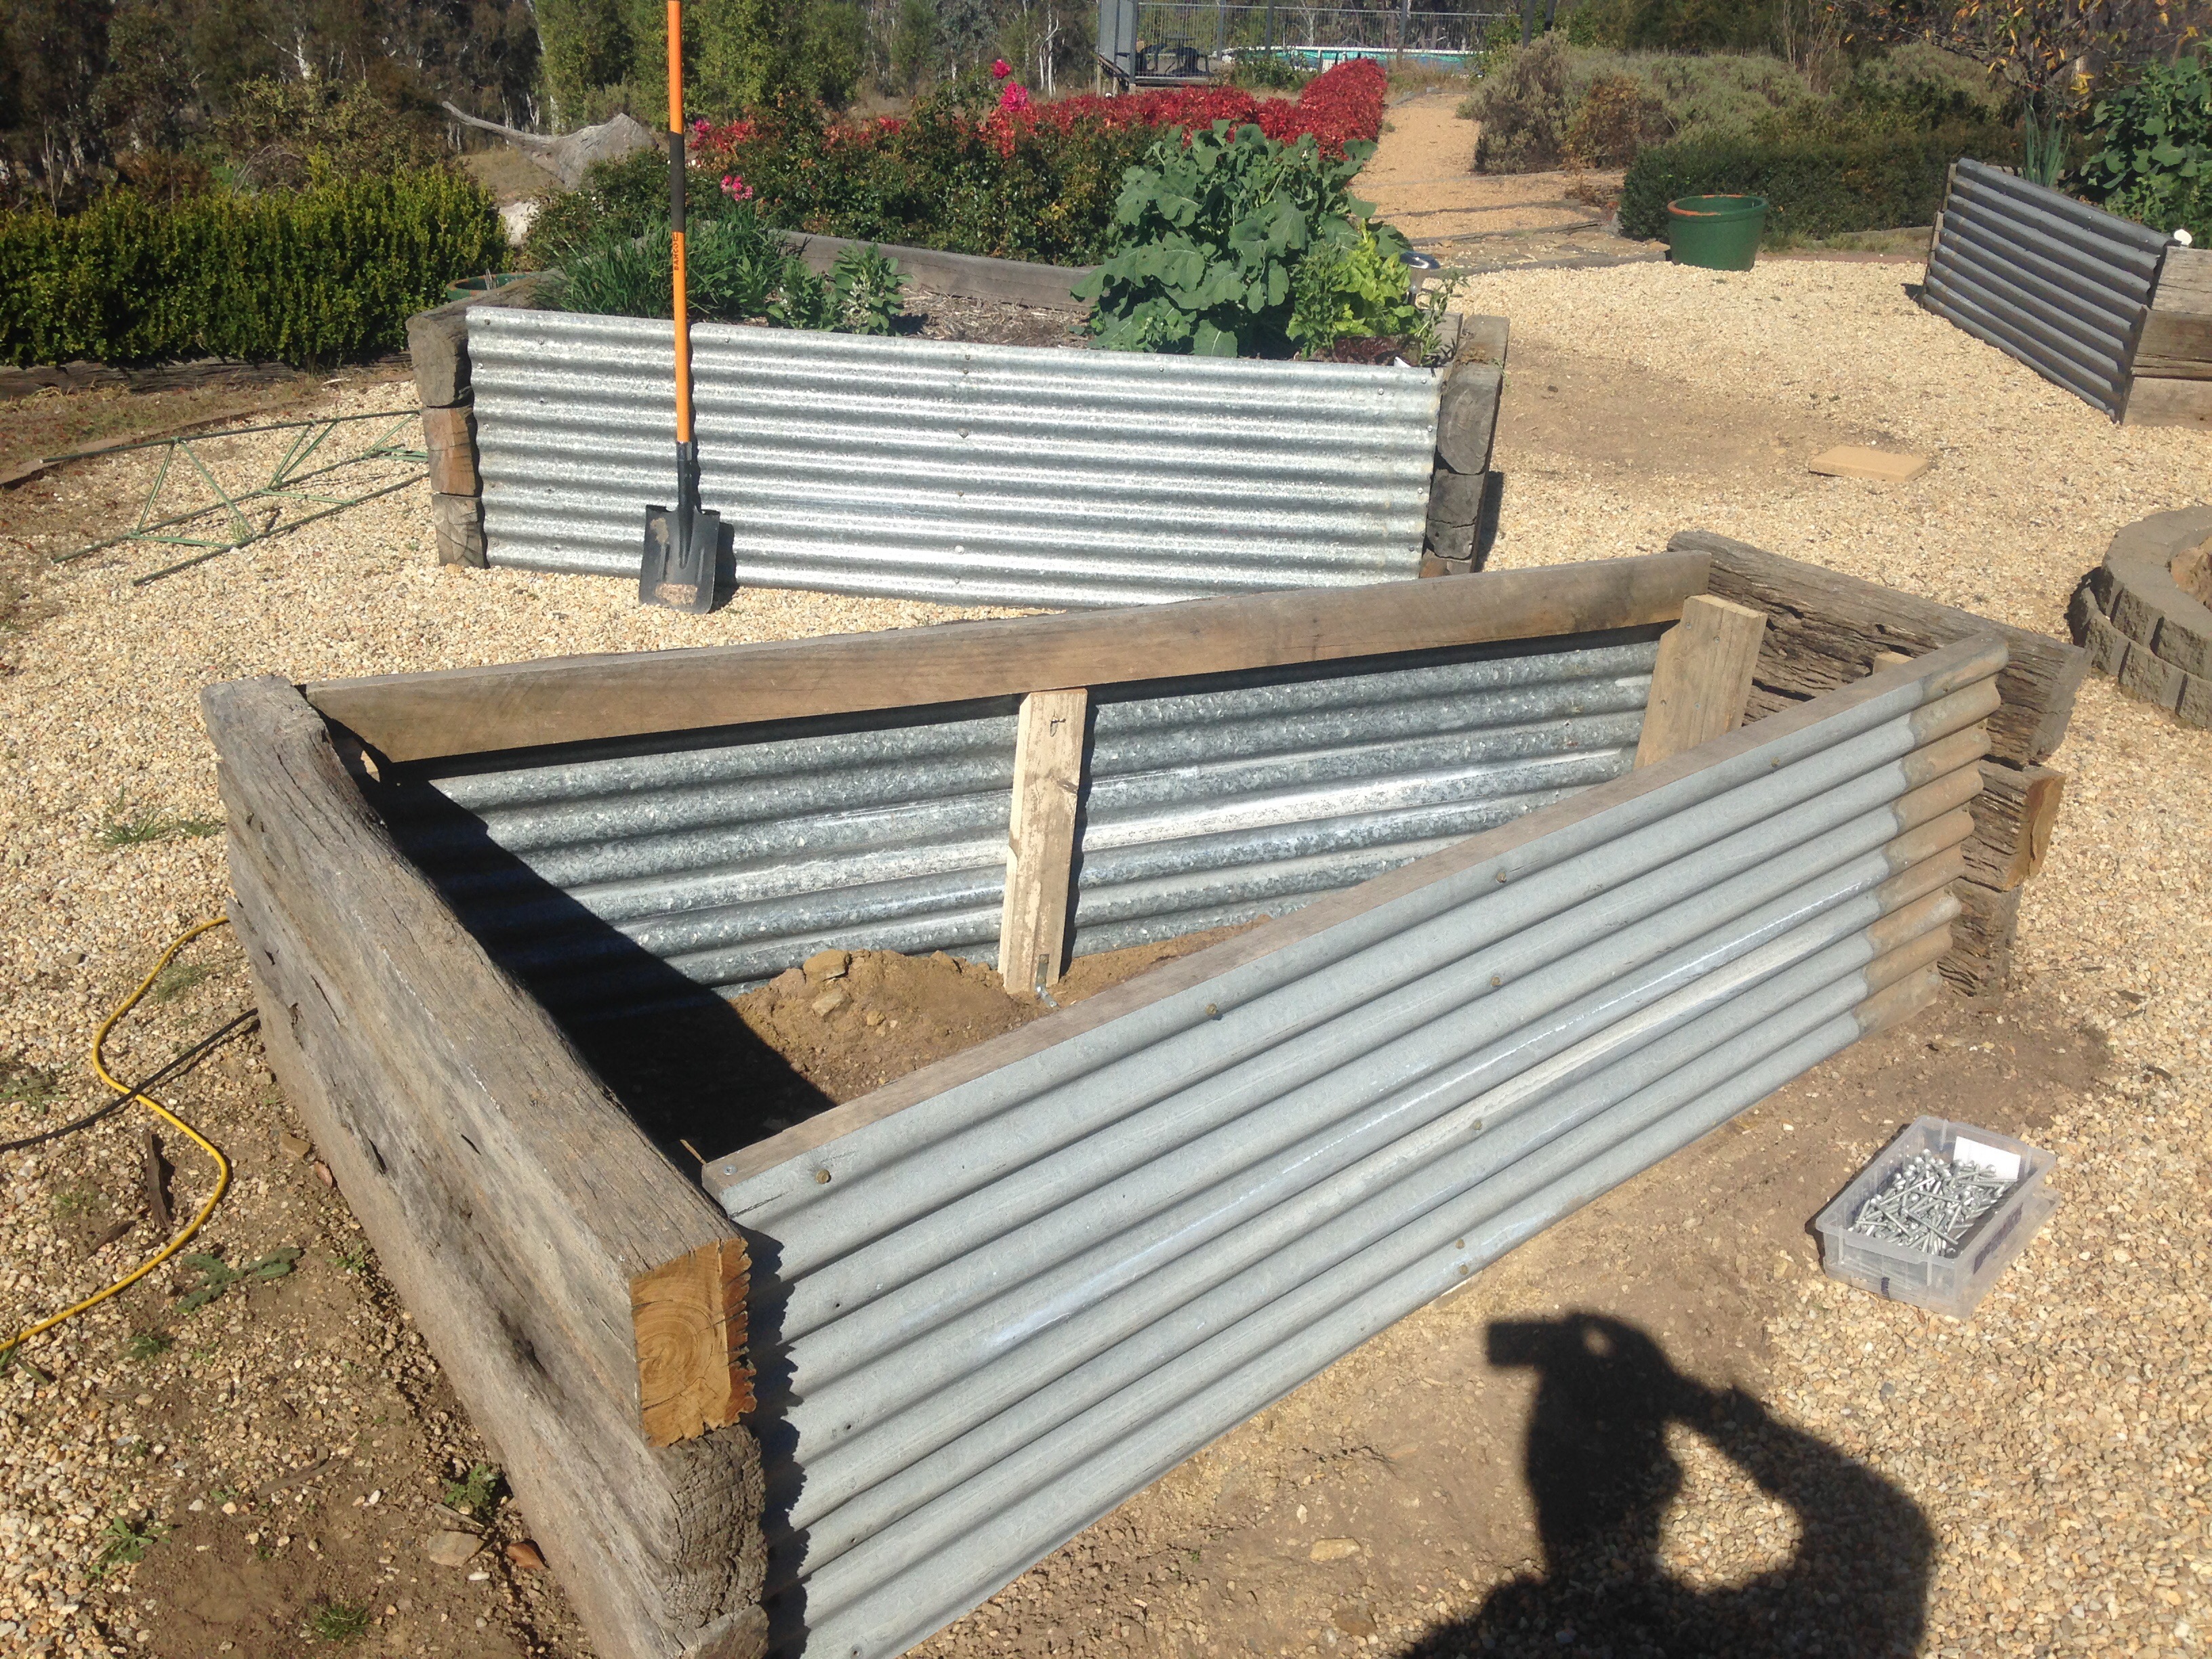
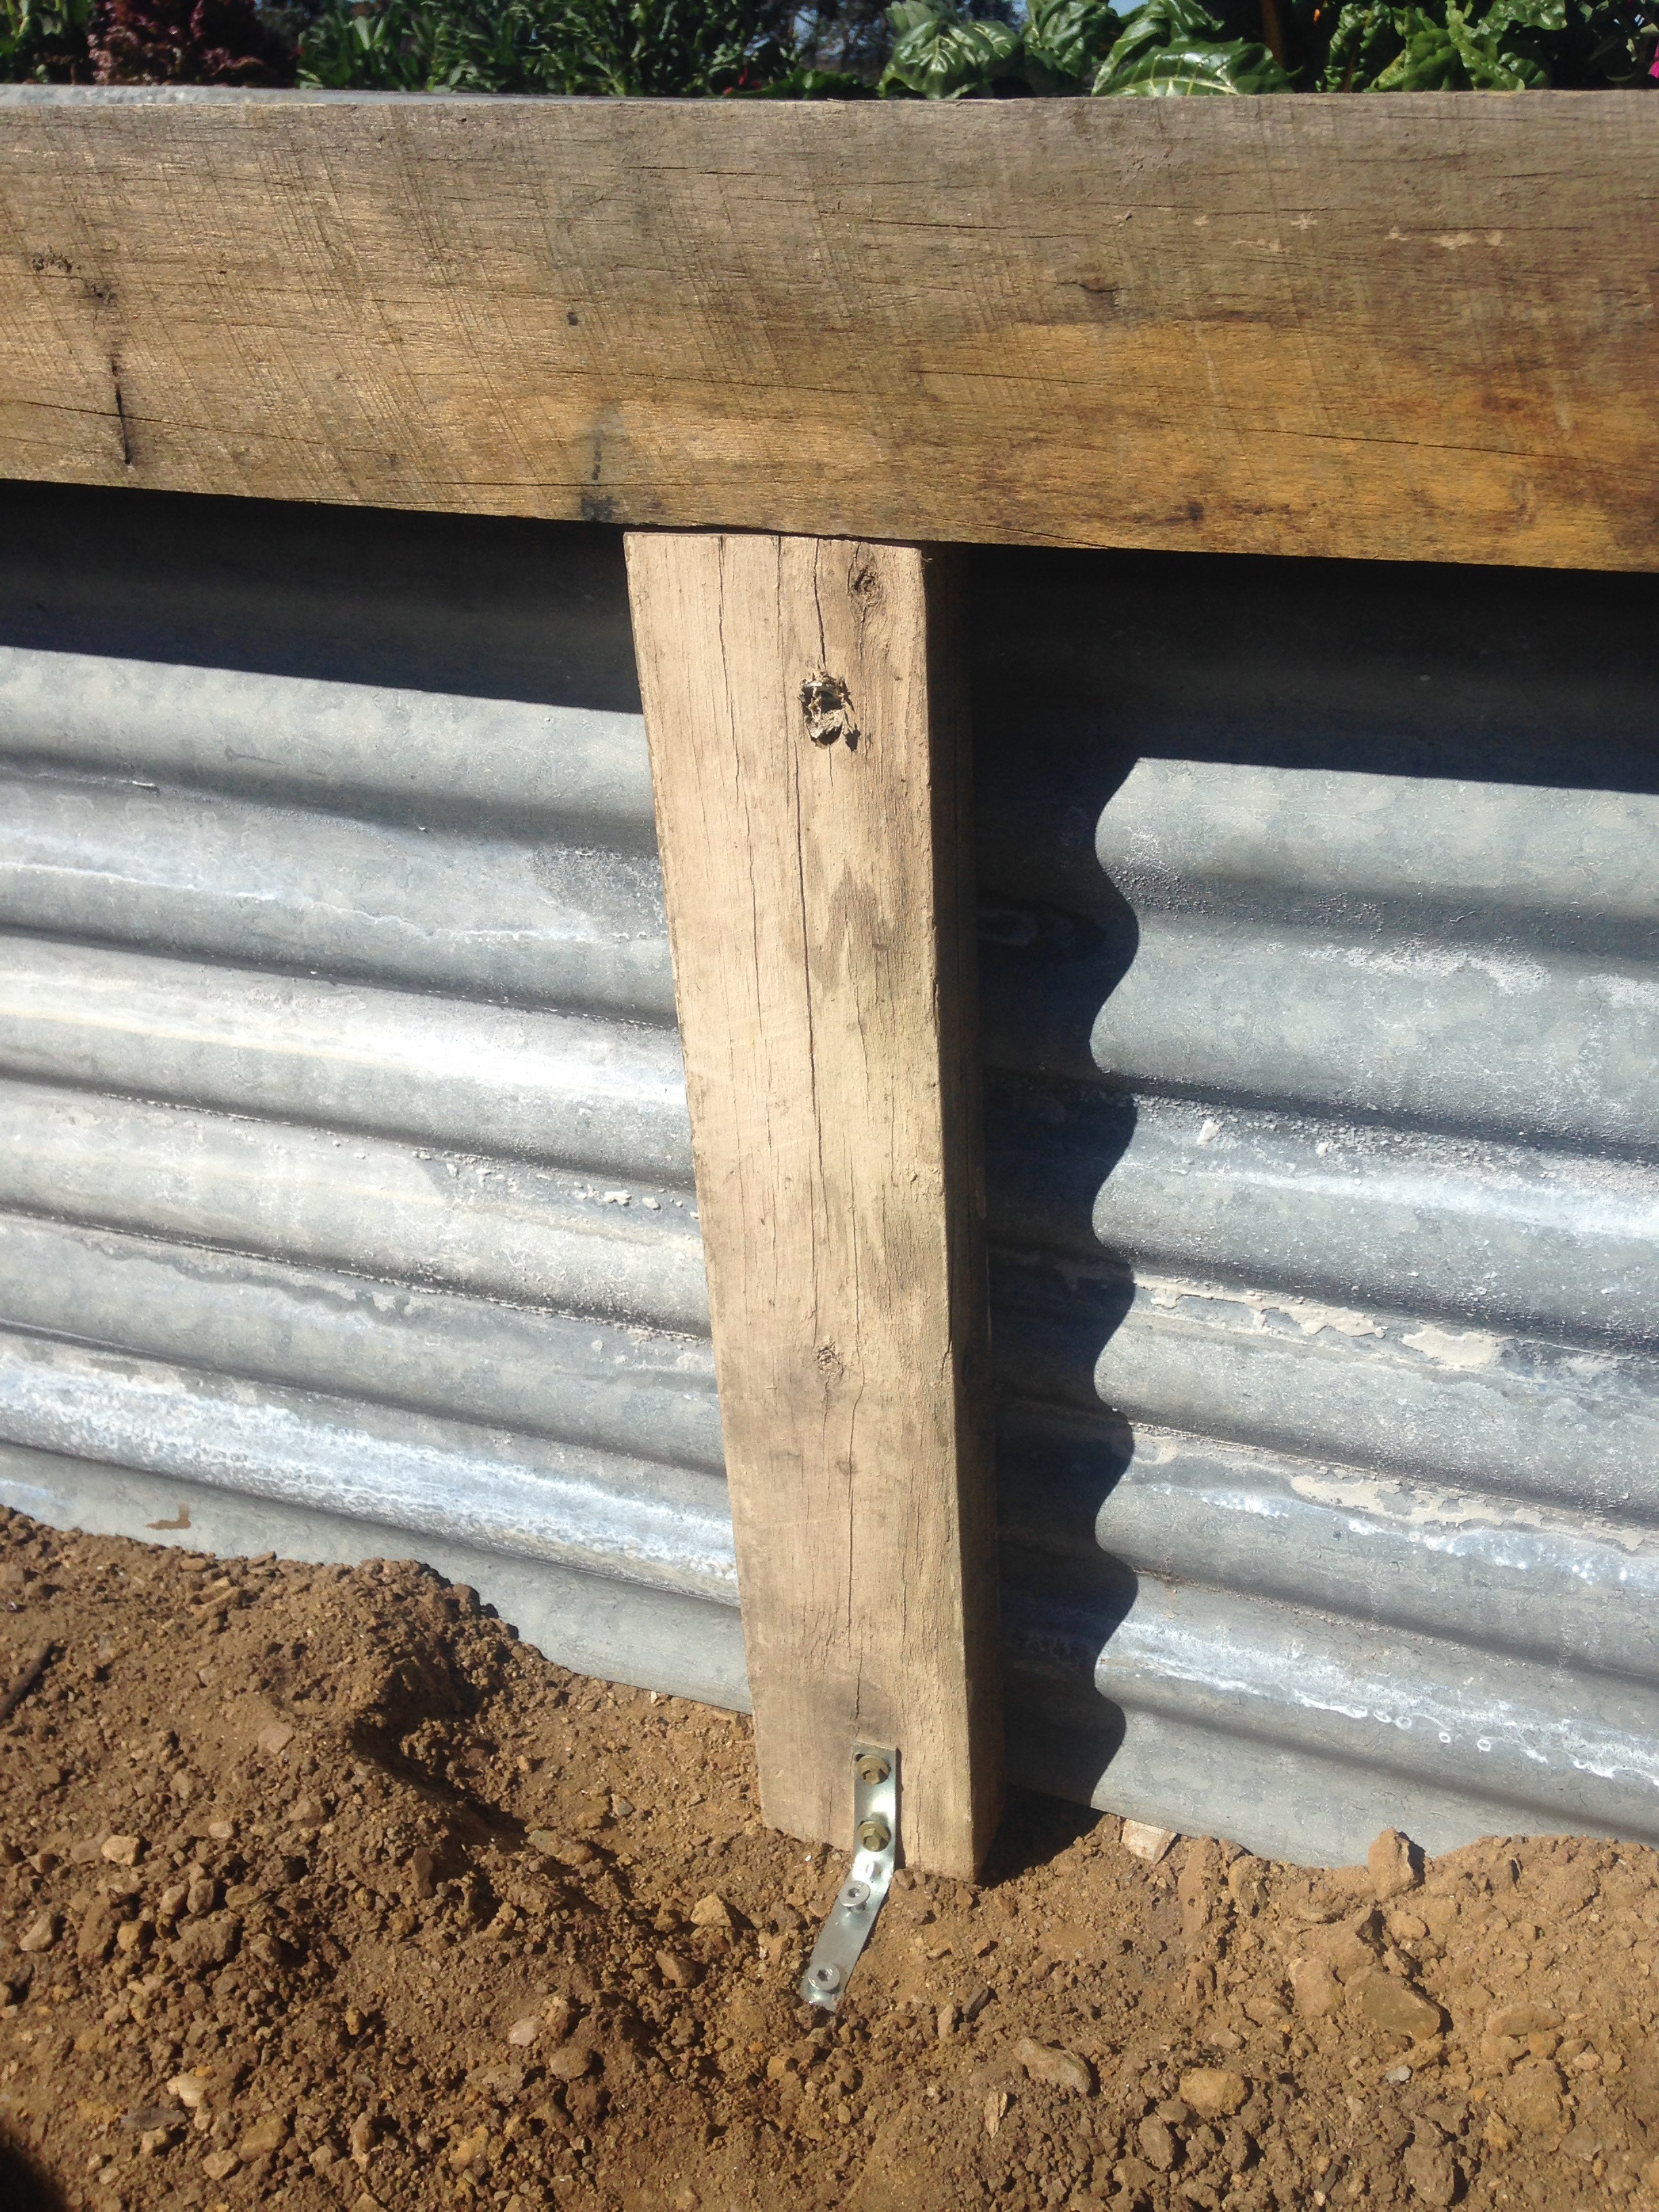
After I had fitted the corrugated iron, I placed a bracing piece in the centre of each sheet. This provides an anchor for the sheets and helps prevent the beds from swelling or bulging once the beds are full of gravel and water.
After I was happy that all was in its place, It was time to scrape back the dirt and smooth out the base of the beds.
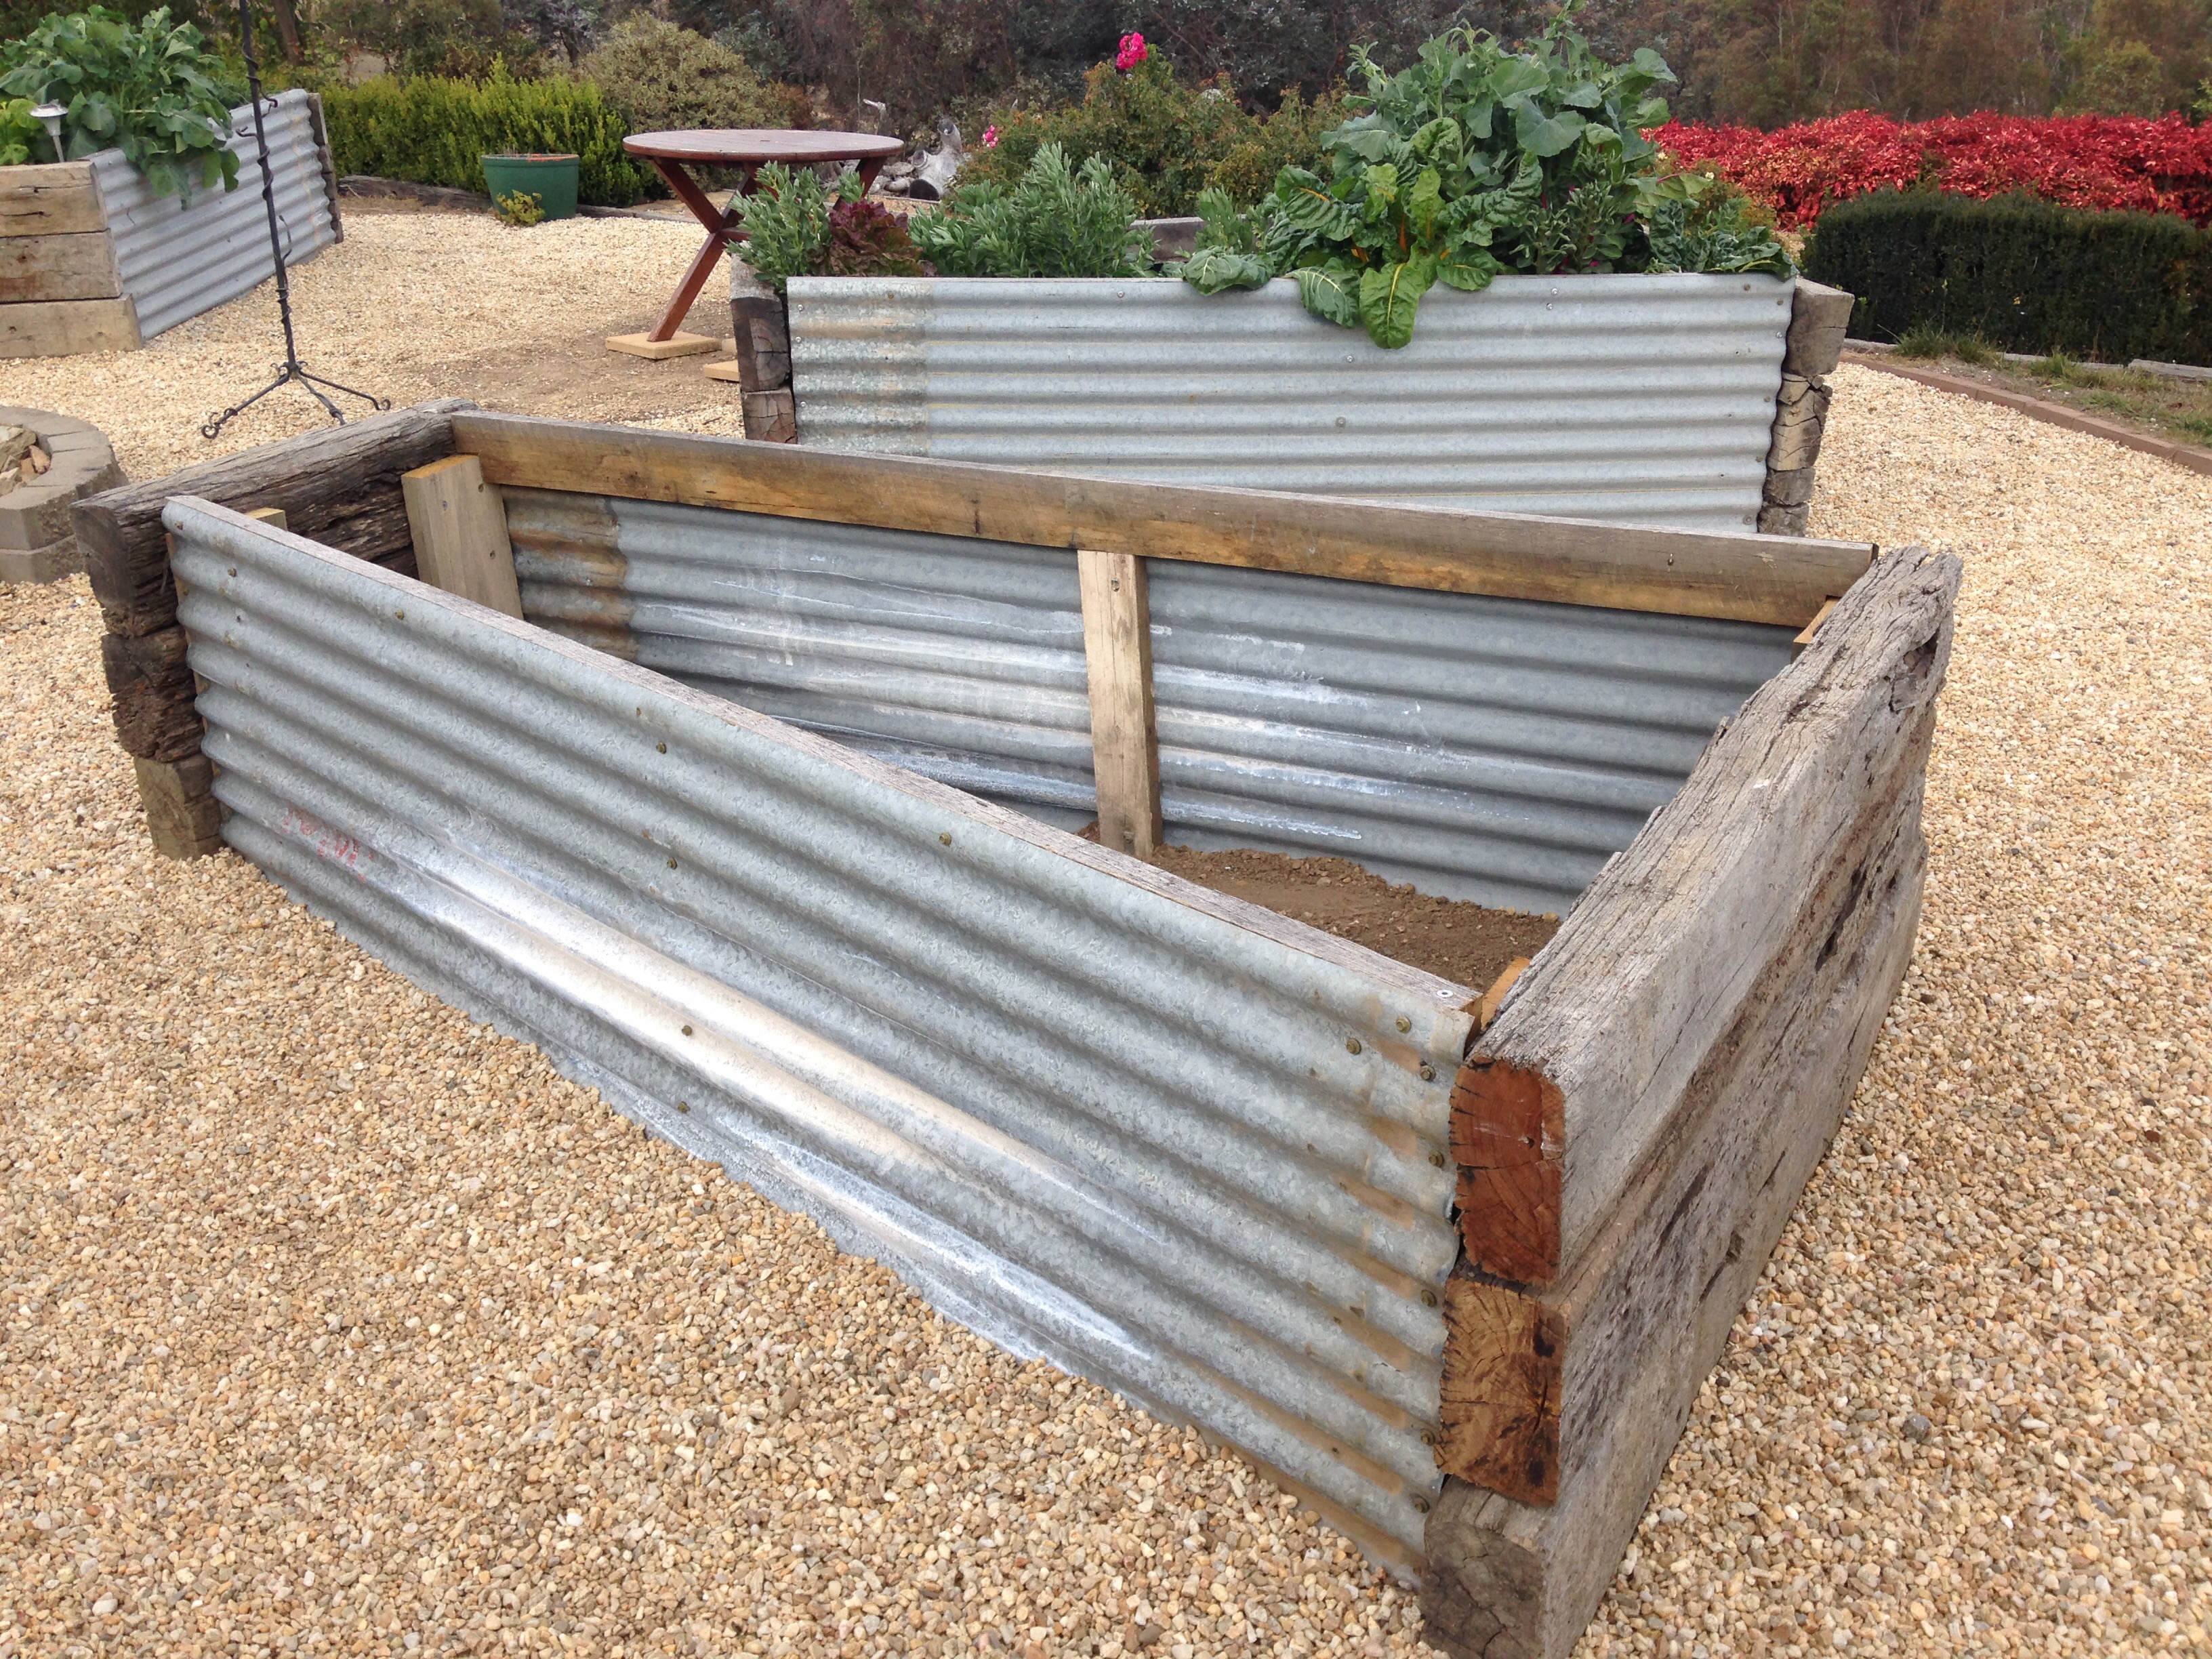
The bulk of the construction is complete. Now to line and fill the beds
At this time the main construction of the beds is complete. There is still a whole heap of work to go.
- The beds need to be lined with old carpet underlay / cardboard to protect the builders plastic.
- Then the beds need to be lined with builders plastic to make them watertight.
- A filling tube needs to be inserted to allow the beds to be watered from ‘underneath’
- Once the pipe-work is installed,the beds need to be filled with gravel to about 2/3rd depth
- A drain or overflow pipe needs to be fitted at this mark
- Shade cloth or weed mat is to be laid over the top of the gravel
- Then soil and compost fills the remainder of the beds.
These steps will be covered in Part 2 of this series.
The beautiful thing with these garden beds is that you can build these with just about any material. It takes a little imagination and work to bring your ideas to life. If you have wicking beds, please feel free to share photos of them with me at hamalochonline@gmail.com and I will post them for others to see here.

It cool as
hi, they look great, thanks for the post. What are the angle brackets screwed into for the middle supports?? It looks like you’ve put bugles into the dirt???