Lifting Heavy Things

My wonderful wife often describes me as ‘Not a smart man, but he can lift heavy things’… Be that as it may, I am finding that as I get older, and the eyesight more blurry, all the things I am asked to move also get heavier. I am sure this has something to do with the increase in gravitational force as we fill the world with more useless noise, or something like that. But it has become apparent that I needed a better way of lifting heavy things.

For the really heavy stuff, I have the tractor. Old Lucie with the front end loader has routinely lifted very heavy objects for me, and since I replaced the hydraulic bypass valve and filter, it is performing exceptionally well.

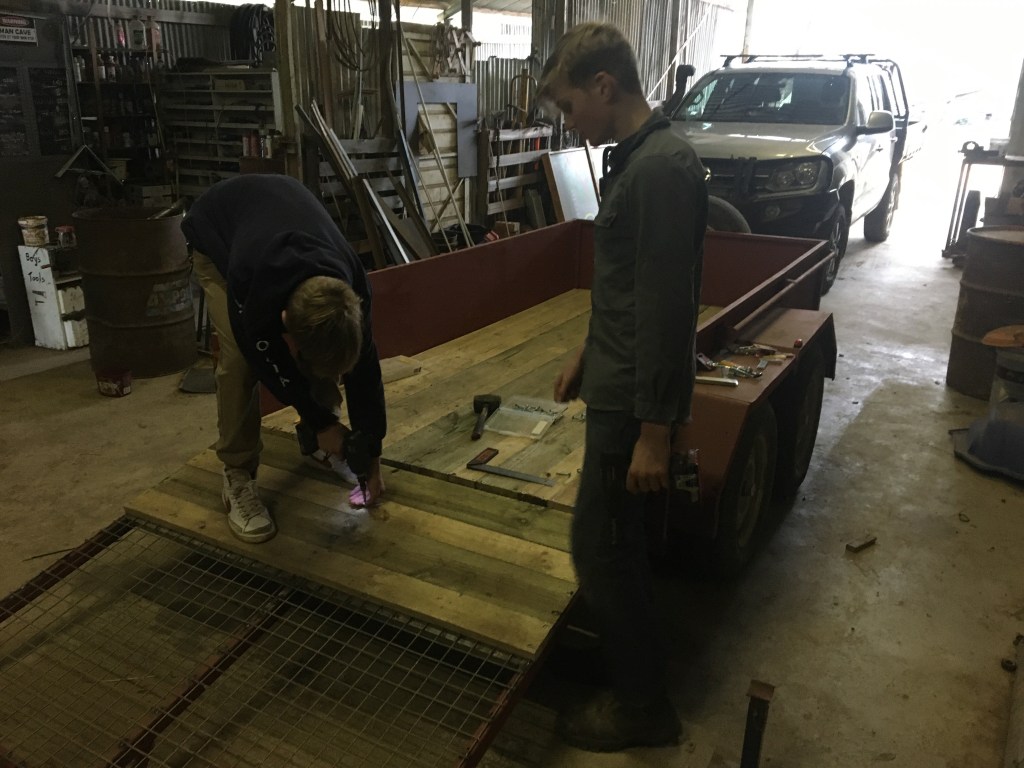
But then there is everything else. I have plenty of bits and pieces in the shed, that are getting heavier year by year. And so I decided to do something about it.

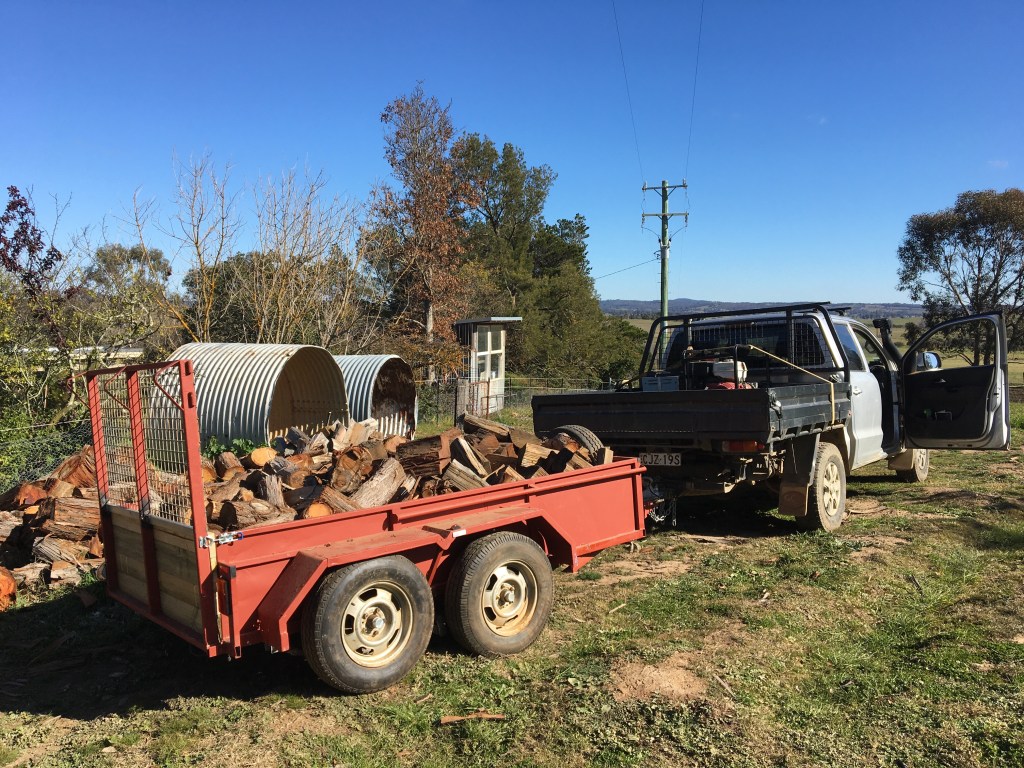
My concept was that I needed something to lift around 150kg from the ground into the back of the ute. I also wanted something simple and low maintenance, with as few moving parts as possible. I initially looked at electric hoists, but quickly decided against them.

I settled on a simple mechanical pulley design. I had some old climbing rope, and figured with a couple of new blocks (pulleys), I could rig up a system that would allow me to lift heavy items such as generators into the back of the ute.

After being horrified at the quality of the blocks at a certain hardware store, I decided that the best option would be to buy some blocks from a place that specialises in such things. A yacht chandlery.

I put in a call to an old friend Ian who owns Franklin Marine down in Tasmania. Ian has years of experience sailing, including working on some beautiful tall ships, and has a background farming. He knew exactly what I wanted and sent me up a box of goodies in no time.

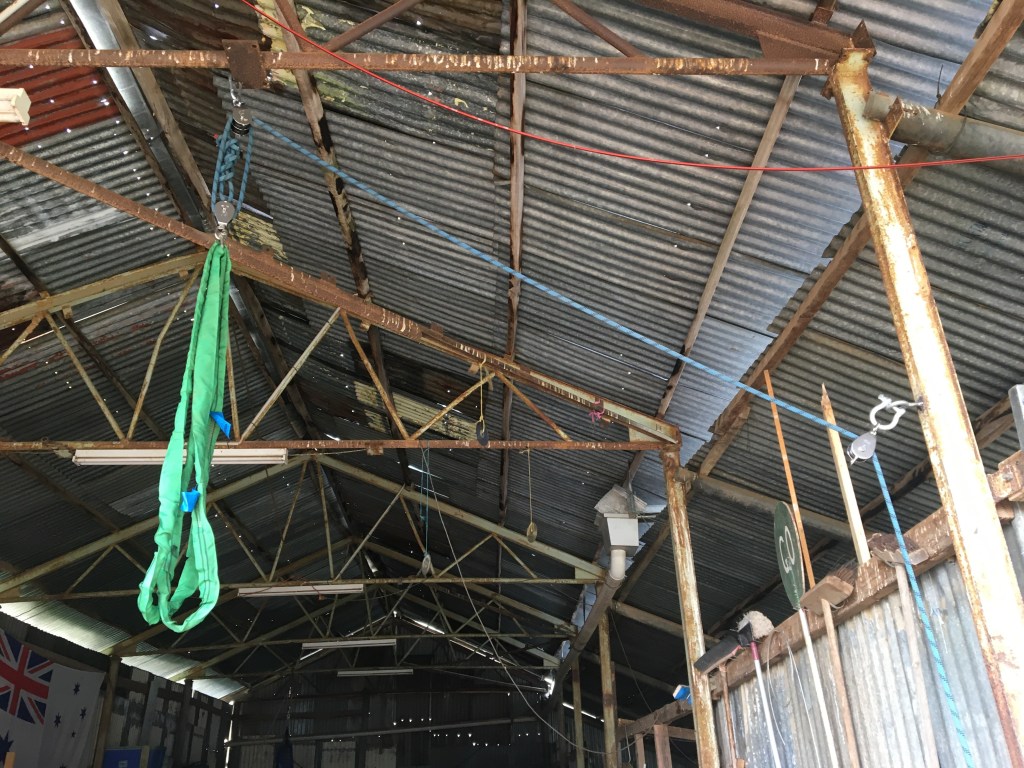
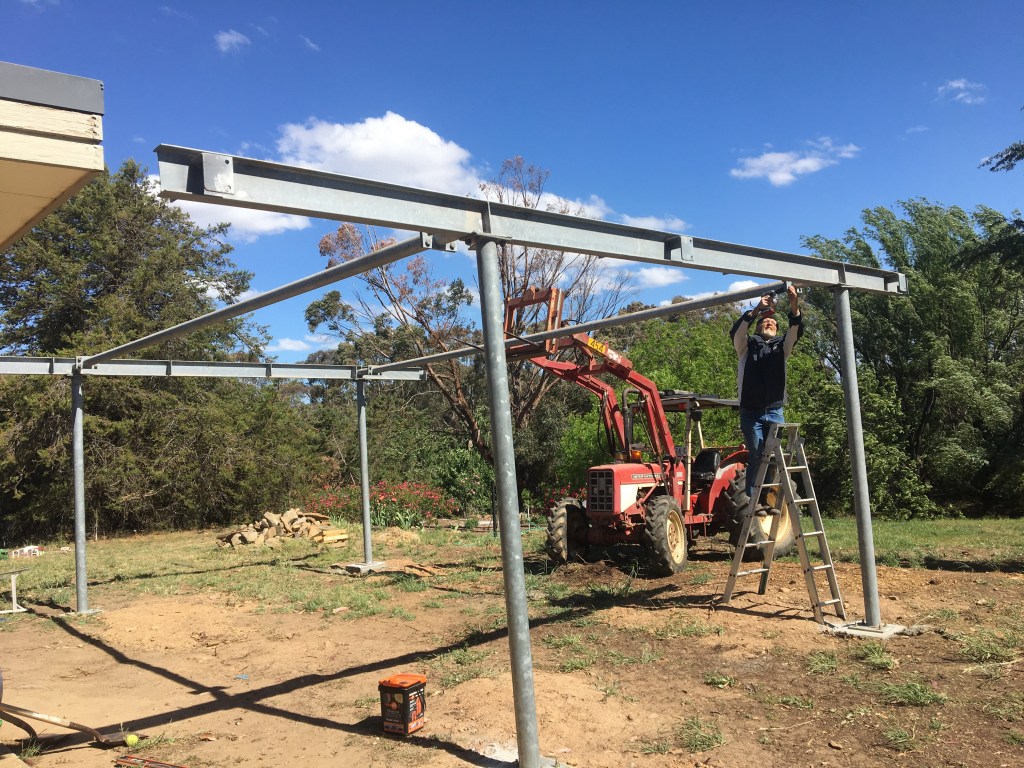
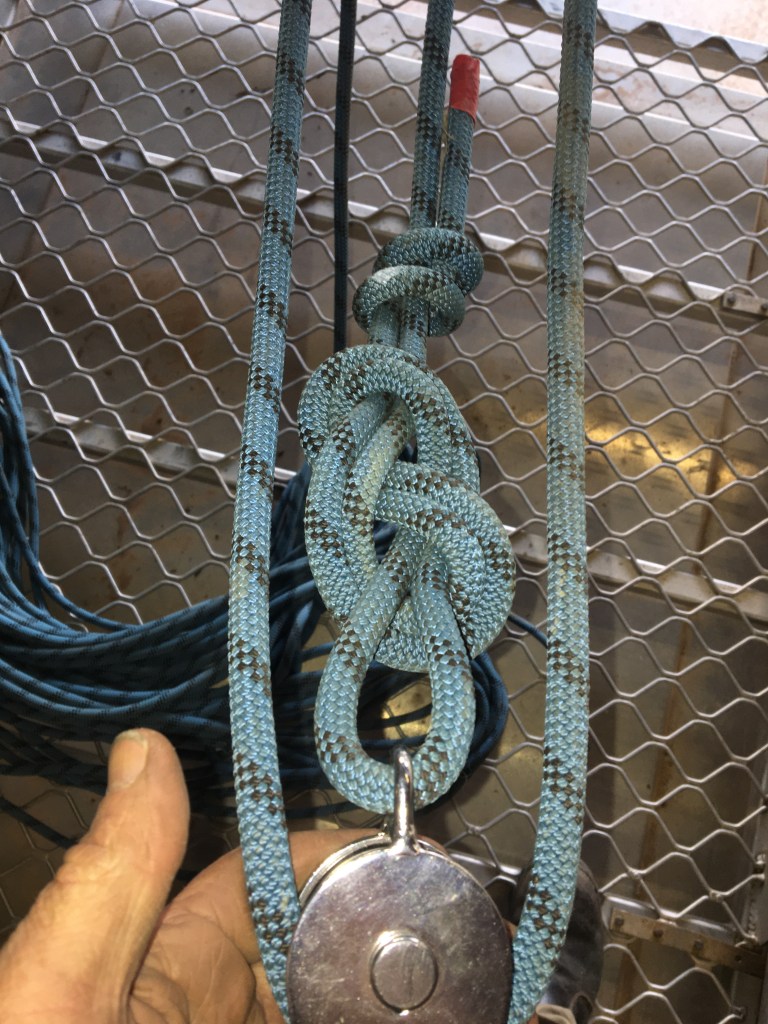
I had a great time running the line through the new blocks. Being stainless steel and designed for years of use in the harsh salt air, the blocks are excellent quality. With a becket on the single block, I was able to anchor the load line, effectively increasing my mechanical advantage. I welded a couple of gate hinges to the shed frame to form a cleat, and used an extra block to redirect the line. It was soon time to load test the new lifting hoist.

The becket allows the line to be anchored on the block with a ‘figure eight on a bight’

I asked the boys the million dollar question. If their combined weight is 120kg, how much effort do I need to put into pulling them skyward? The answers were wild and without reason.

From my memory, you simply add up the number of lines doing the work (not counting the line you are pulling). By counting three lines under load between the blocks, I should pull 3 metres of line to make the load move 1 metre. And if they weigh 120kg, then I will need to pull around 40kg to lift them up. Of course there is friction to take into consideration, and stretch of the line, which I usually add around 10% to, giving me a 44kg pull. The engineers in the family will be horrified by my rough assumptions, but I figure it is near enough for something you can work out at a glance.

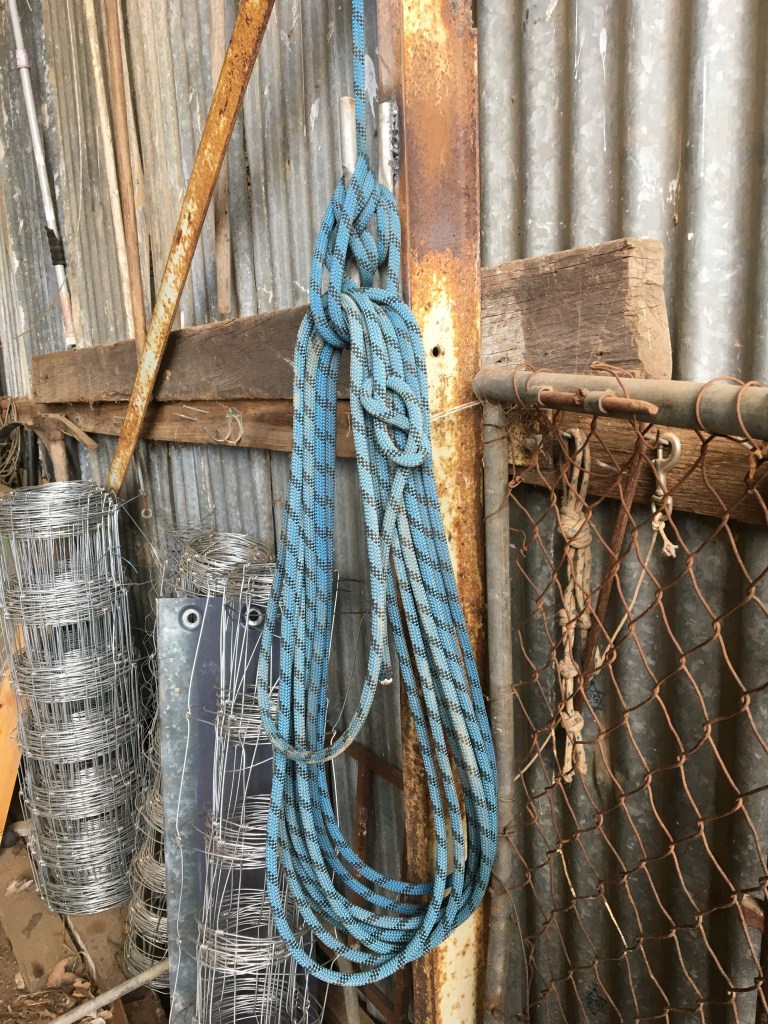
If you’re interested in the load ratings.

  • 2000kg – the 13mm kernmatle line
  • 2000kg – the green strops
  • 2000kg – the quality sailing blocks
  • 450kg – the Mallion mounting the block to the rafters
  • ?????? – the rafters!

Good job I figure the best I could lift is only a fraction of the system’s design – it would be a little embarrassing to pull the shed roof down on me!!

Special thanks to Ian at Franklin Marine for all his help and excellent products. You can find his details on their webpage here: Franklin Marine

Advertisement

Pushing Water Up Hill

My last post was regarding some of the challenges I face on the Rock Farm. Mostly I love problem solving, however, every now and then it can feel a bit much. I’m lucky in that these feelings don’t last too long. Whether it’s kids or animals, there are so many wonderful opportunities to pick you up.

The belt on the lawnmower was easily replaced (once I selected the right one). The refrigerator was at the repair shop and beyond my control. I was confident I had fixed the car , even though it hadn’t been on a test drive further than the local post office, and the water pump was still not fixed.

So we did the best thing in the circumstances and disappeared for a few days of the school holidays. Nothing like bundling the family up in the as-yet-unproven car for a five hour drive to the coast to catch up with sun, warmth and family. Thankfully the car performed faultlessly. We were lucky the COVID-19 situation was stable enough for us to enjoy a couple of days in the school holidays catching up with the cousins.

Returning home and the white-good repair shop claimed the fridge was working perfectly with no sign of fault. The only thing remaing outstanding was the pump.

That pump…

Parts for the pump arrived in our absence, so I set to work the next morning, following the troubleshooting sequence from the owner’s manual. It took a while to figure out how to pull the old impeller out (it looked fine). I replaced the bearings and seals and put it all back together. It seemed to make all the right noises – but I still had the same problem – the pump couldn’t raise enough head (pressure) to reach the house.

The water jet passes through the venturi to help the pump draw water from a deep well (or low dam). It was slimy and cold. Oh so cold.

Next item to check from the owners manual was the the water jet at the intake. We pulled in the intake again, pulled it all apart and found a tiny stone wedged in the venturi. Ah ha, I thought and put it all back together – but the pump was still not pushing water up to the house.

That little stone was wedged in the venturi part of the jet… I had hoped this would fix the pump…

I pulled the pump apart again. Pulled the intake apart again. Had to bring down the old falcon ute with the tank to re-prime the line. I was out of ideas, cold, wet and hangry. It was time to take a break.

I can’t believe I am doing this again….

Around this time, the boy’s asked Mum to come and film them taking leaps on their newly constructed mountain bike track in the garden. And it was then Jo heard running water…

They’re crazy – and our garden looks like a disaster zone, but they’re having a blast. And they inadvertently led to a great discovery!

In a forgotten corner of the garden at the end of a spur line we found the leak. The pipe end plug fitting had come away, and the water was pouring down a natural drain, into the garden dam and then cycling back into the big dam…. I might have said EUREKA!!! But I think the actual record would reflect some other word with two less letters.

We set the pump running, celebrated the fact our toilets flushed, and moved the cattle back into their paddock to re-commence our cell grazing experiment. The good news is that through this process we seem to have fixed several minor problems. It used to take a couple of days to fill the header tank, but by the following morning the tank was full. The float valve in the tank at last seems to be working properly and at this particular moment in time, everything seems to be in order. I am sure this moment will pass quickly, but for now, it was a chance to breathe a sigh of relief and focus on the next project…. lifting heavy things.

Little Helper’s Holiday Project Part Five and Final!

At last the boy’s part of this project has been completed. I have insisted that I will only pay them for the trailer once their paperwork is submitted… this blog being their final requirement. To say I am super proud of them is an understatement. This is their words.

It’s time to get paid!  After a long pause on the project due to school assignments and assessments, we have finally got around to finishing the trailer!  Despite the fear of been charged rent by Dad, we didn’t do much work on the trailer.  Well that is not entirely true, we finished riveting on the sides and then re-painted every surface in sight.

Five weeks after the end of the holidays, losing a significant portion of our potential earnings to Dad’s rent, we got around to the wiring.  On one wet weekend, we put the wiring through the underside of the trailer, connected up the brakes, side lights, rear lights and number plate light to the plug.  Which in turn meant that we could now connect the trailer to the car.

We were all very excited. Dad drove the car into the shed and plugged in the trailer.  Voila!  The side lights and tail lights instantly came on, when Dad turned on the headlights! Dad put the blinkers on, and one after another they worked.  The last thing we needed to do was check that the brakes worked.  Since they are electric, to check if they work, you put your ear close to the wheel and as someone steps on the brake pedal, you should hear the magnet ‘clang’ onto the brakes.  The little Helper and I sat down and listened carefully as Dad stomped on the brakes… and nothing. Not one sound.

What was going on? We were pretty certain that we had wired them correctly, and we could not think of anything else.  My brother and I stood there out of ideas staring numbly at what was turning out to be a disaster. Then Dad sheepishly called out for us to listen again.  Humouring Dad, we did as he said.  “Clunk”. What was that ….. the brake magnet?  Surely not?  As it turns out, the brakes had worked all along, but SOMEBODY had disconnected the electric brake controller in the car.

With the wiring in order, it was time to start on the floor.  The floor was relatively straight forward. All we had to do was cut the timber boards to size and then use clamps to push them hard up against the edge. We pre-drilled holes in the timber for the self tapping bugle head screws. We used Dad’s impact driver to drill the screws into the steel chassis. Then we removed the clamps, got the next piece of timber and repeated.  Simple.

Once the floor was in place, Dad was eager to test out the capabilities of the trailer. He took the opportunity to fill the trailer with tonnes of lovely firewood… twice.  

The trailer turned out to be a big success, but there were still two problems.  The first problem was getting the trailer registered.  Since this is the first time that we are registering this trailer, it needs a blue slip.  Normally this is a simple process but as this is an old trailer manufactured before 1989 we have no paperwork for it. We could not find a chassis number anywhere, so it needs the RTA to issue a VIN. We are not sure whether the RTA will agree to issue us a chassis number at all!

The second problem was with the front wheels of the trailer. They wobble.  This is a very big issue as it means that the bearings overheat. If you want to know why Dad is so sensitive to bearings overheating, take a look at this blog post from our 2014 trip around the country.  After taking the wheels off multiple times, we have concluded that the problem may be with the backing plates for the brake hubs. The trailer’s original backing plates did not fit our new electric brake ones so we had to replace them. We might not have got the new plates on square, which would explain the wobble… Or it could just be down to the very cheap brakes that we bought.  (The brake pads are already showing signs of wear that should not be on brakes that are only hours old.)

Despite the wobble, Dad and I took the trailer to our local weighbridge.  If you are registering a trailer for the first time, it is mandatory that you have a weighbridge certificate.  The weighing was a success with the total weight of the trailer coming out at 460kg.

With the weighbridge certificate in hand, we then drove to a Mechanic who will see if he can sort out the issue with the front axle, and issue a Blue Slip, ultimately allowing us to register the trailer.  Currently, the only thing standing between us and getting paid is this blog.  So with the completion of this sentence, I might just be able to get enough money to buy myself a new mountain bike 😊.

I am extremely proud of their efforts and the skills they have learnt or being exposed to during this little project. If nothing else, it has taught them that these things often take longer than you think. Regardless of the RTA’s decision, I am sure this trailer will be an extremely useful addition to the Rock Farm!