Things have been a bit hot and dry on the Rock Farm over January. The fire danger has hovered between High and Severe, with the local Rural Fire Service (RFS) Captain asking all properties to ensure they are prepared. A fire down the road threatened the village of Sutton, and a home was lost near Tarago. Our favourite app on the smart phone over January was the excellent “Fires Near Me” app put out by the RFS (http://www.rfs.nsw.gov.au/fire-information/fires-near-me). If you haven’t got it, get it.
With everything so parched, it was a wonderful change to hear the pitter patter of rain on the roof top yesterday morning. And not just a summer thunderstorm, but the steady sound of gentle rain… all 26mm of it over the course of the day. It might not do huge amount for our grass – as most of it is dormant over summer, it does top up the dams, and will help our trees get going.

And whilst not everyone was impressed with the rain – it was a good chance to get a few wet weather jobs down around the place.

One of the most critical jobs was to clear the tank strainers. These often get blocked by leaves – particularly with the first rain after a break. There is nothing more depressing than seeing precious rain water pouring anywhere but your tank due to blocked strainers.

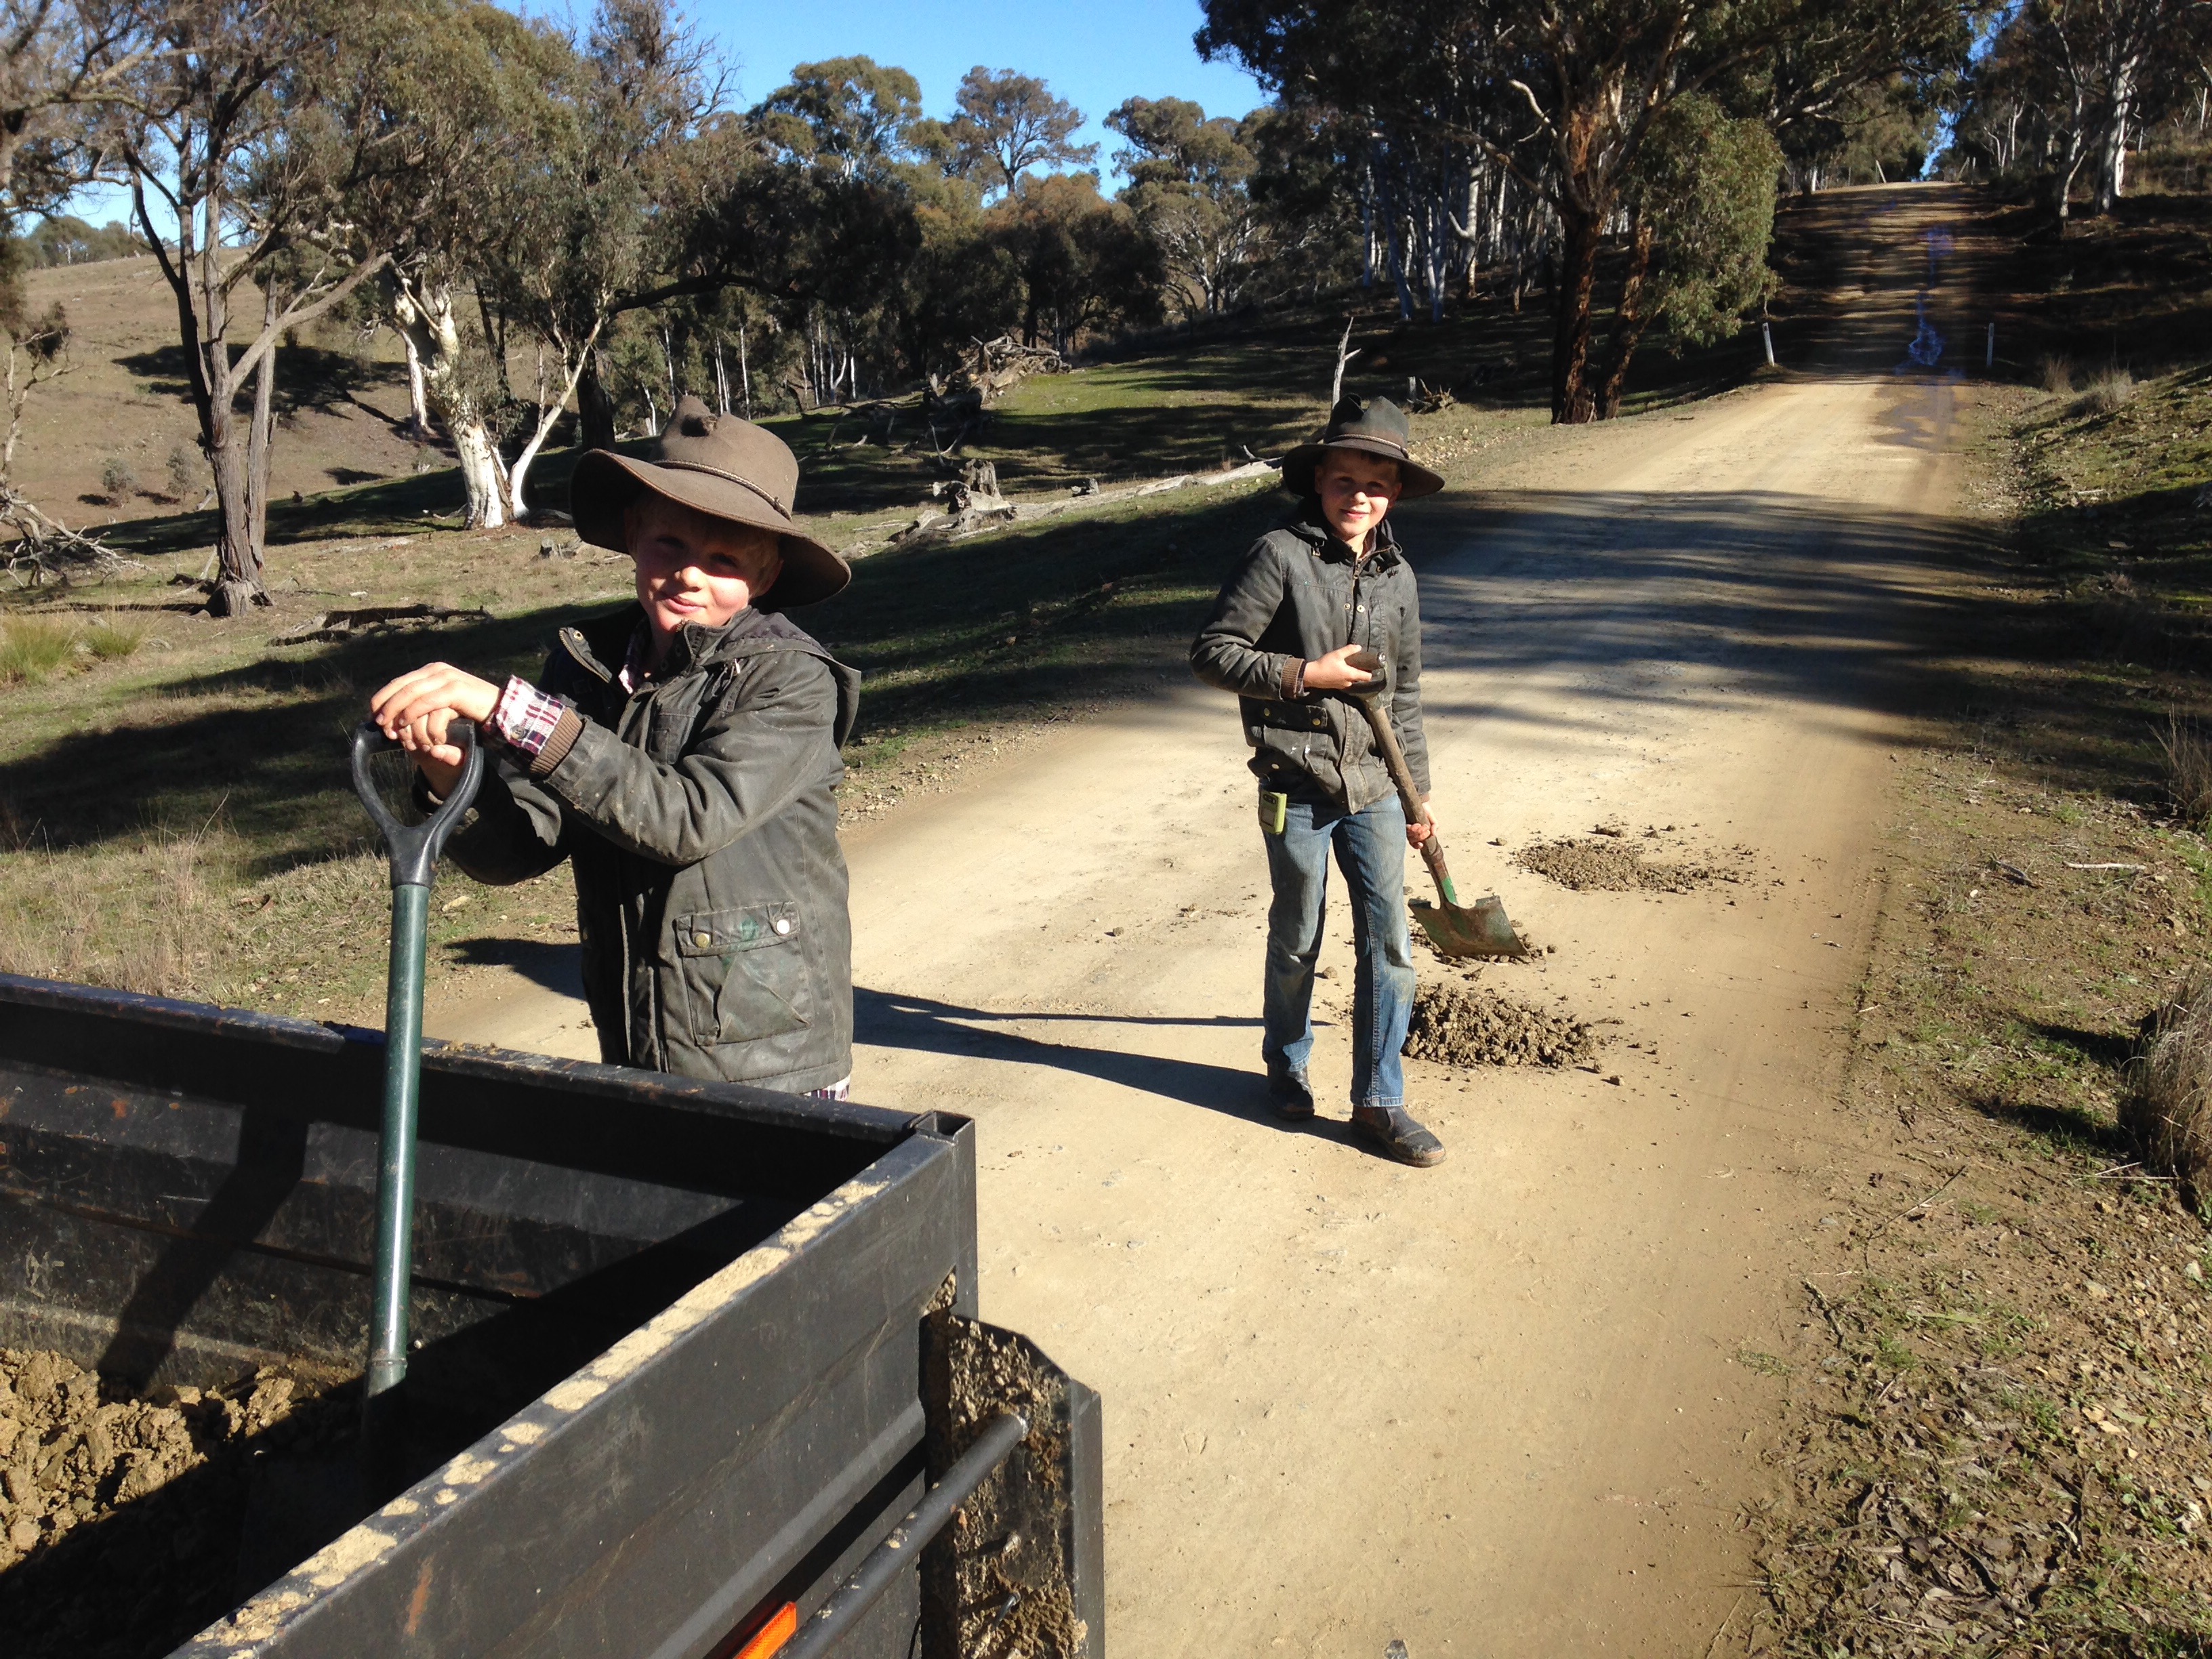
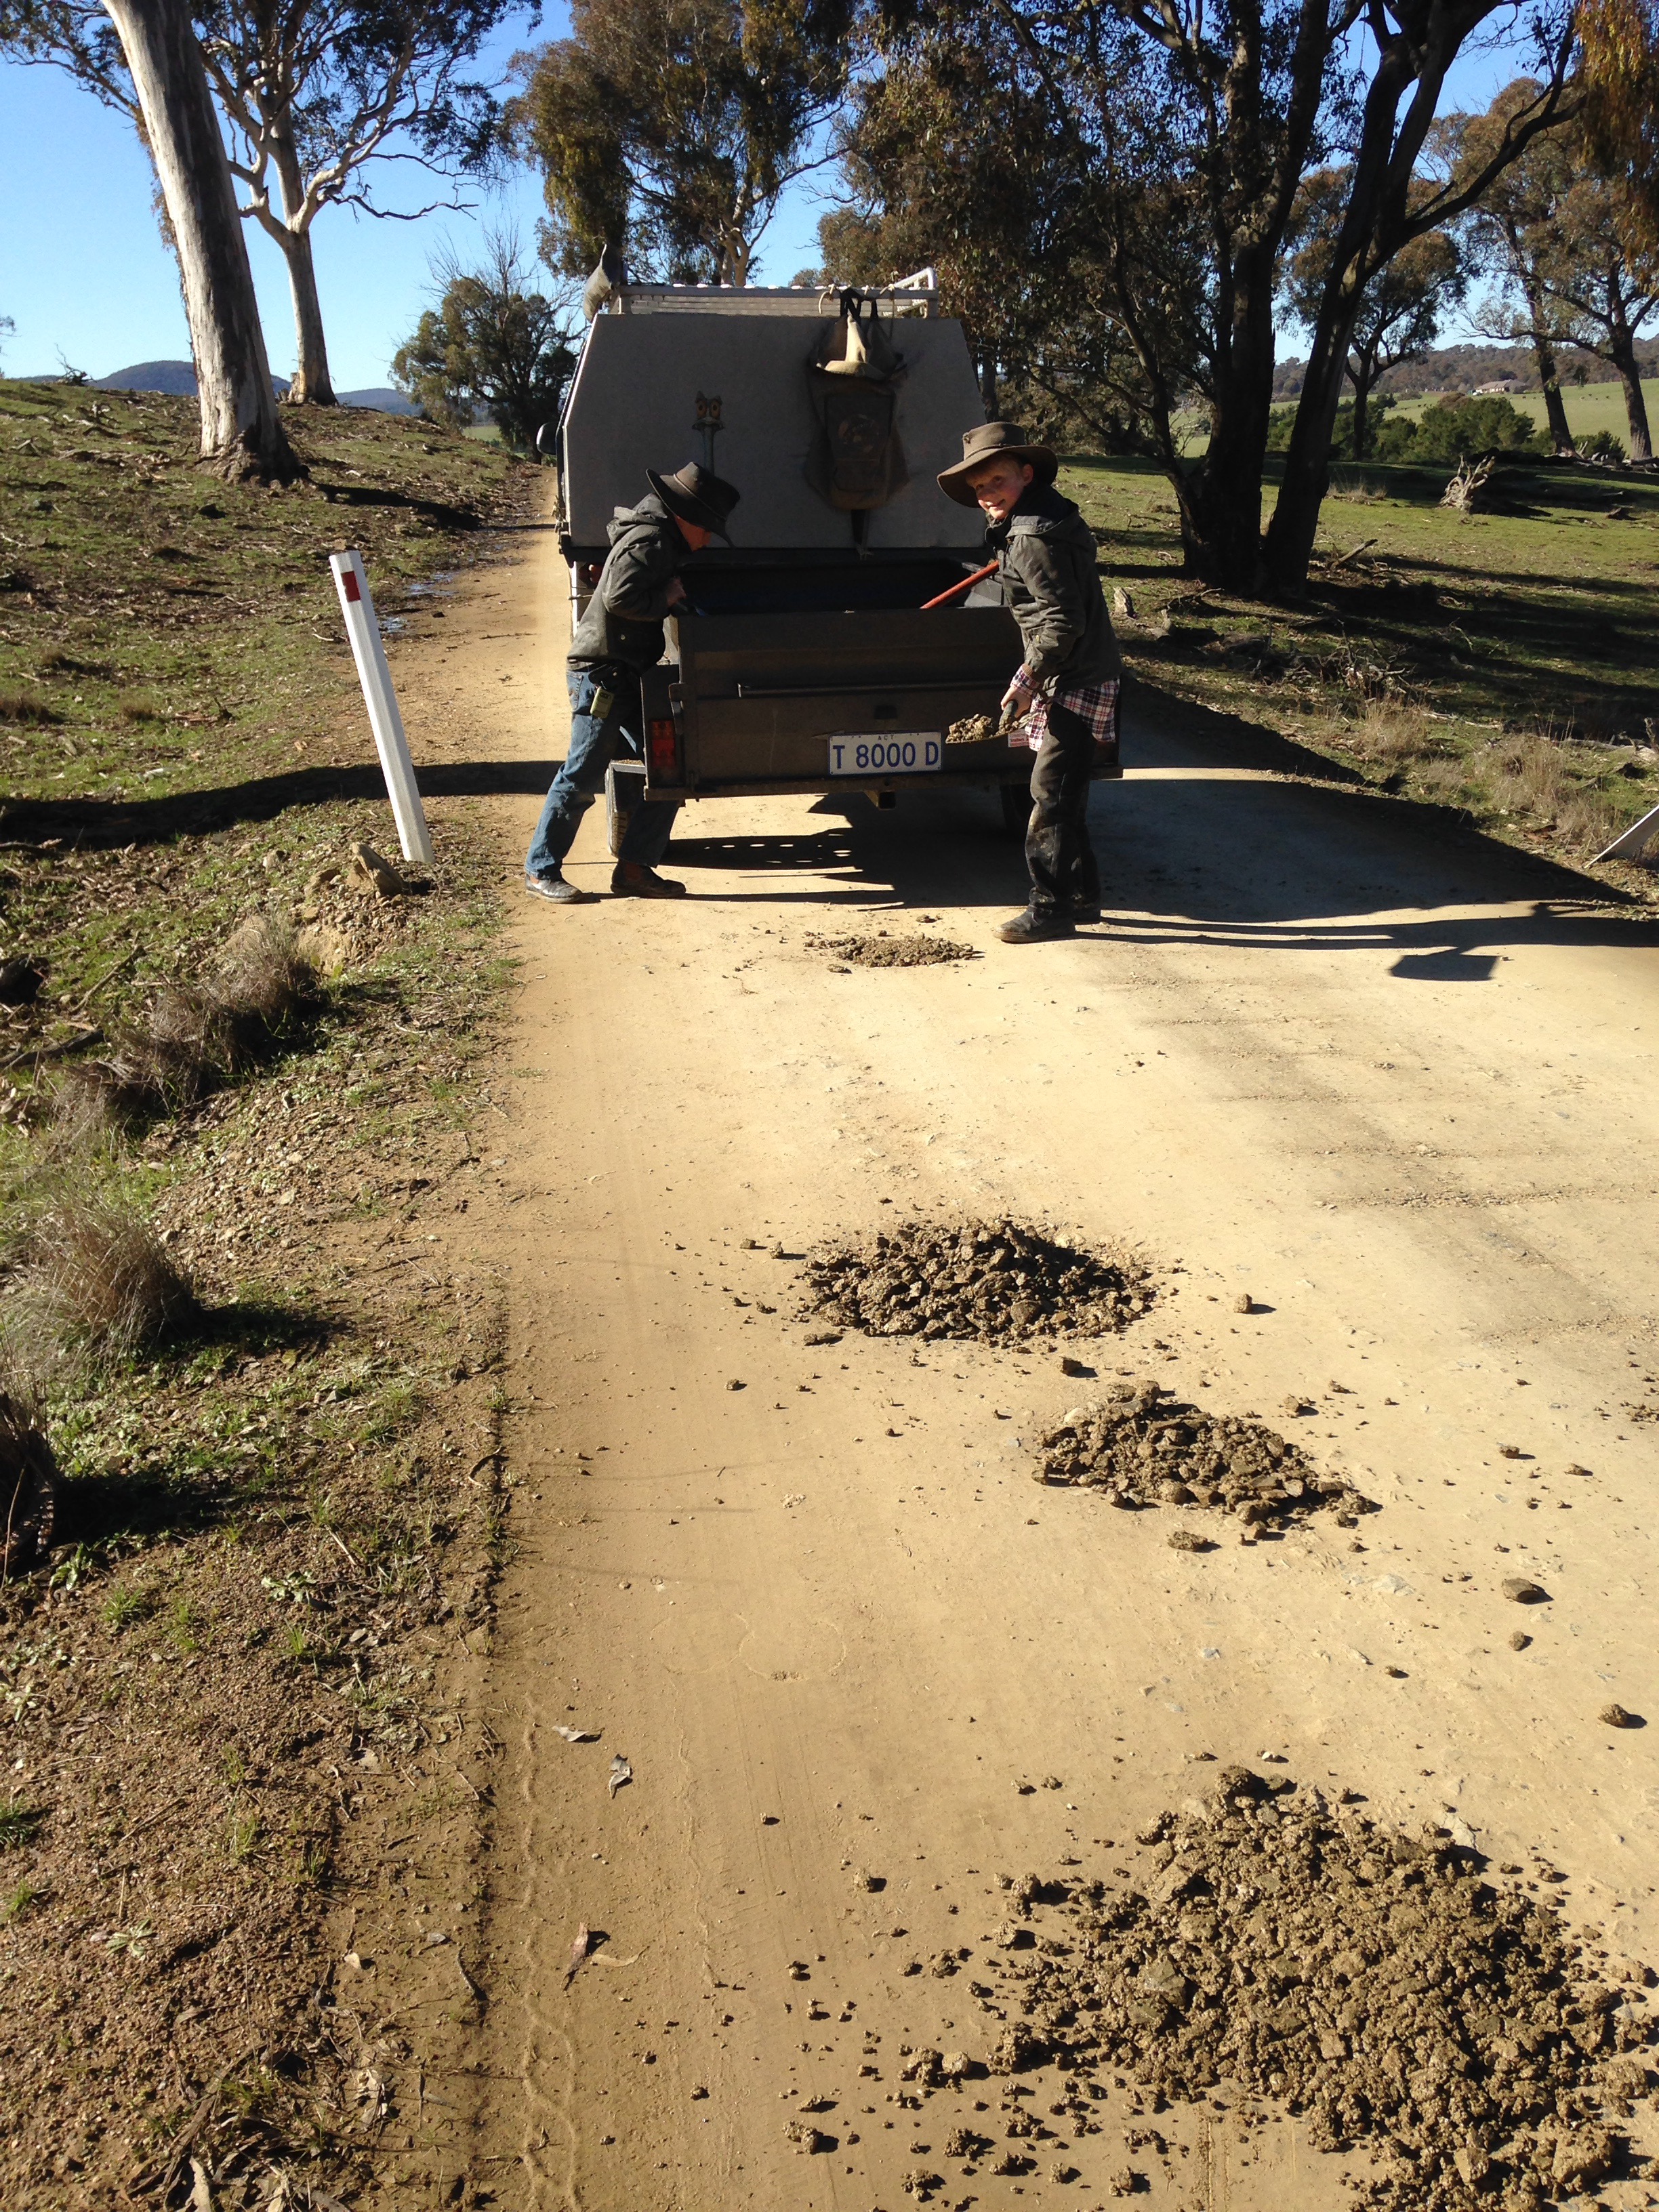
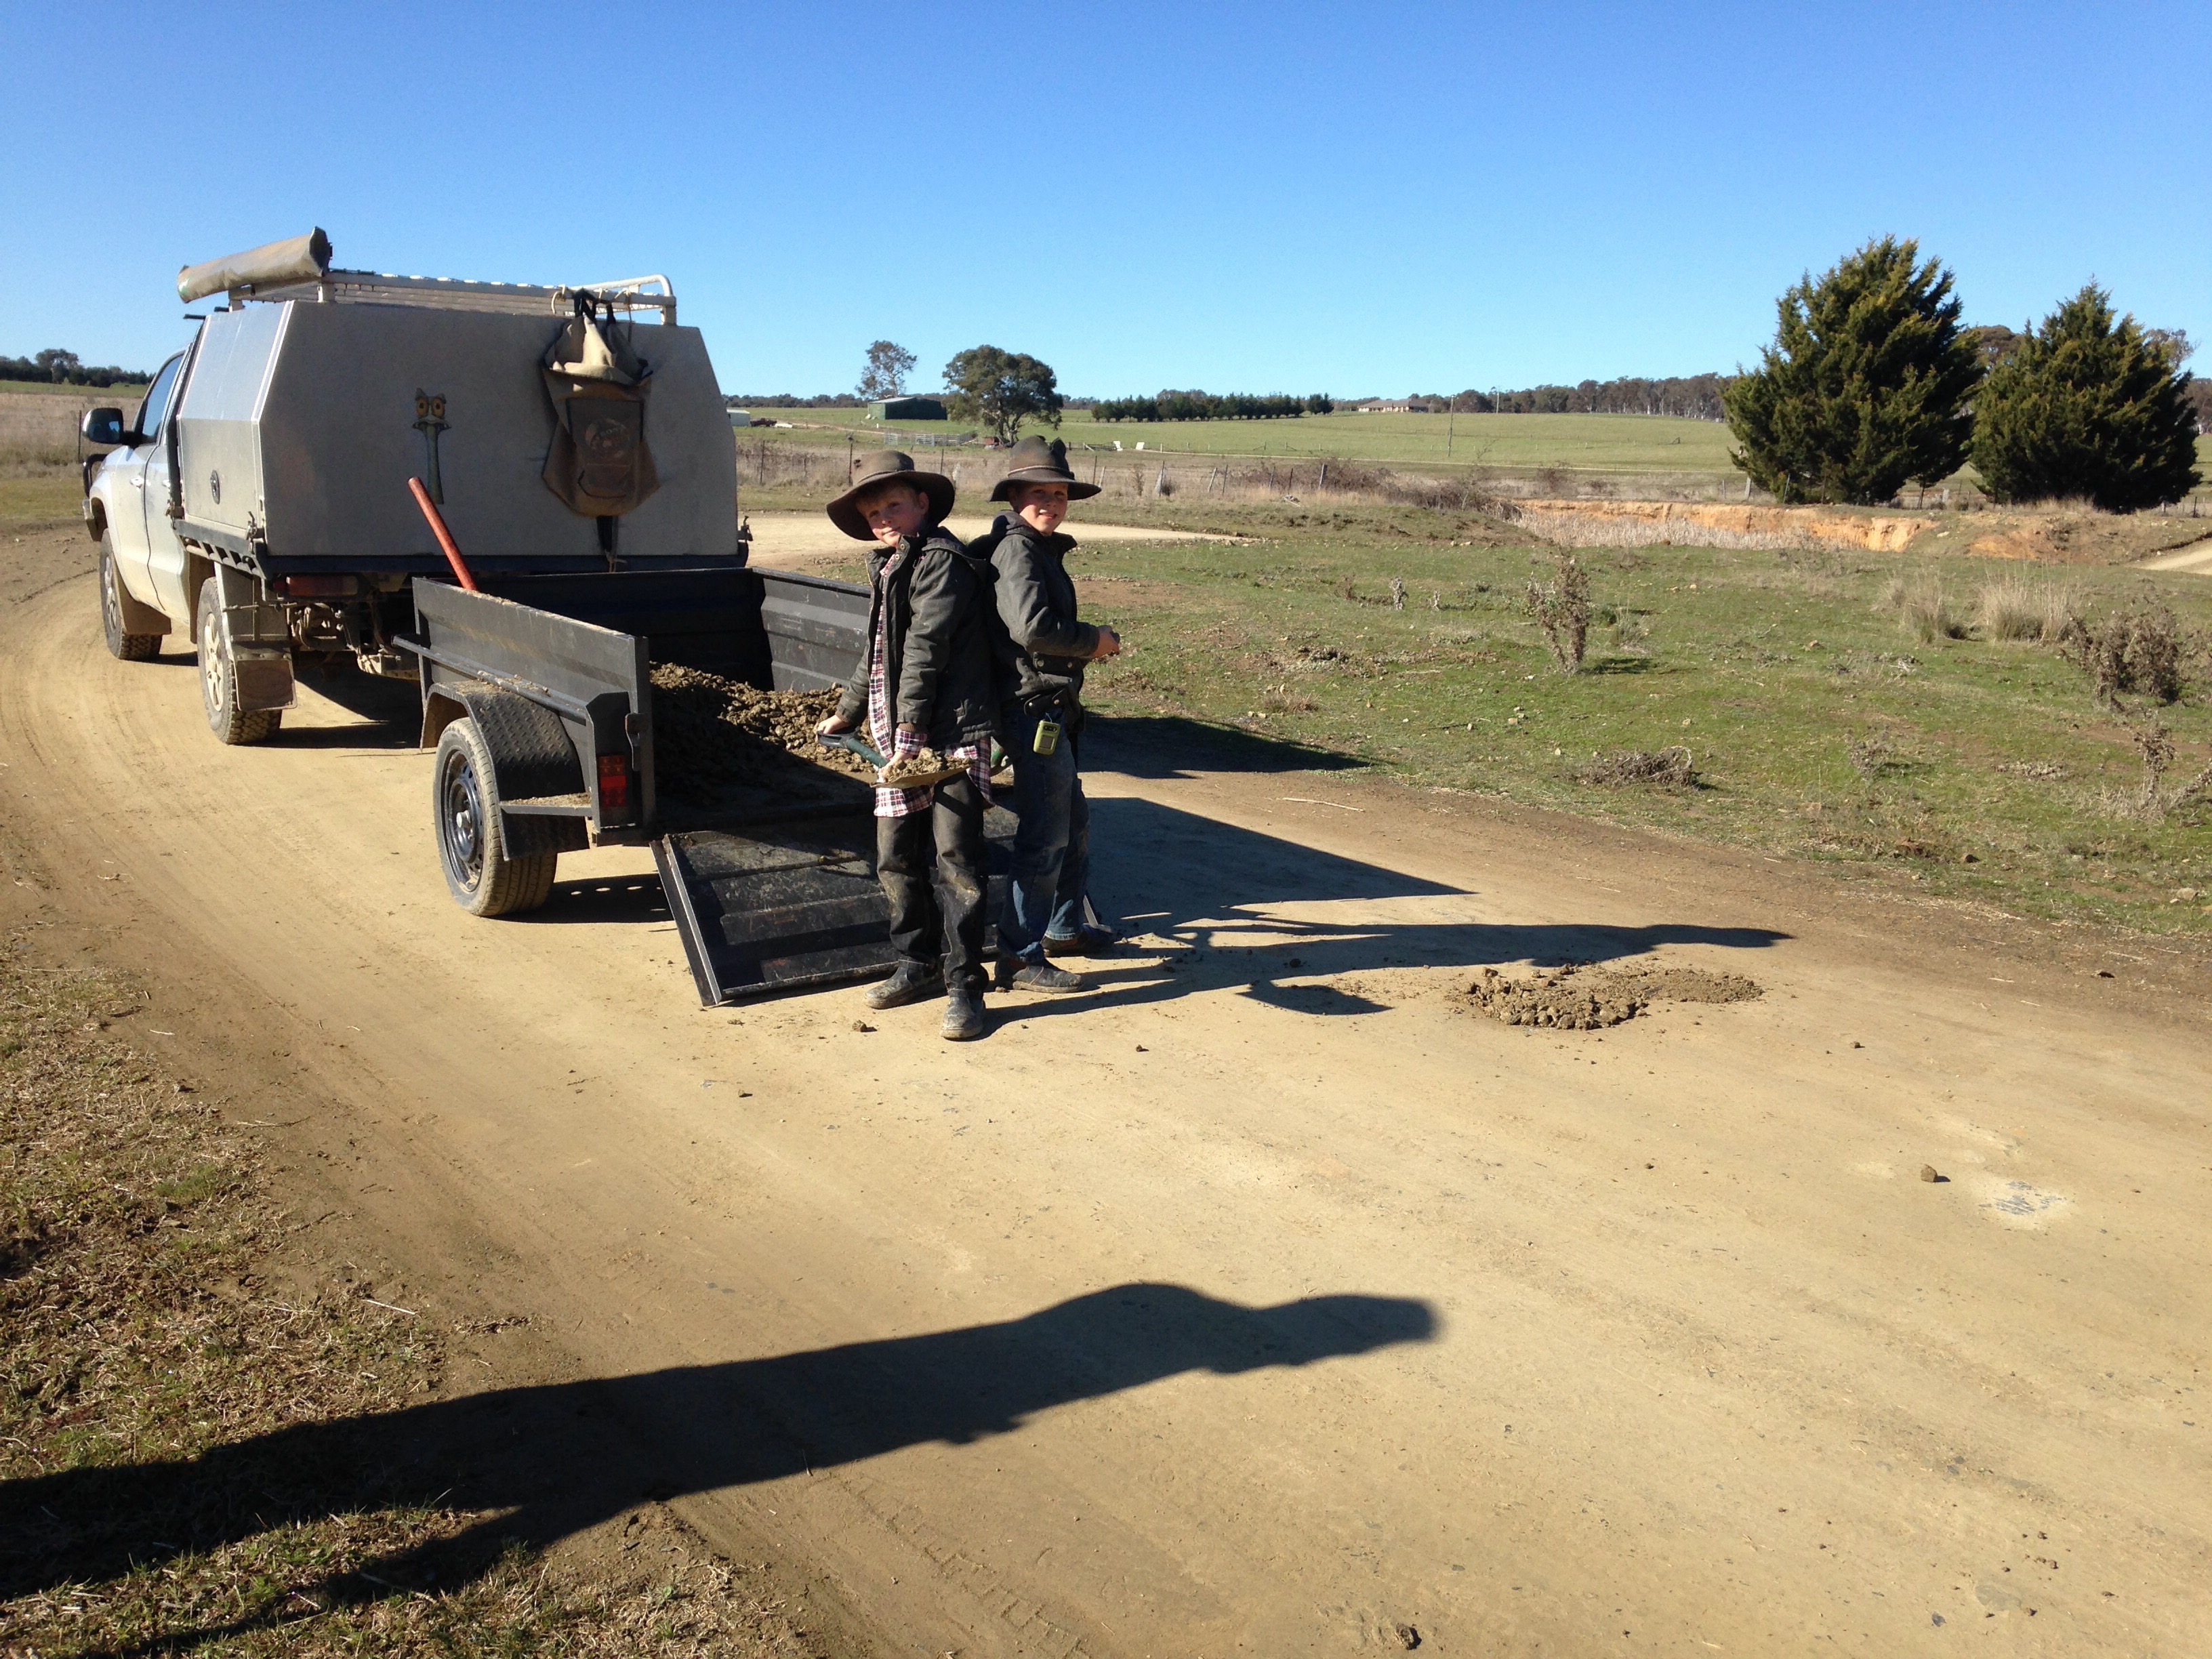
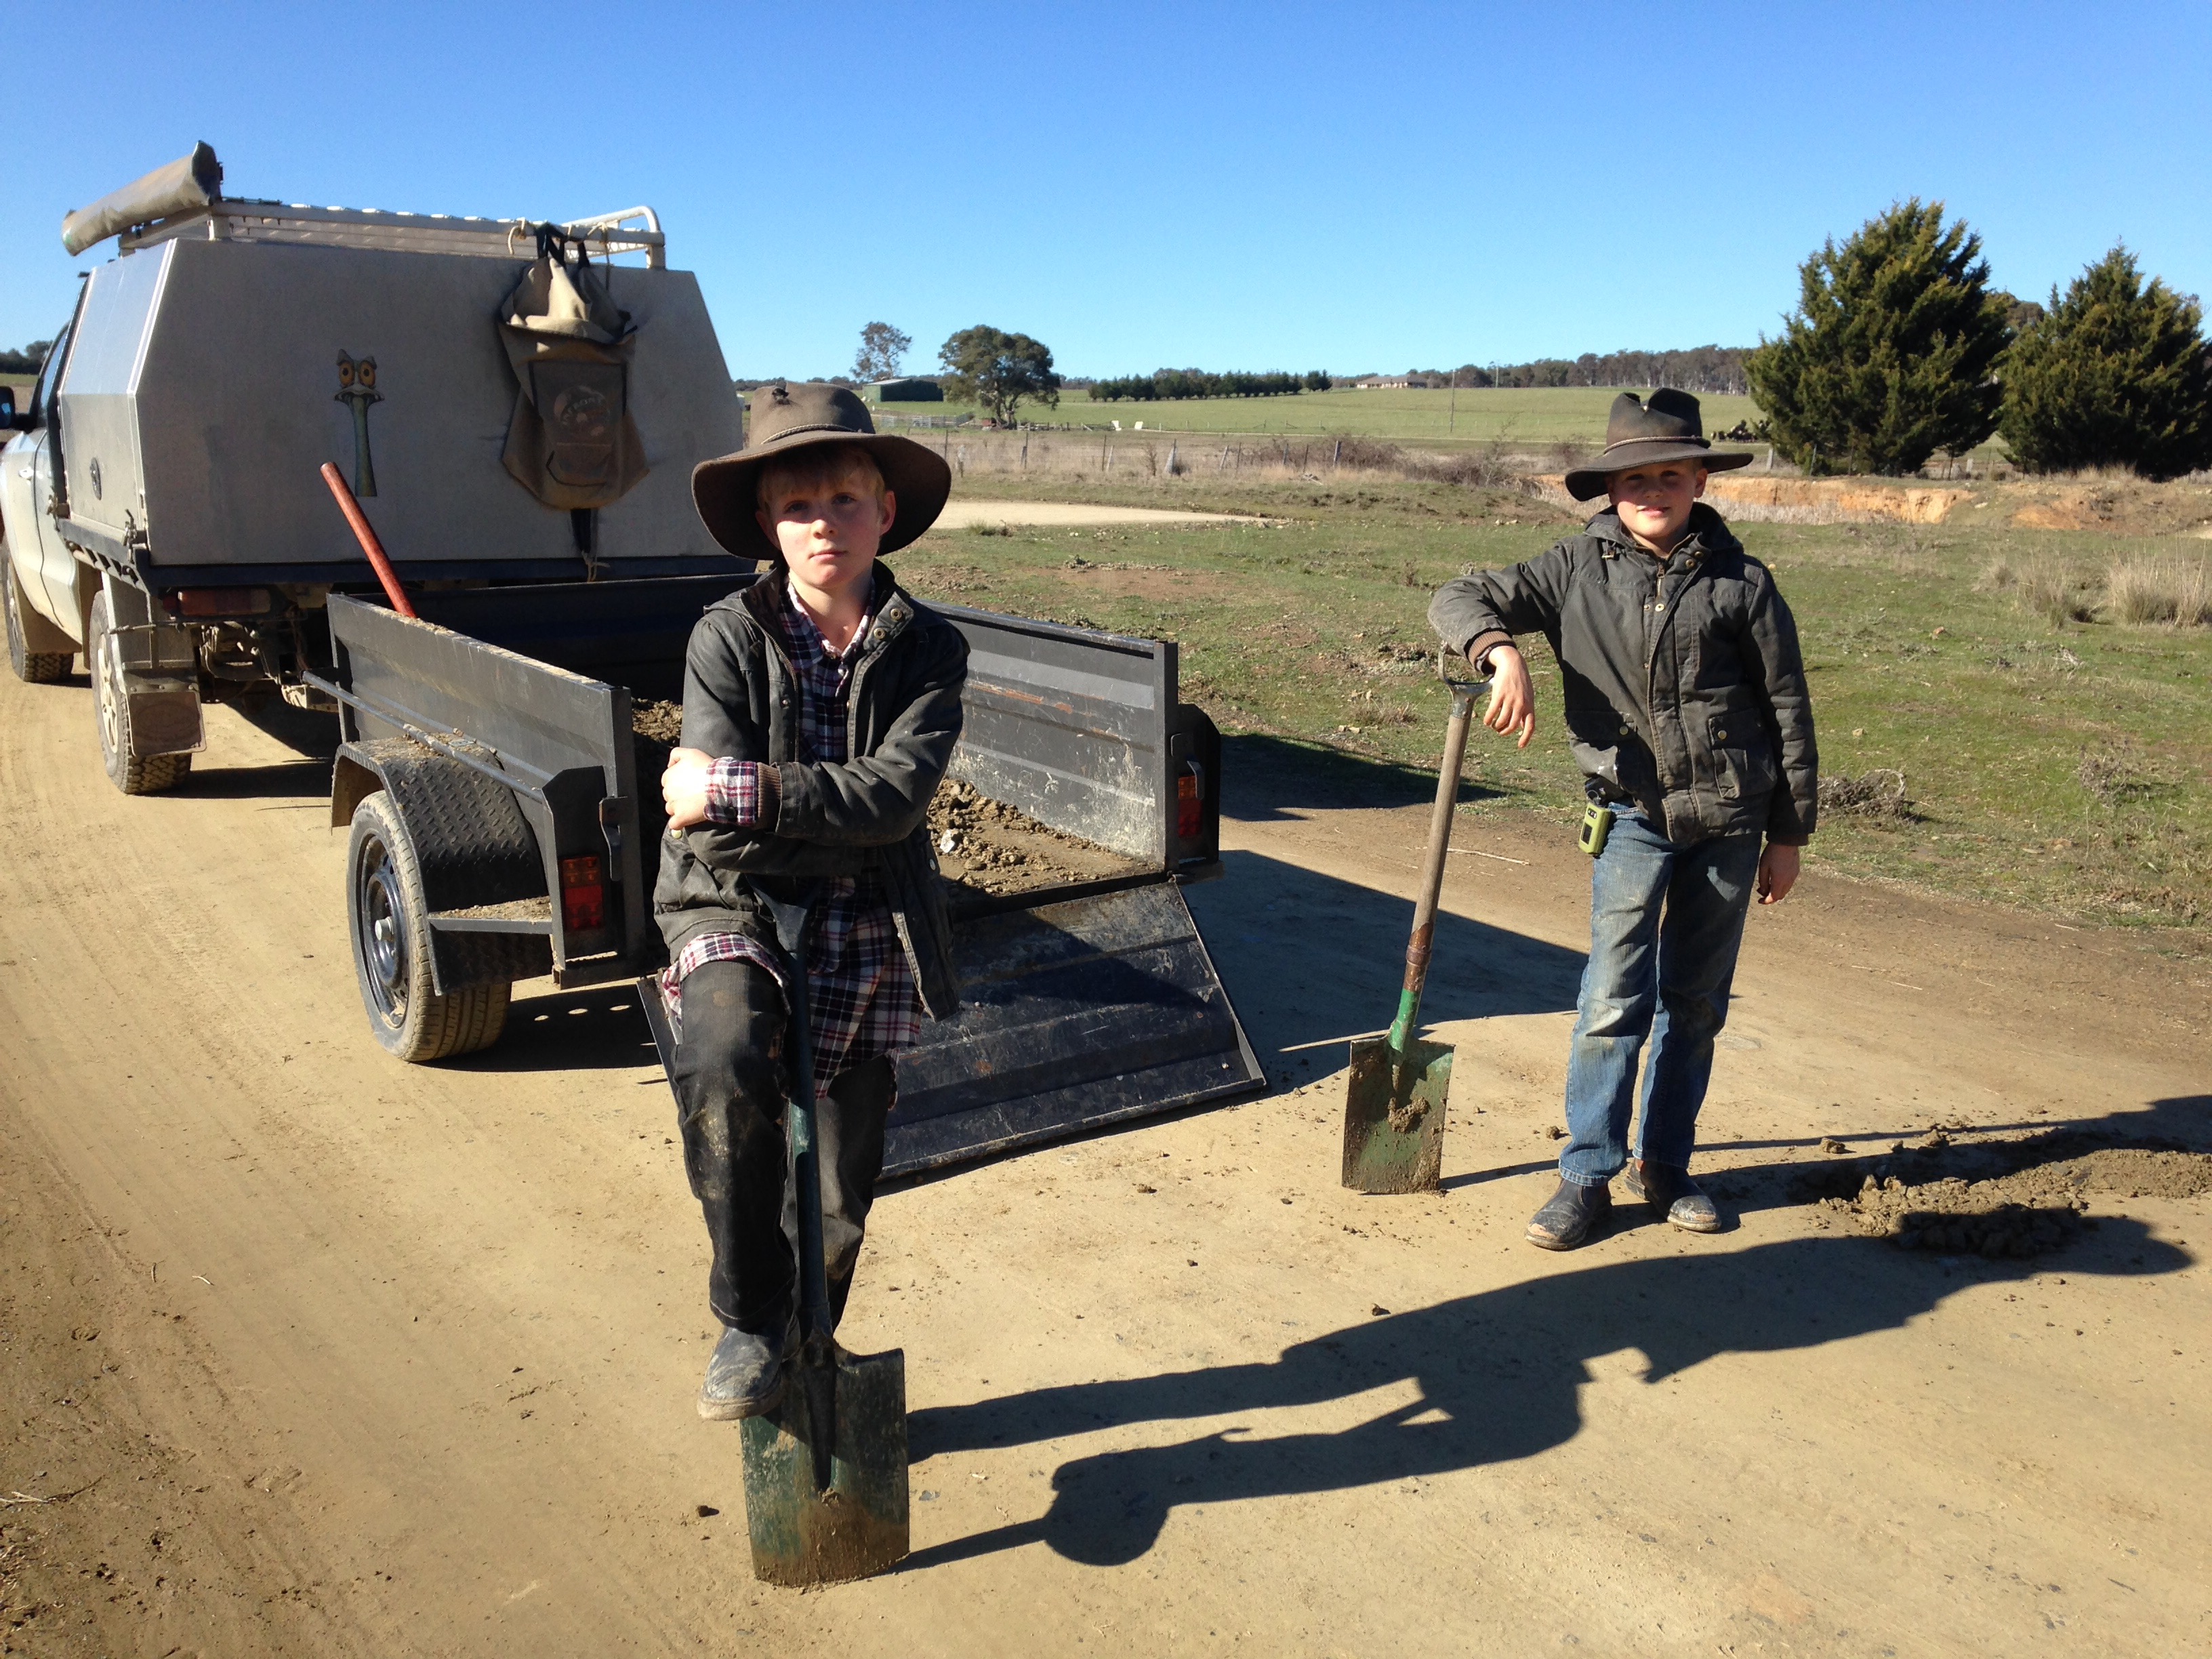
It was also a good chance to check the driveway. Over time, most drive ways like ours will form ruts. These ruts become natural water courses, with water following the ruts, making them deeper. I had tried to create a little mound to encourage the water off the road into the drain during dryer times. When I checked it out in the rain, one side was working effectively. The other wasn’t – requiring a little earthworks to put right!
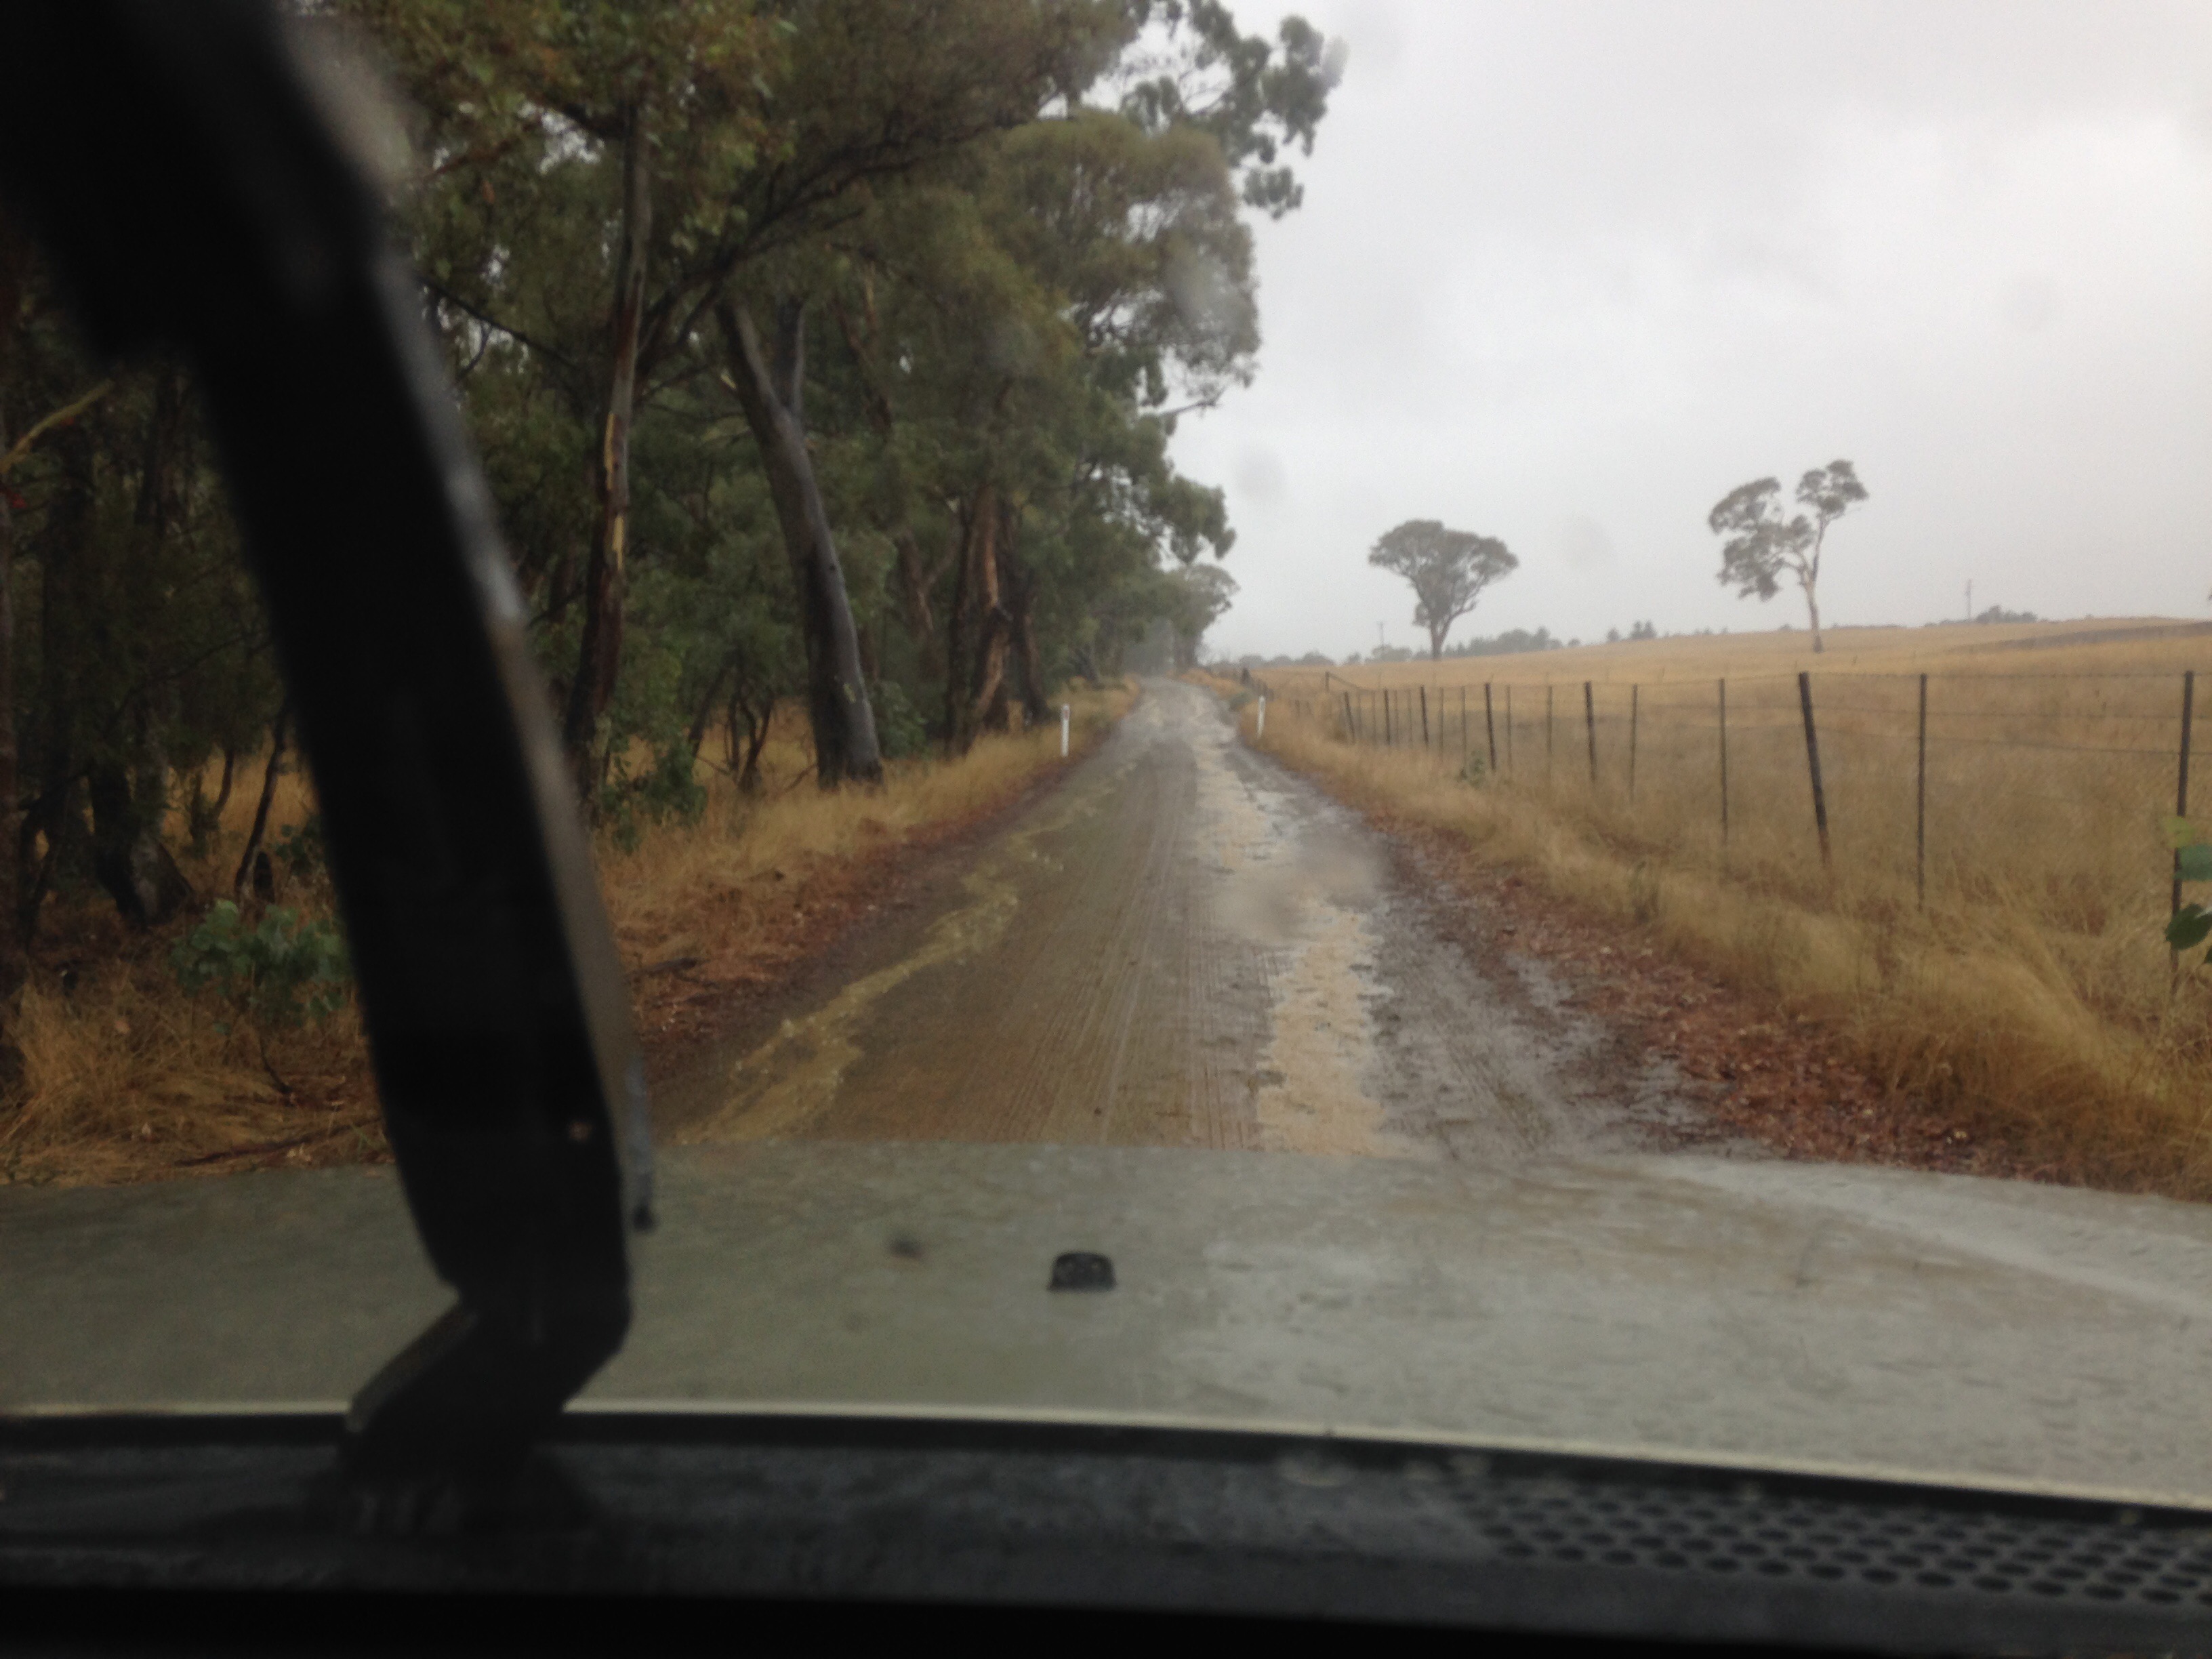
Then again – there is only so much you can do. There are about half a dozen drains off this part of our drive – none of them effectively working. Perhaps next time…

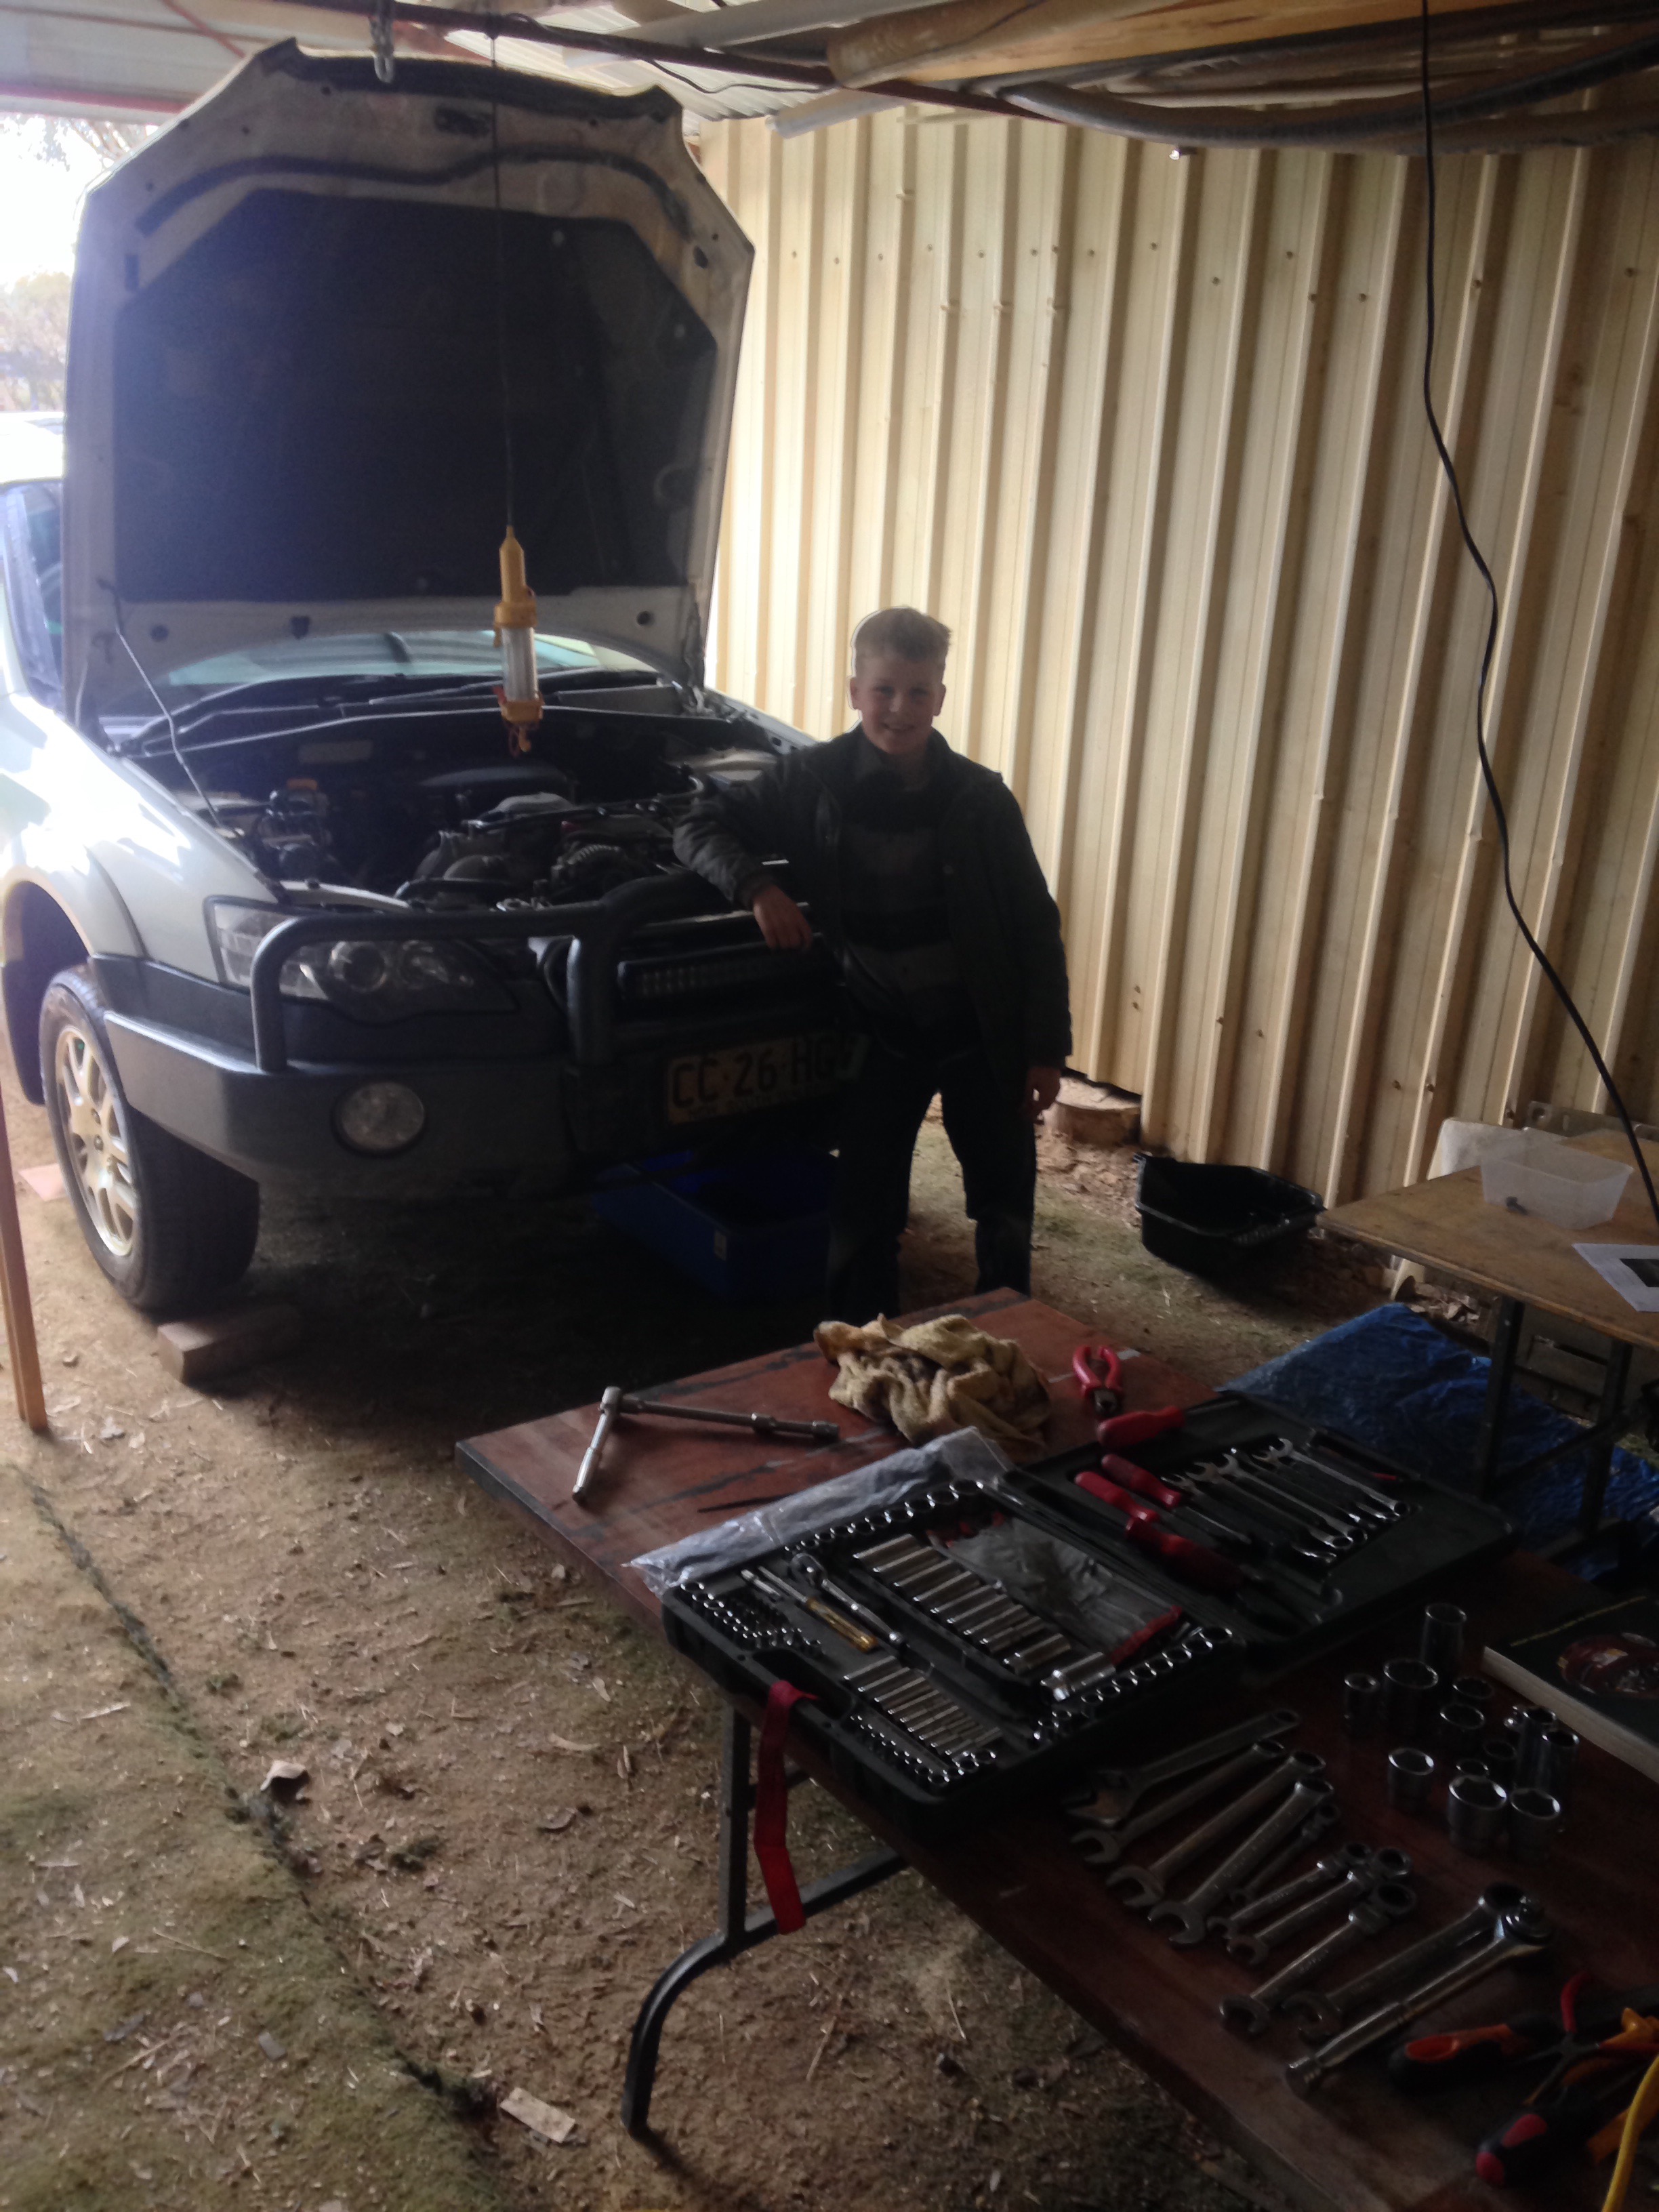
And as the rain continued to fall, it was time to get a bit more creative. I contemplated tidying up the shed…. but that didn’t happen.
And then things got really serious when I contemplated cooking the books… but that didn’t happen either.

Sometimes you just gotta take the time to catch up on other important things…