So how hard can changing a clutch be? Really?

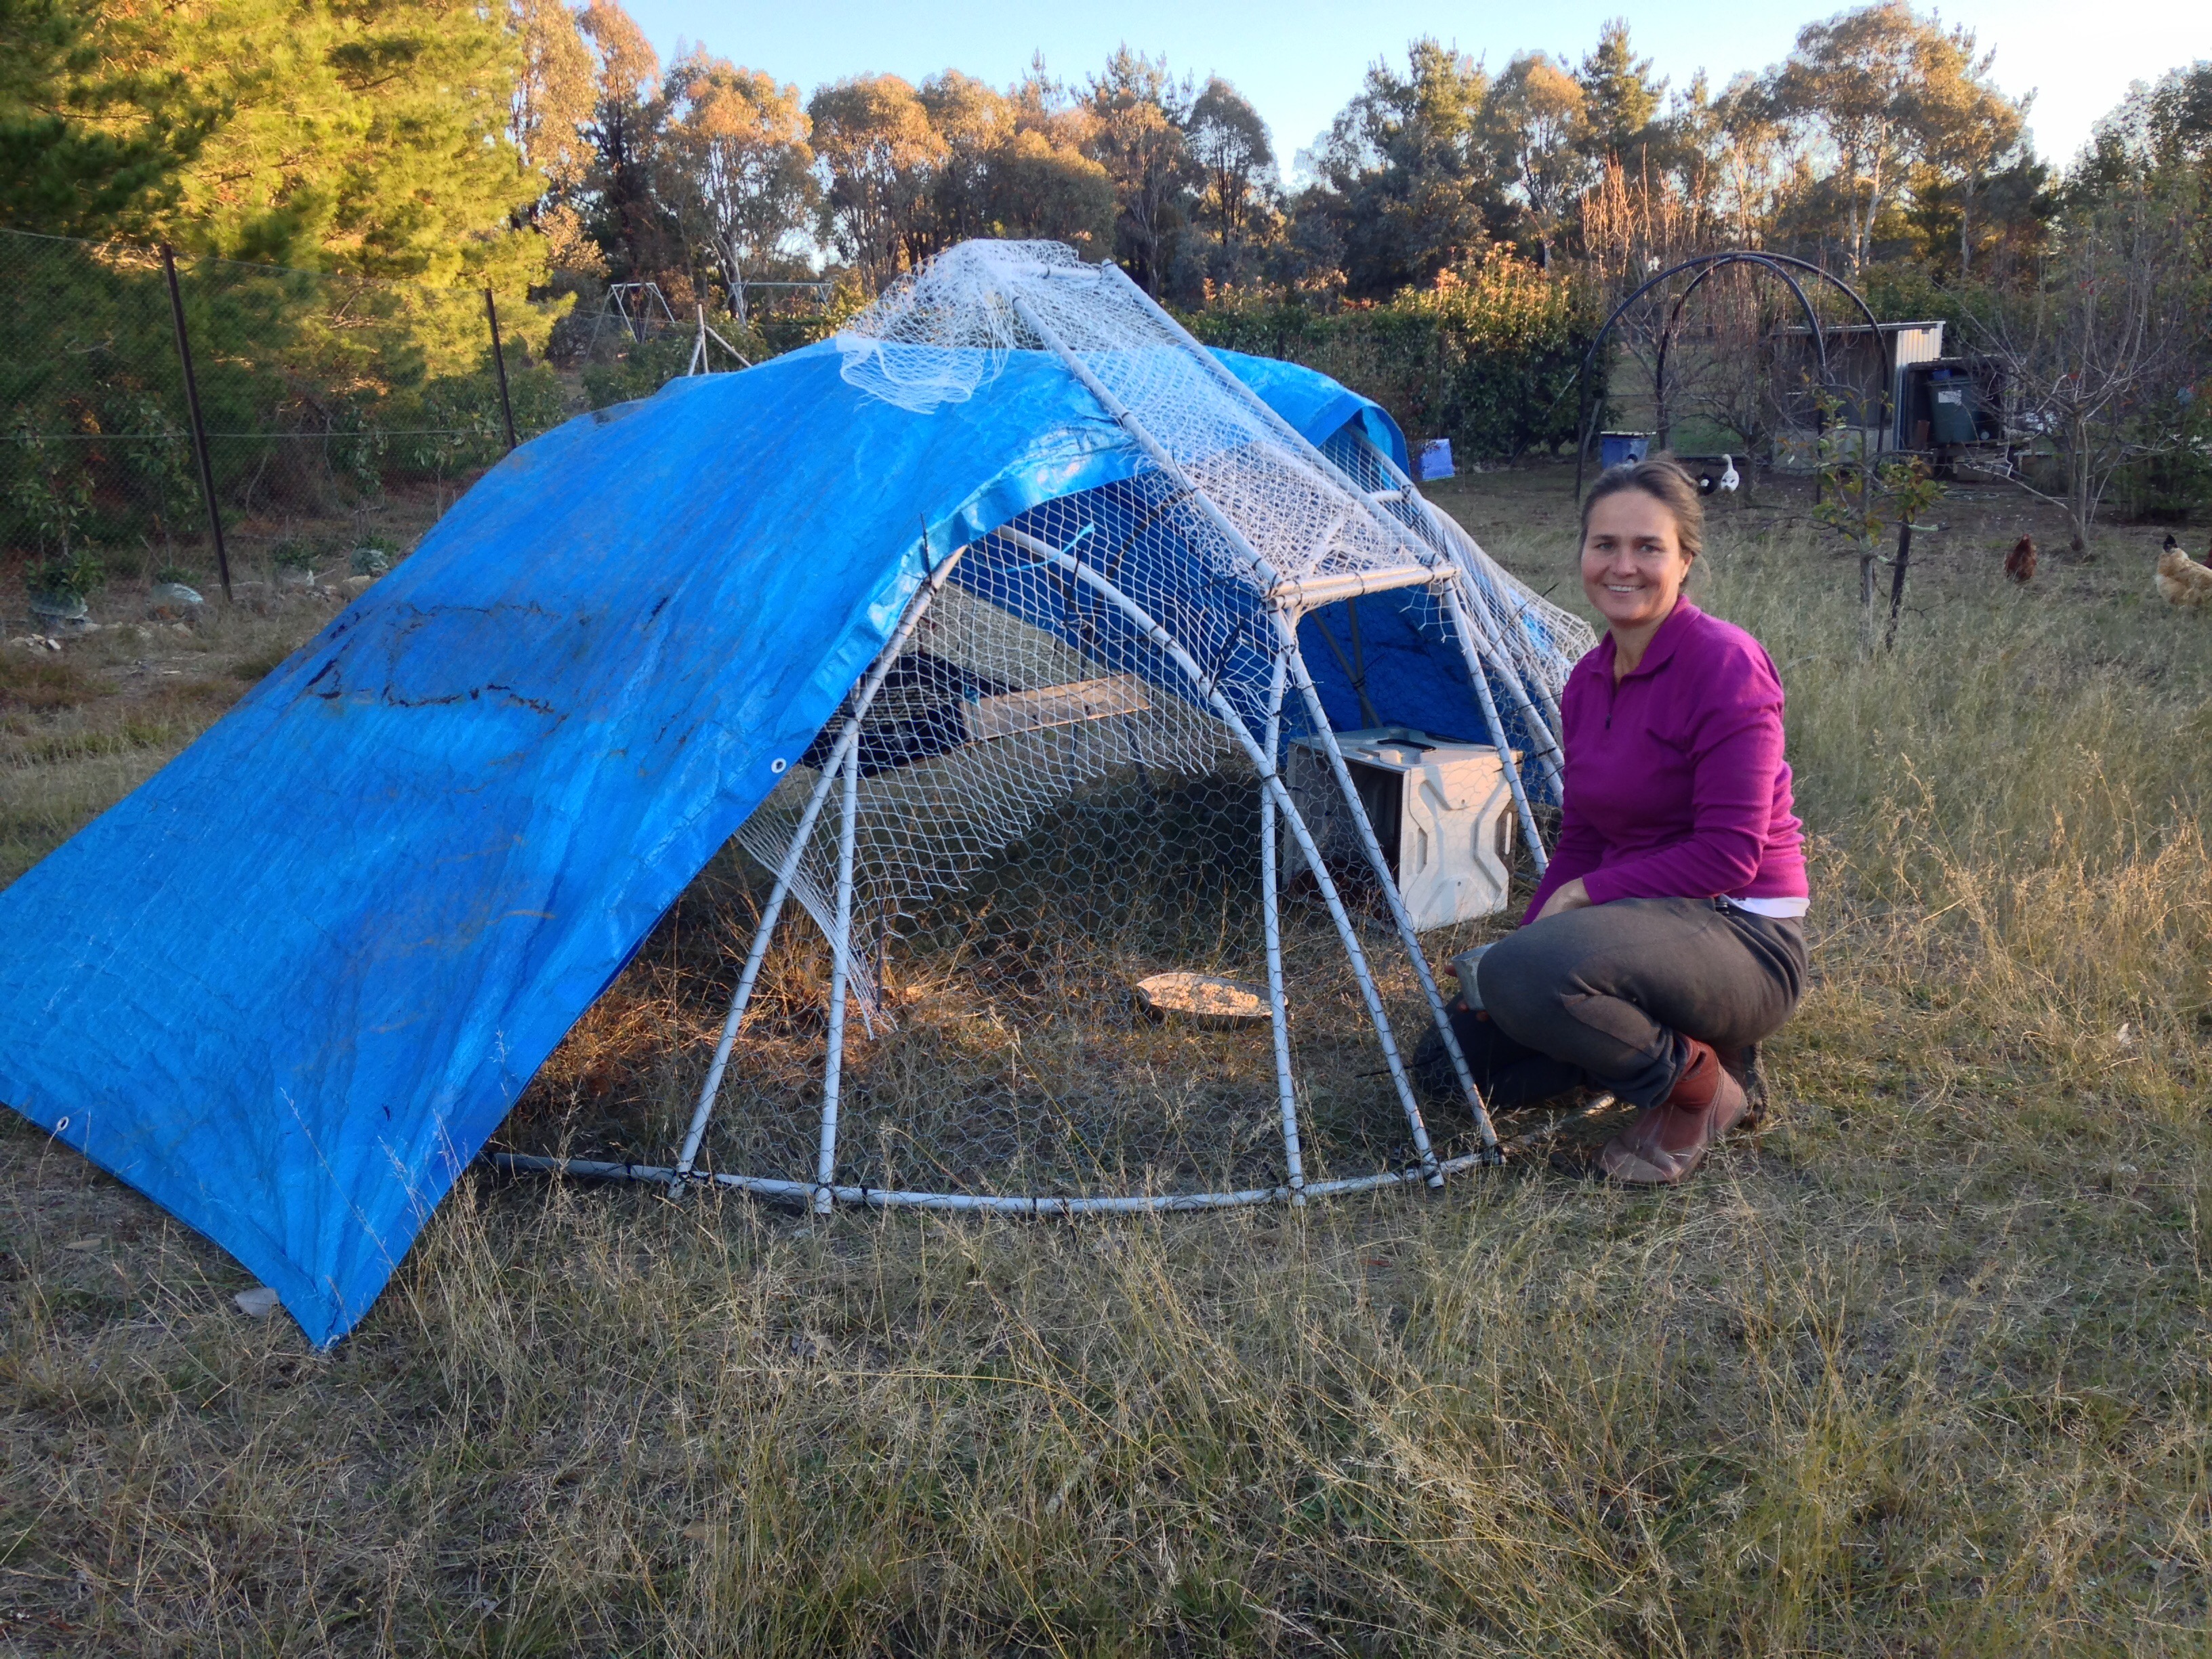
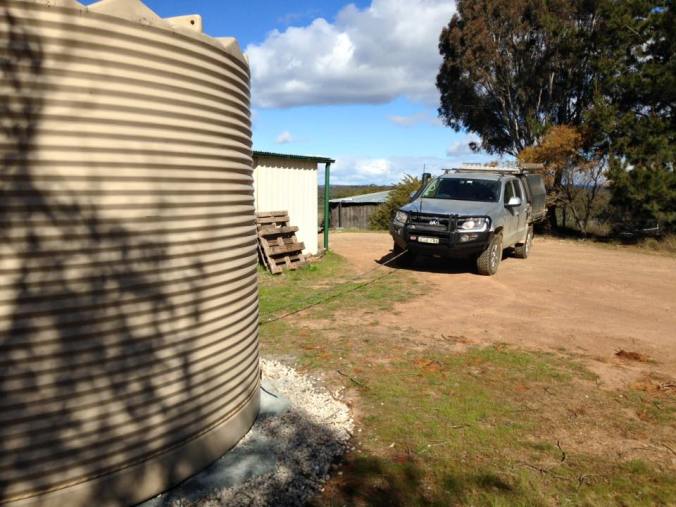
One of the joys about living on the Rock Farm is being miles from the hustle and bustle of modern day life.  It is also one of its drawbacks, with round trips into the big city being at least a 100km journey.  This means that our cars end up driving lots of kilometres each year.  And eventually this catches up with you with a big maintenance bill.

Eventually you get to a point where a car becomes uneconomic to repair, and you are forced to get a new(er) one.  One of the ways we try to hold off this expensive option is to do some of the maintenance work on one of the cars ourselves.

Now dropping the oil and kicking the tyres is one thing, but our little Subaru was starting to make all sorts of new groans and noises.  Completely understandable after the past 270 000km of its life.  So we were faced with a  decision – repair or replace.

A short walk around a few car yards made the decision easy.  Repair was to be our choice.  With our long term mechanic finally closing his doors a couple of years ago, we have been unable to settle on a mechanic.  So I decided to give the job a go, myself – well not quite by myself – I did have a couple of little helpers.

With YouTube research confirming any old hack can replace a clutch and replace the timing belt, I decided to give it a go.  With parts alone amounting to over $1500 it wasn’t a gamble I really wanted to get wrong. An extra $75 for a workshop manual and another $99 for a chain block, it was time to swing the first spanner and give it a red hot go.

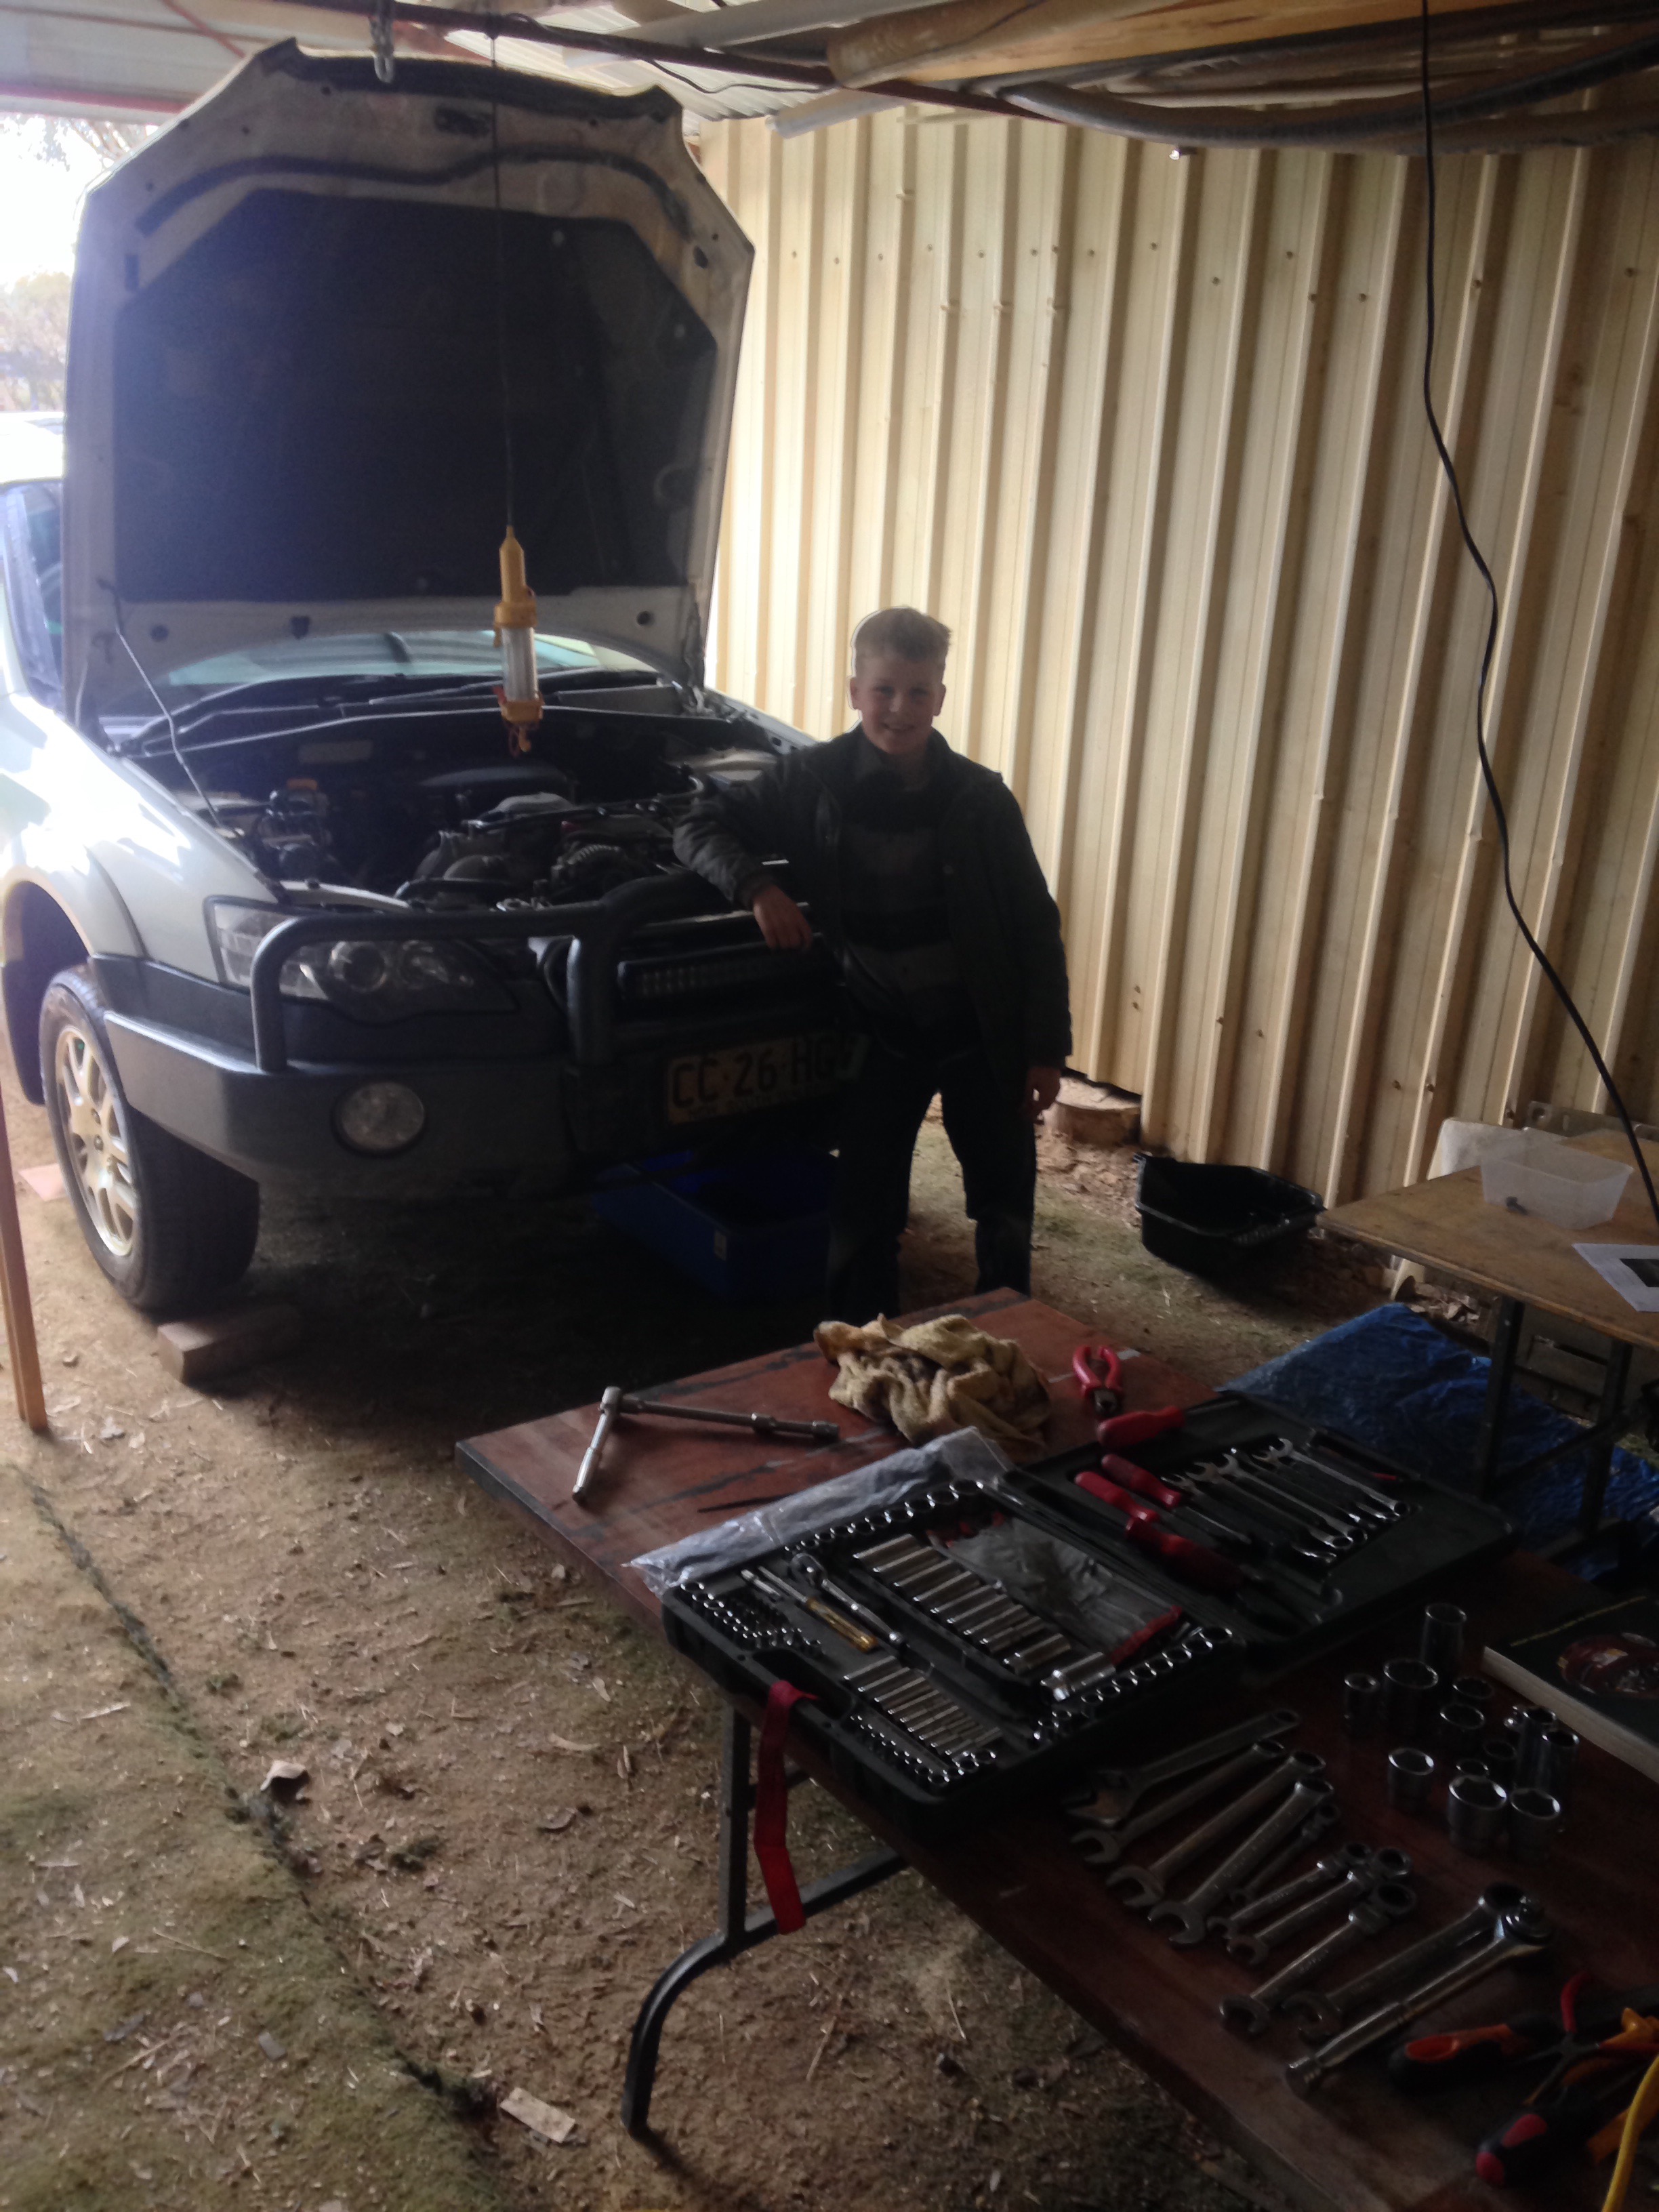
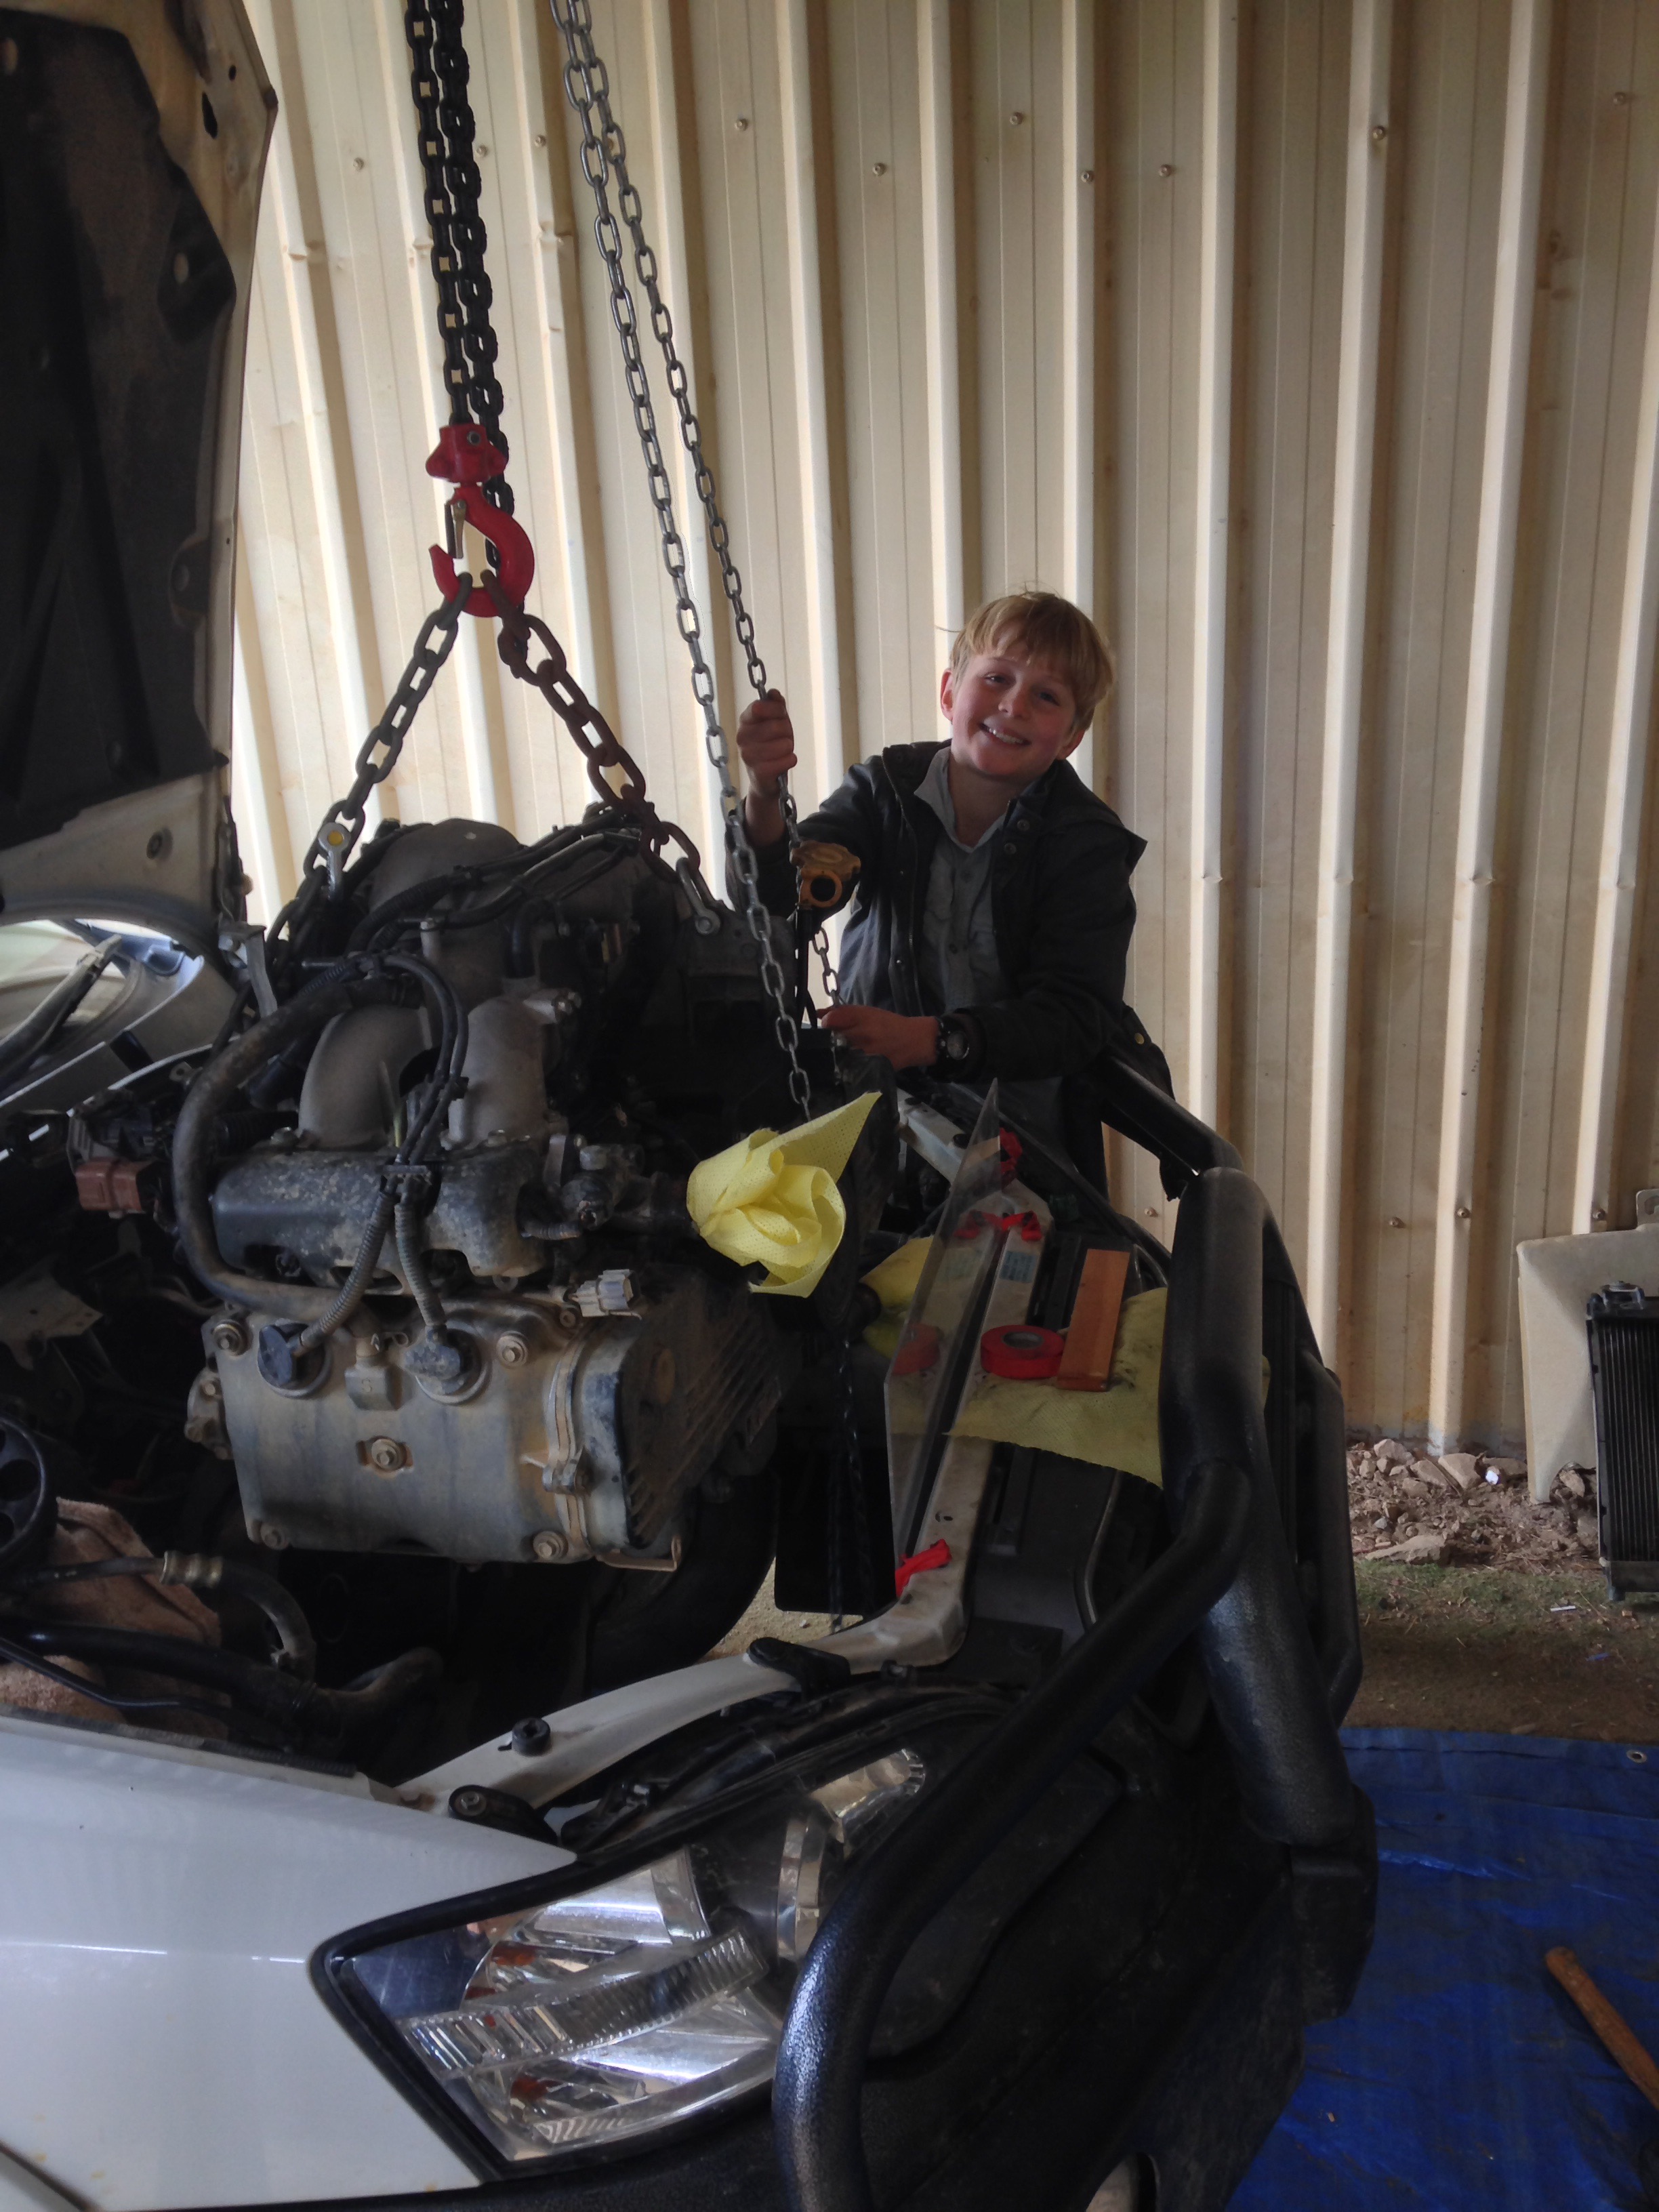
And give it a go we did. The Little Helpers were fantastic, holding the light just right, for almost long enough before deciding to create interesting shadows on the wall. The intracies of the mechanical marvel that is the internal combustion engine might have been lost on them, but it was a good introduction that most mechanical machines can be maintained. Not all of them are disposable items in this consumer driven society.

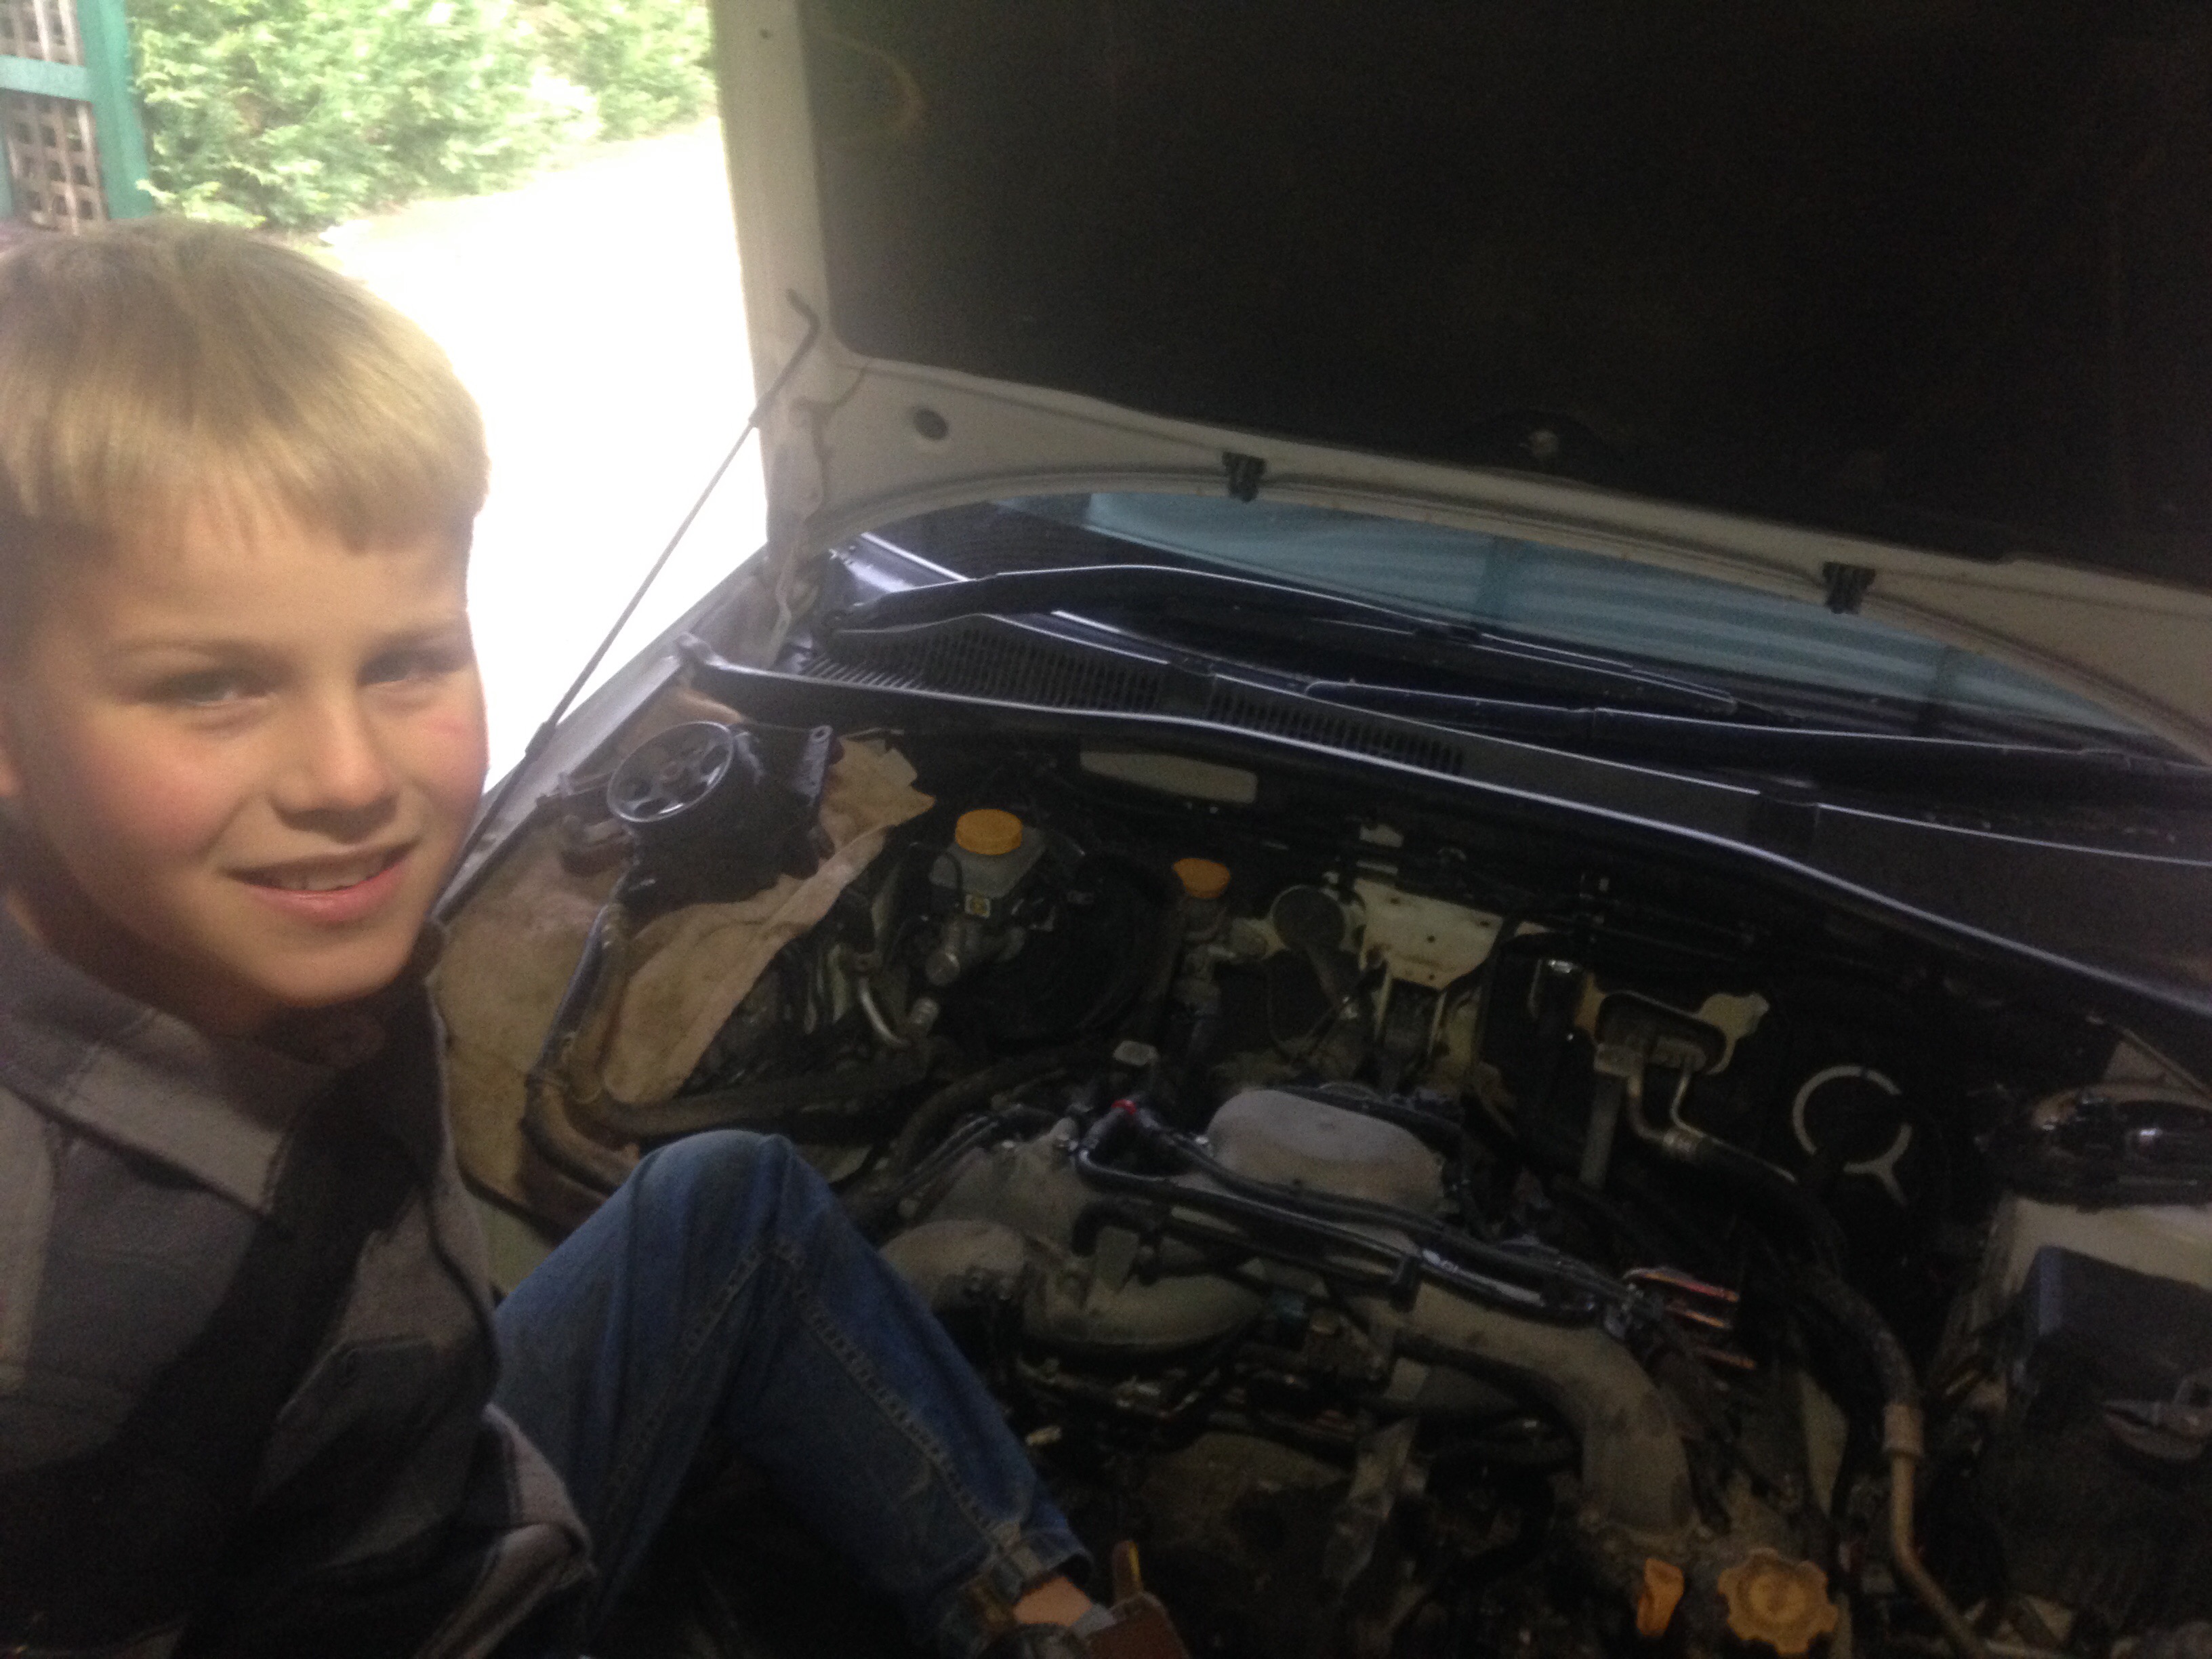
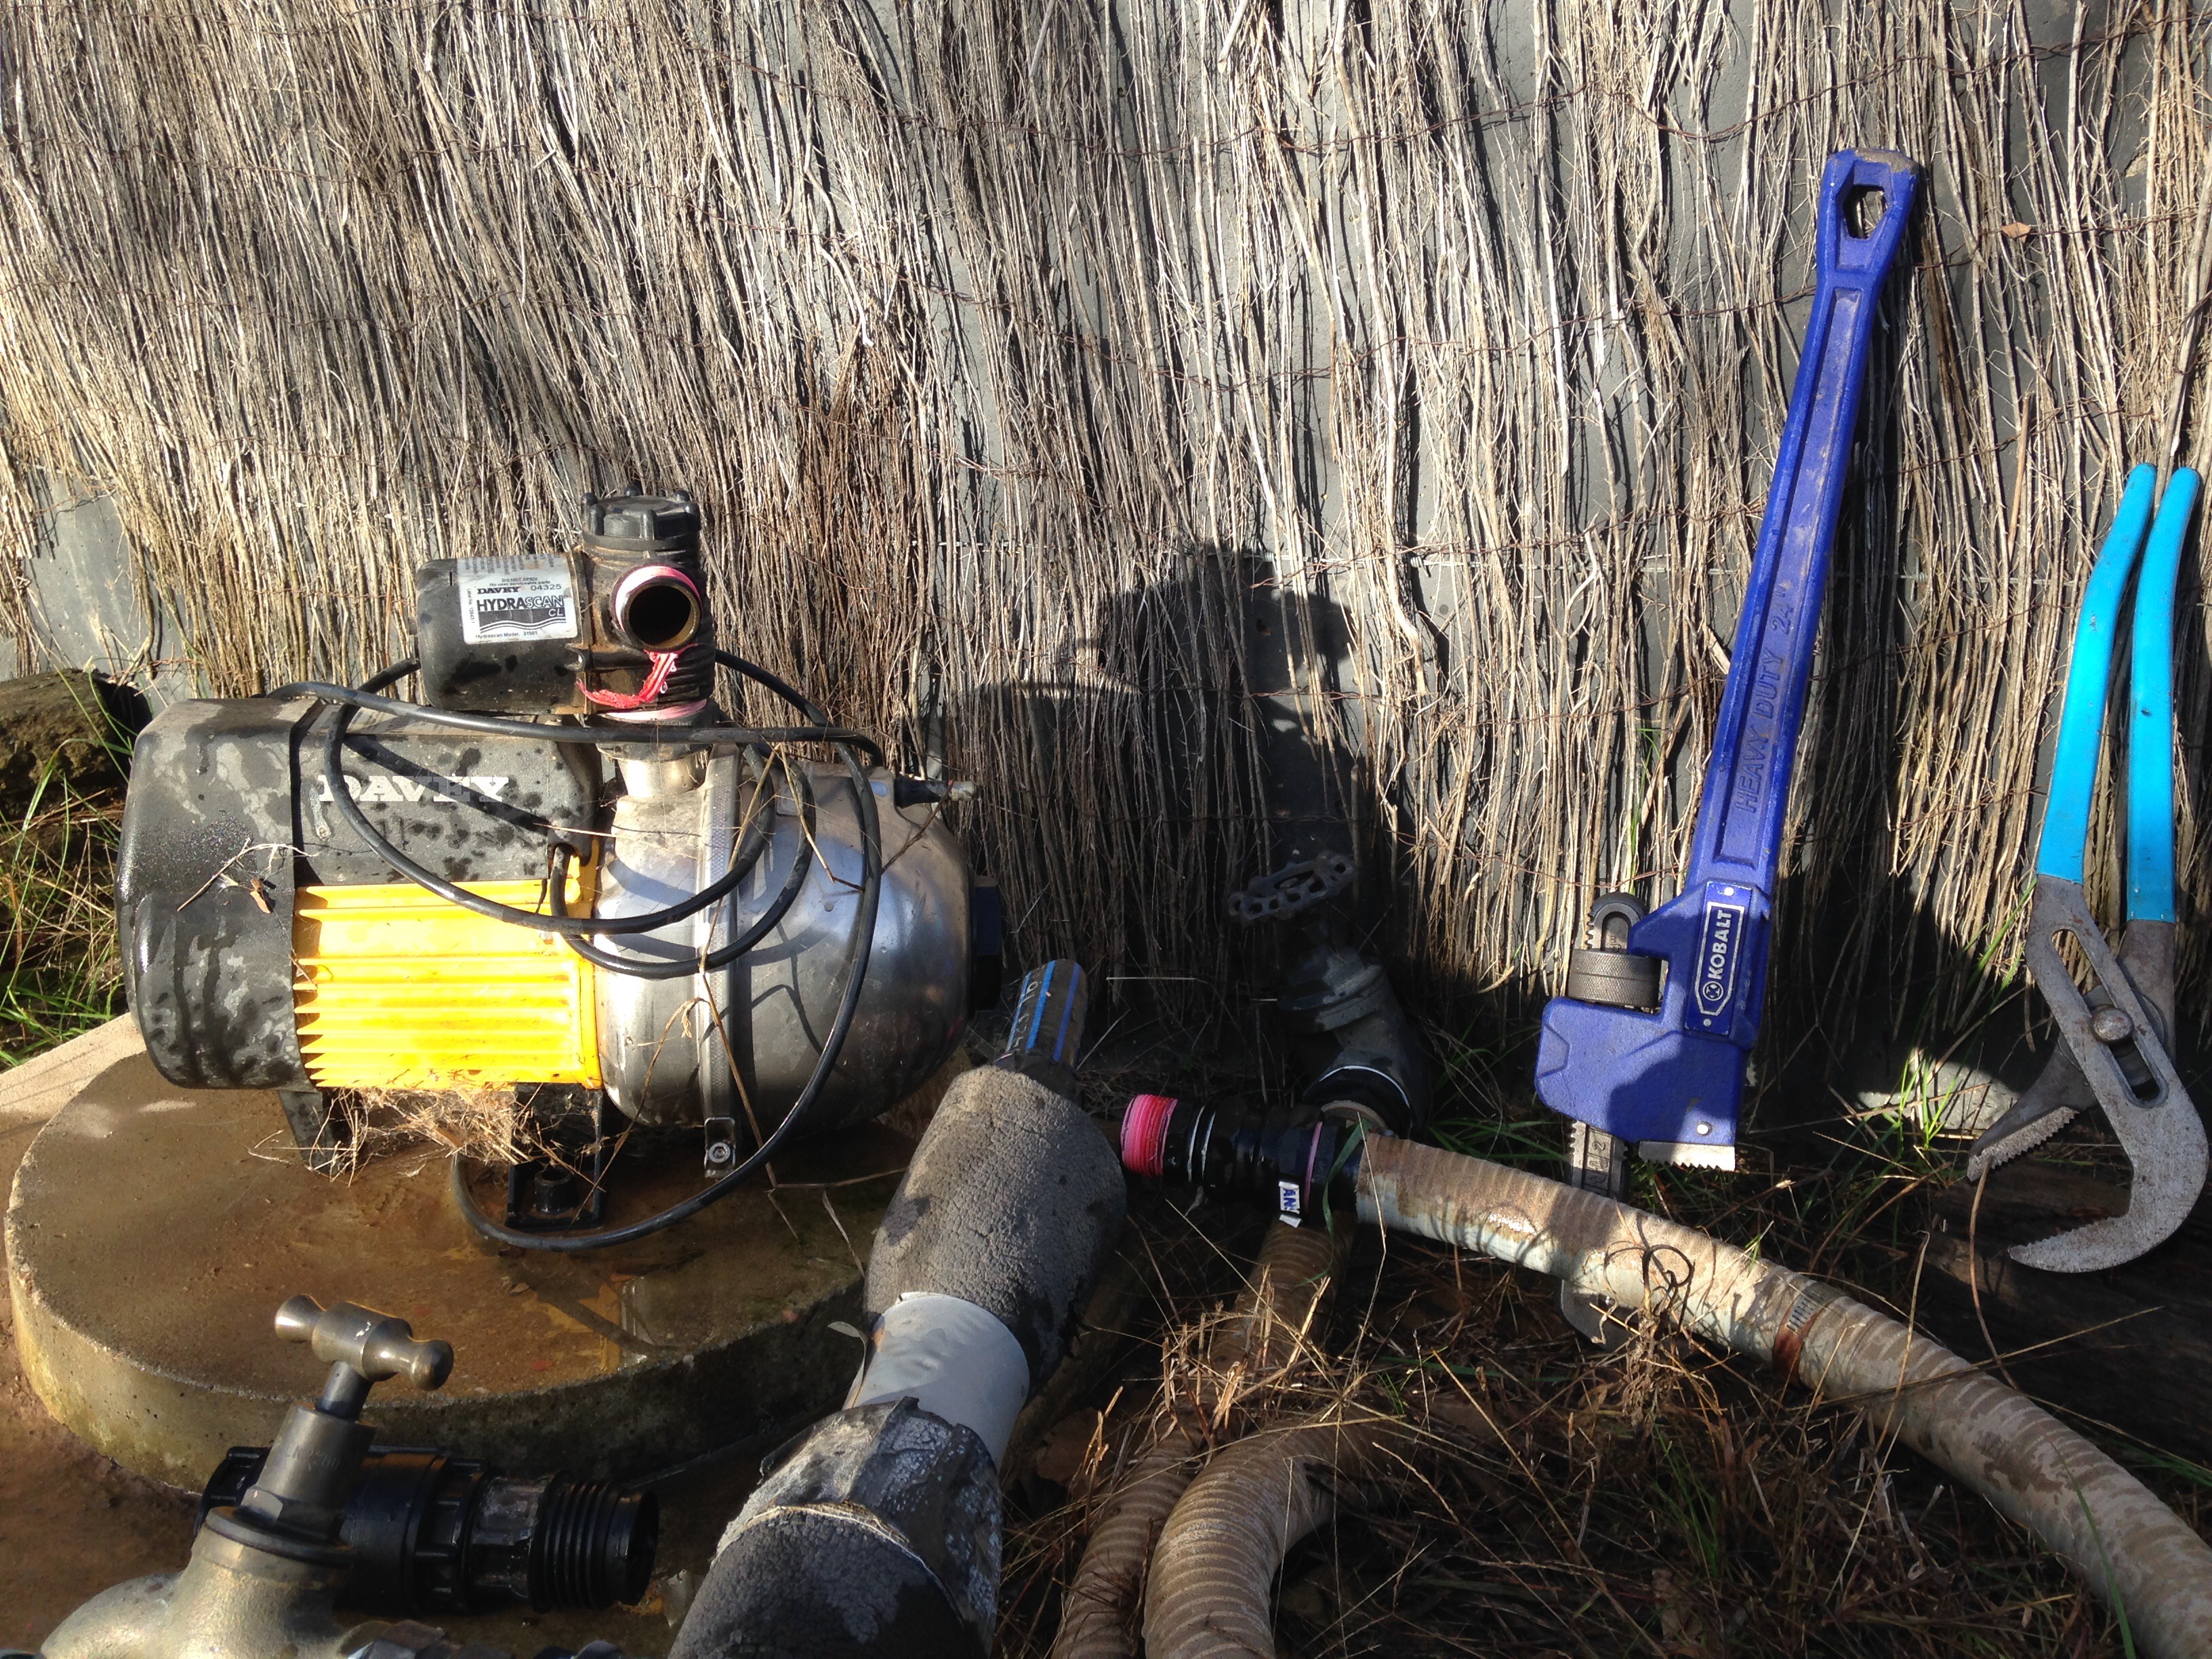
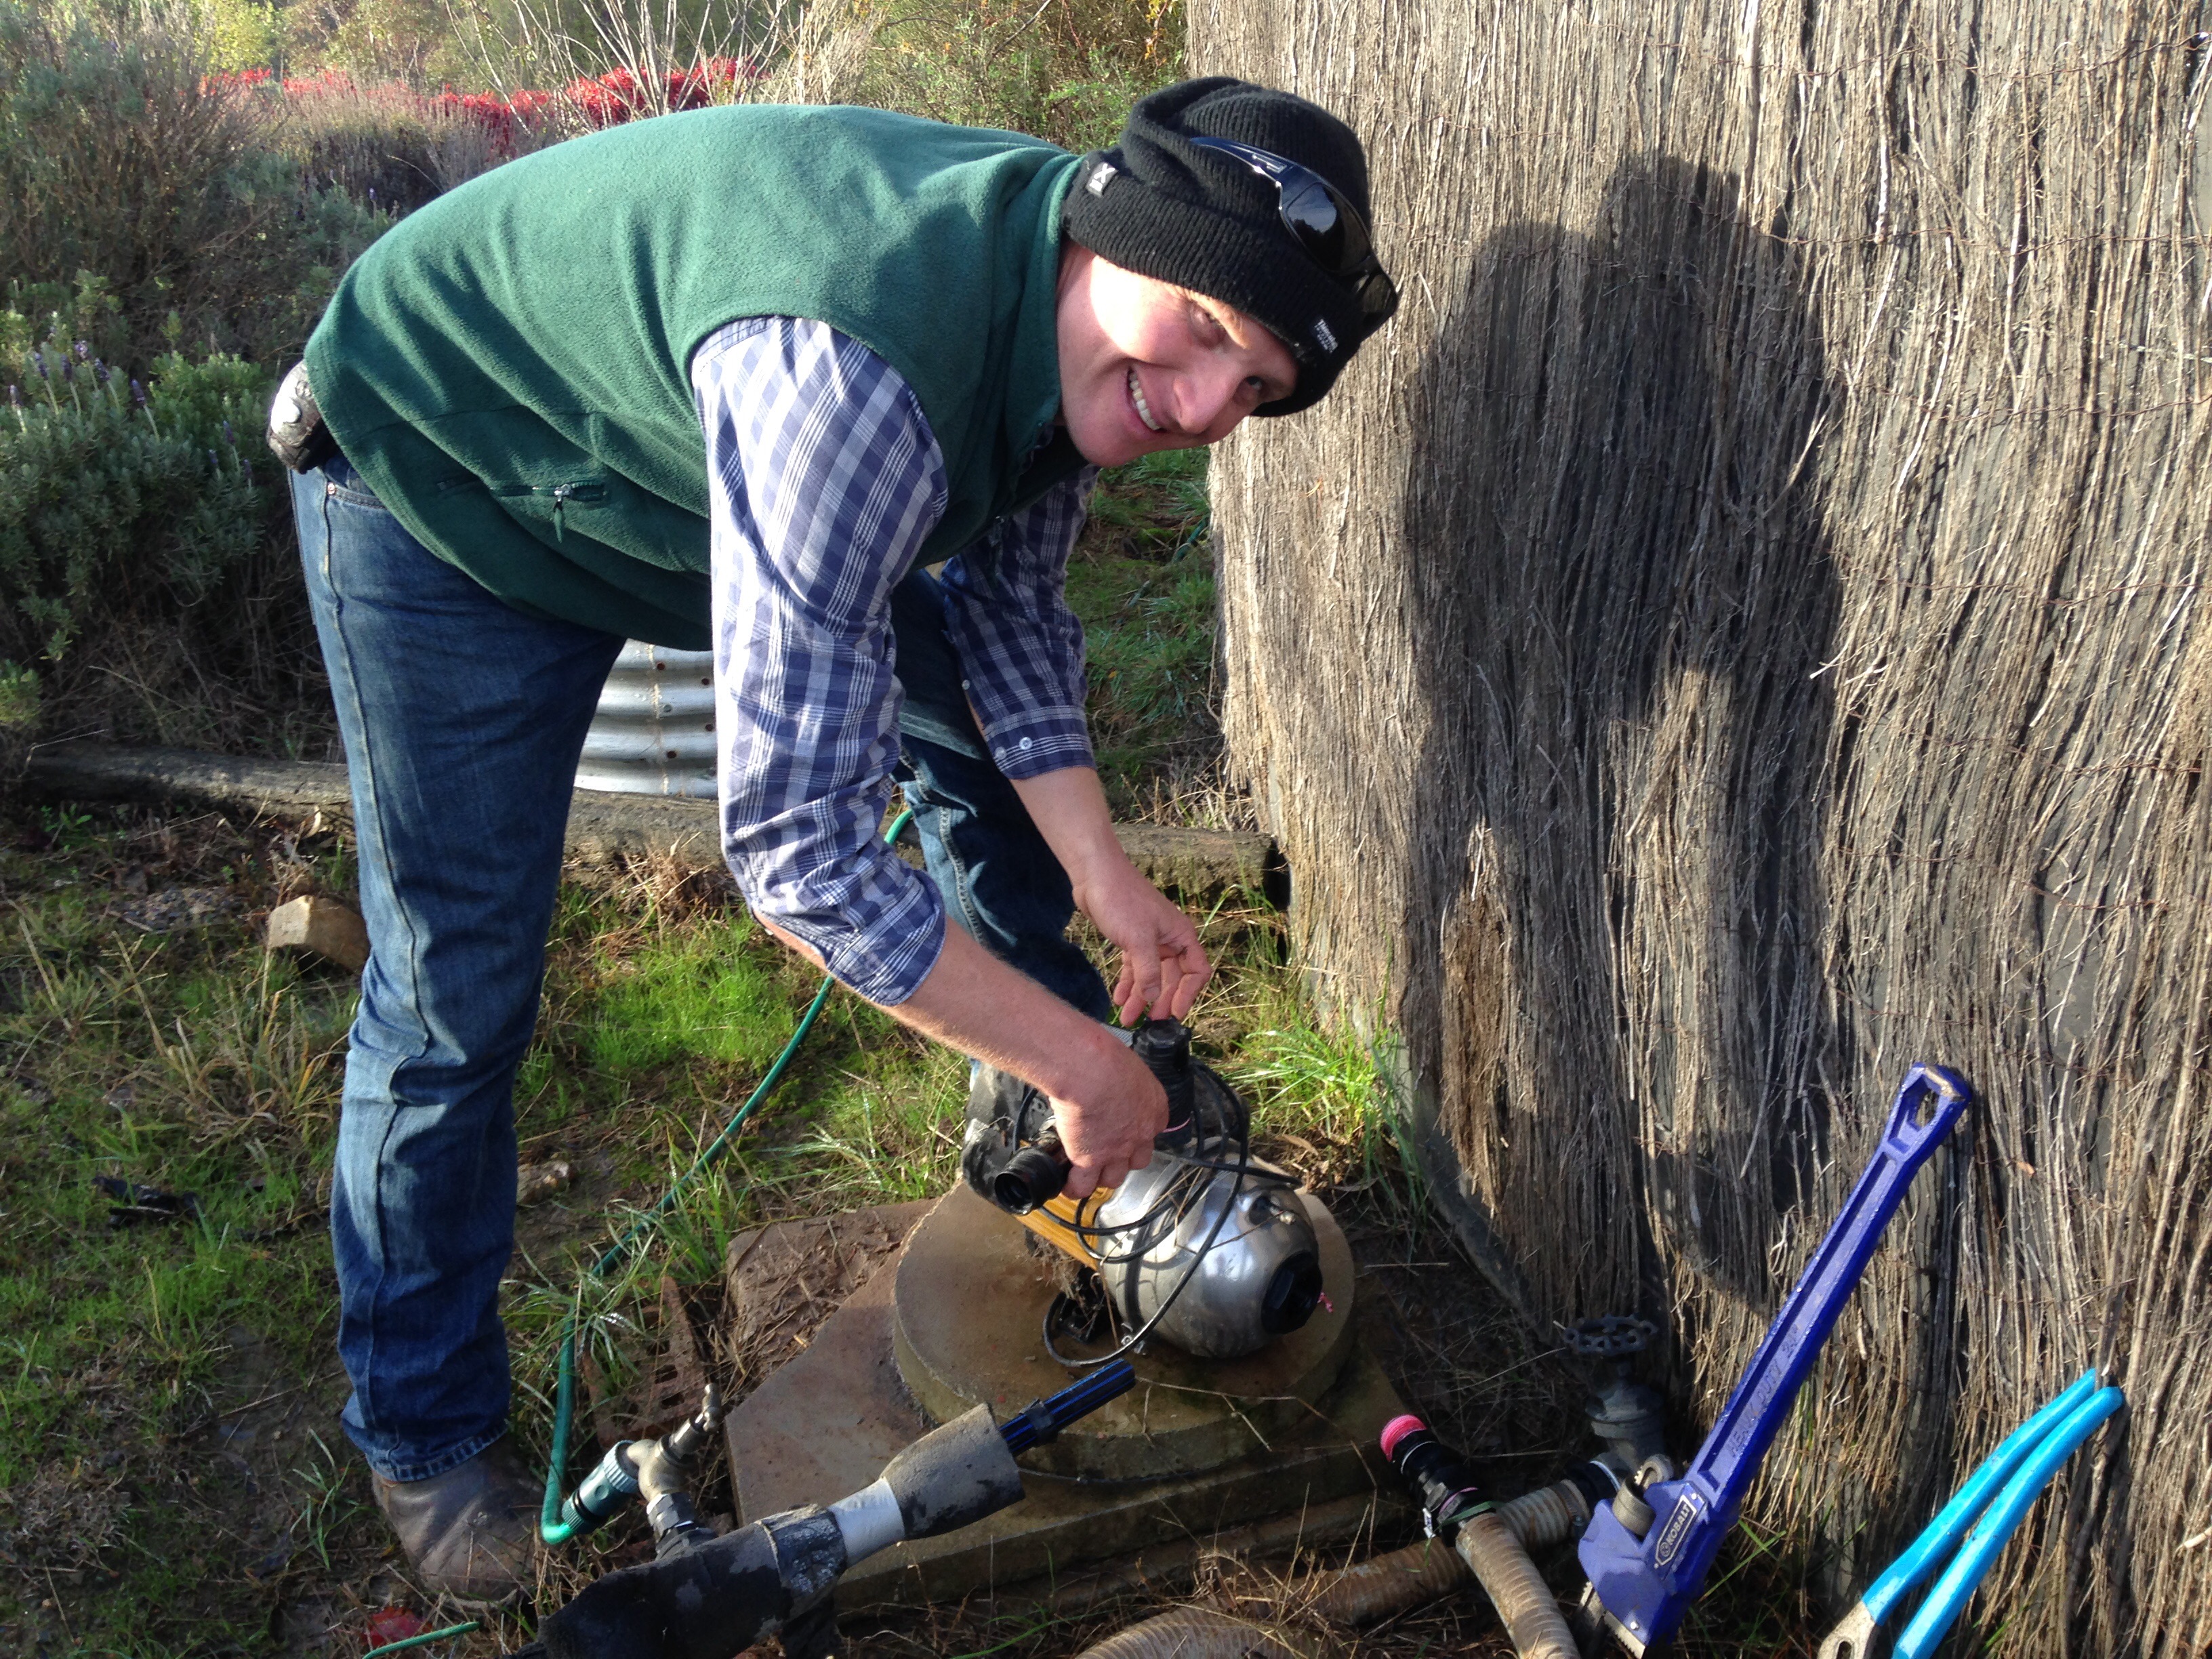
One of the advantages of this modern consumer scoiety however is the little camera that doubles as a phone.  I was able to take lots of photos during the disassembly, which greatly aided the reverse process!

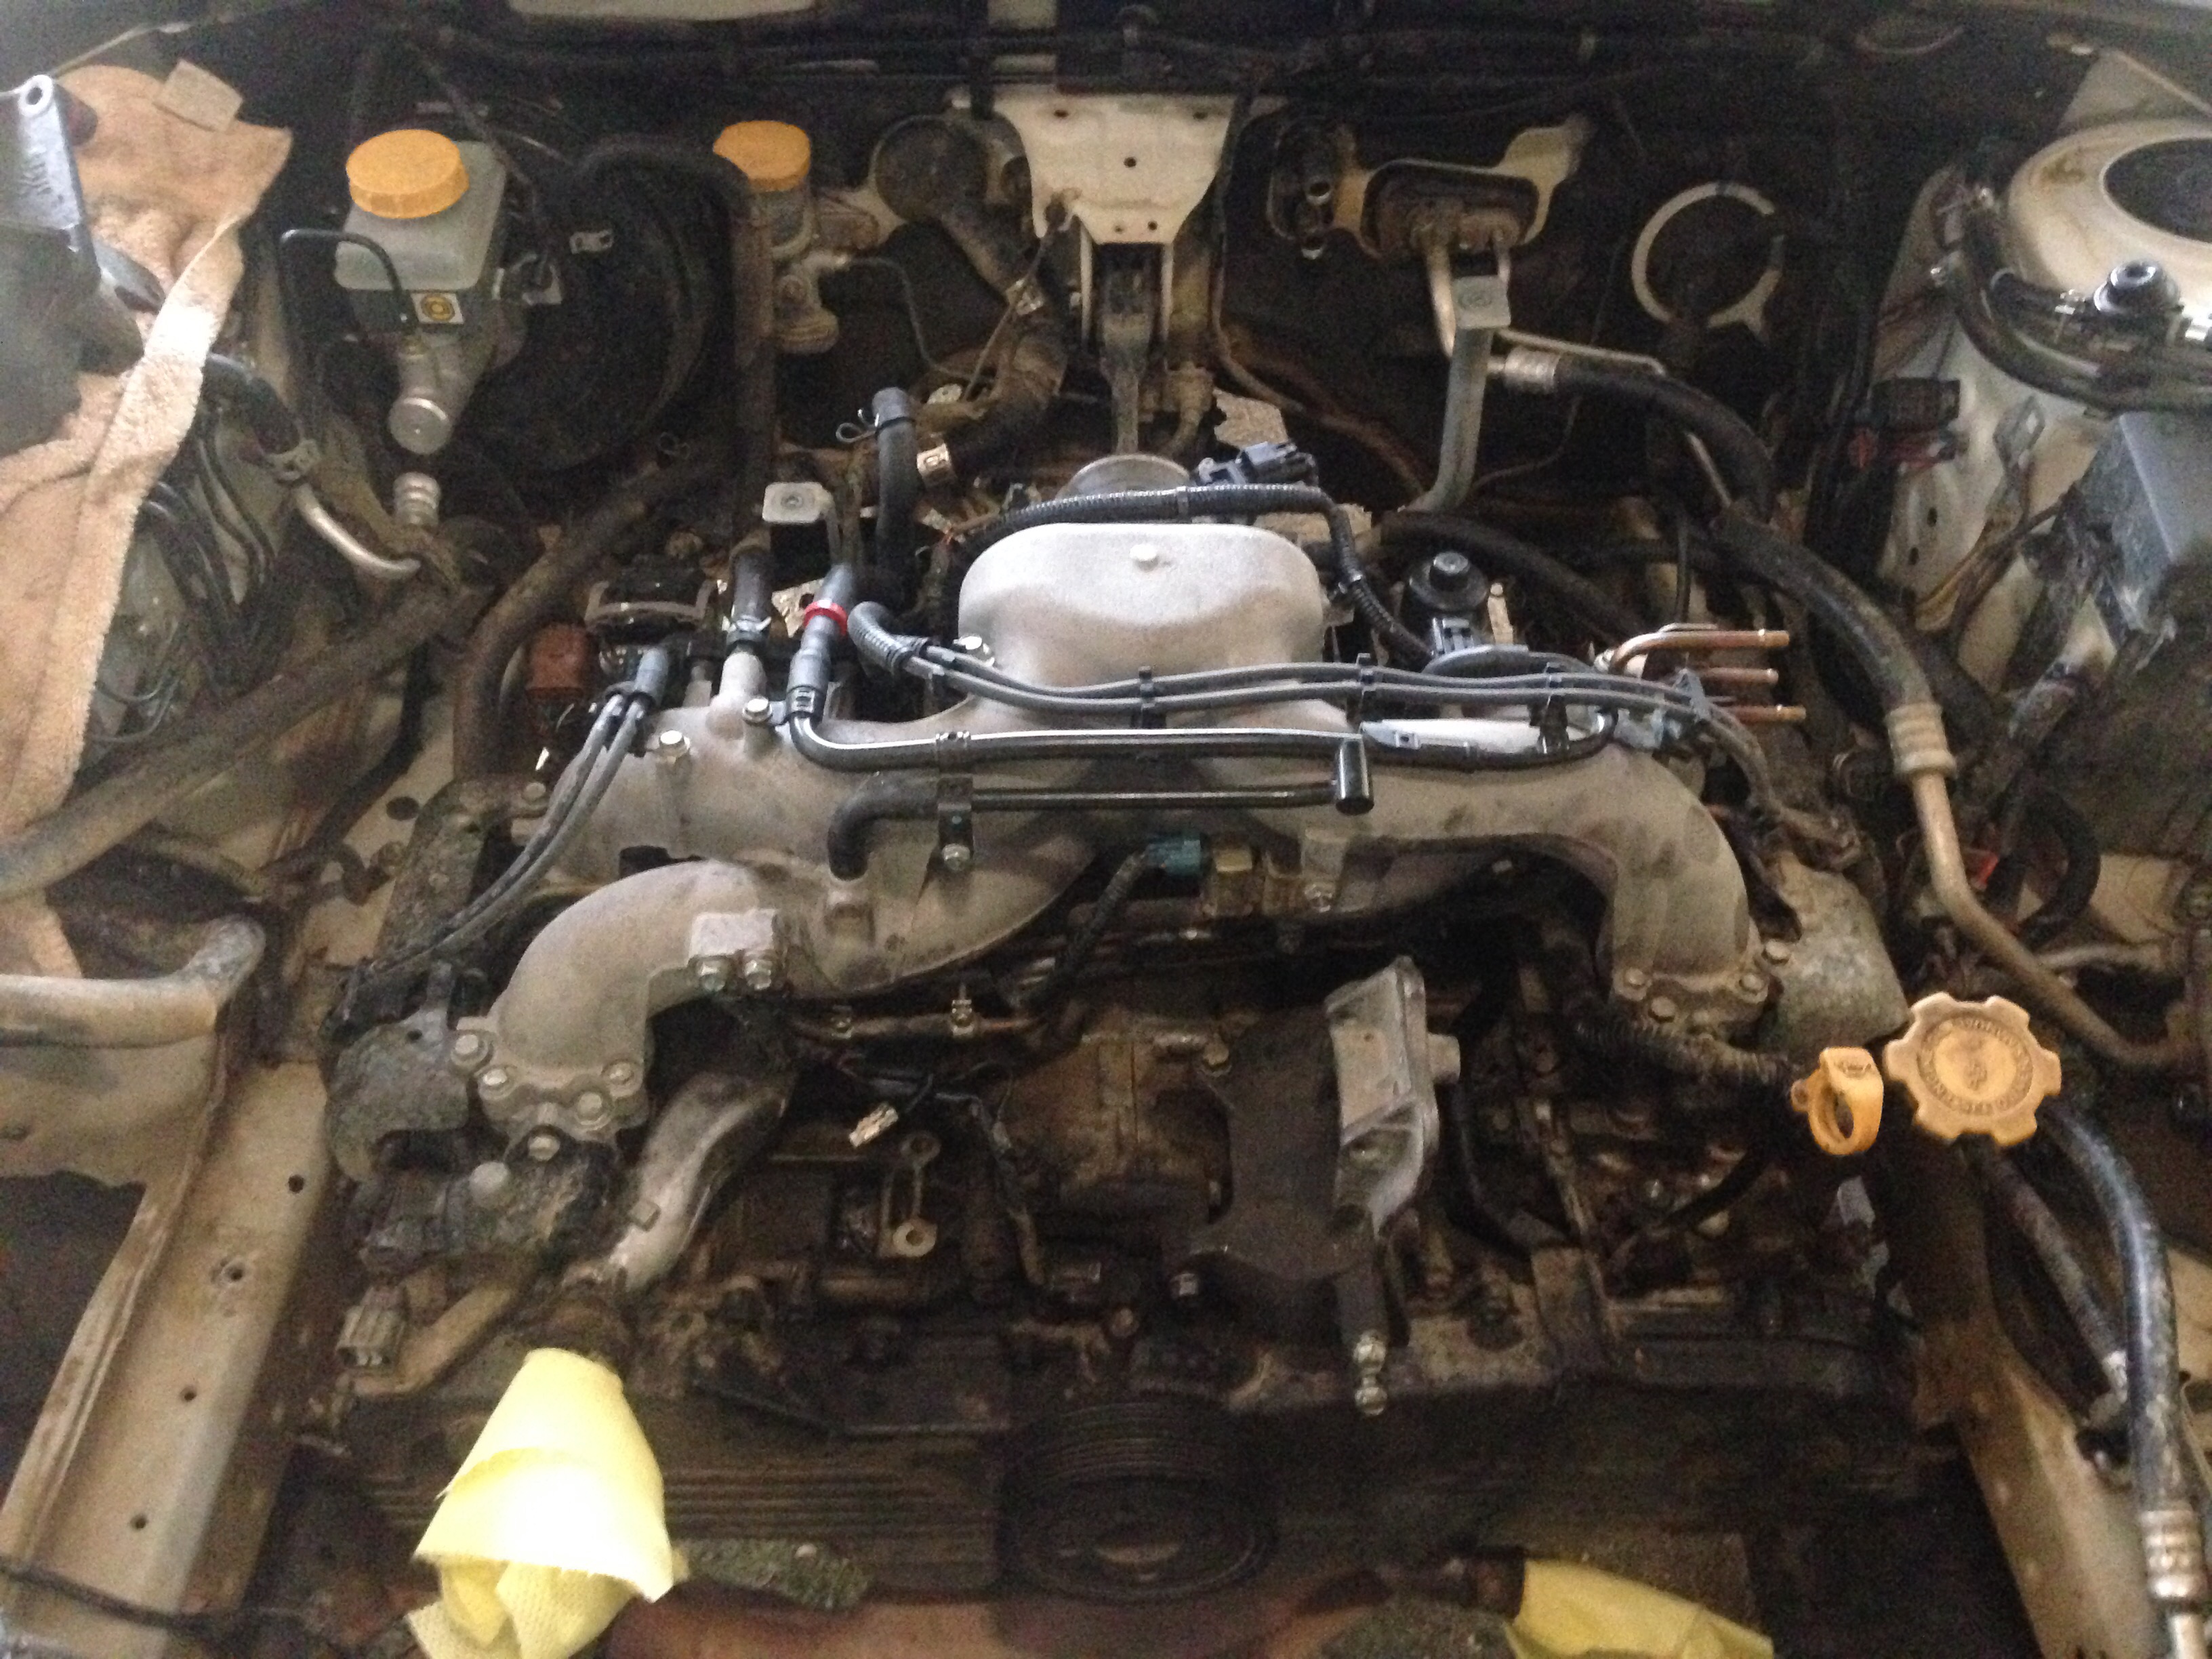
I had a few nervous moments installing the new timing belt, with the explicit and direct warnings of the workshop manual burning into my brain that severe engine damage will occur if you get any part of this wrong. There is nothing like putting the cover back on and discovering there is a new pulley still sitting in the box! We also faced the problem that the water pump provided in the kit was from an earlier model and required a different flange for the radiator hose. The right bit cost $10 and half a day from a local wrecker).

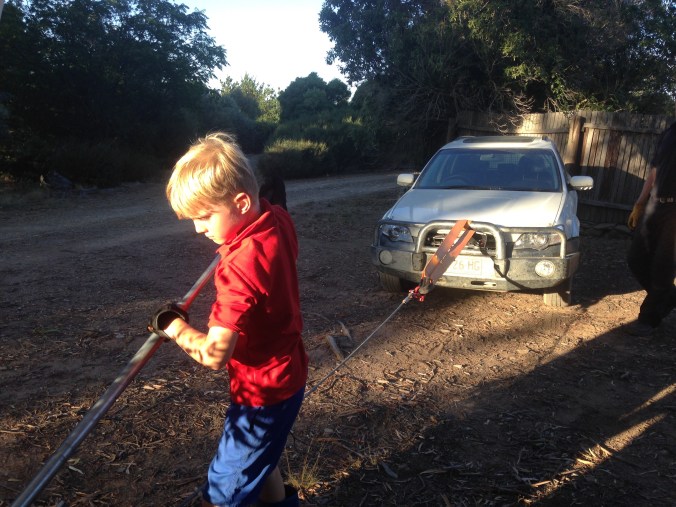
I considered replacing the whole engine with an exchange unit, however if I was going to go down that path, I would also replace the gearbox, radiator, alternator, and a whole heap of other bits and pieces.  We would also need to re-bush the suspension, and so on.  Mind you, as we went along, the Flintstone model (below) was looking mighty attractive!


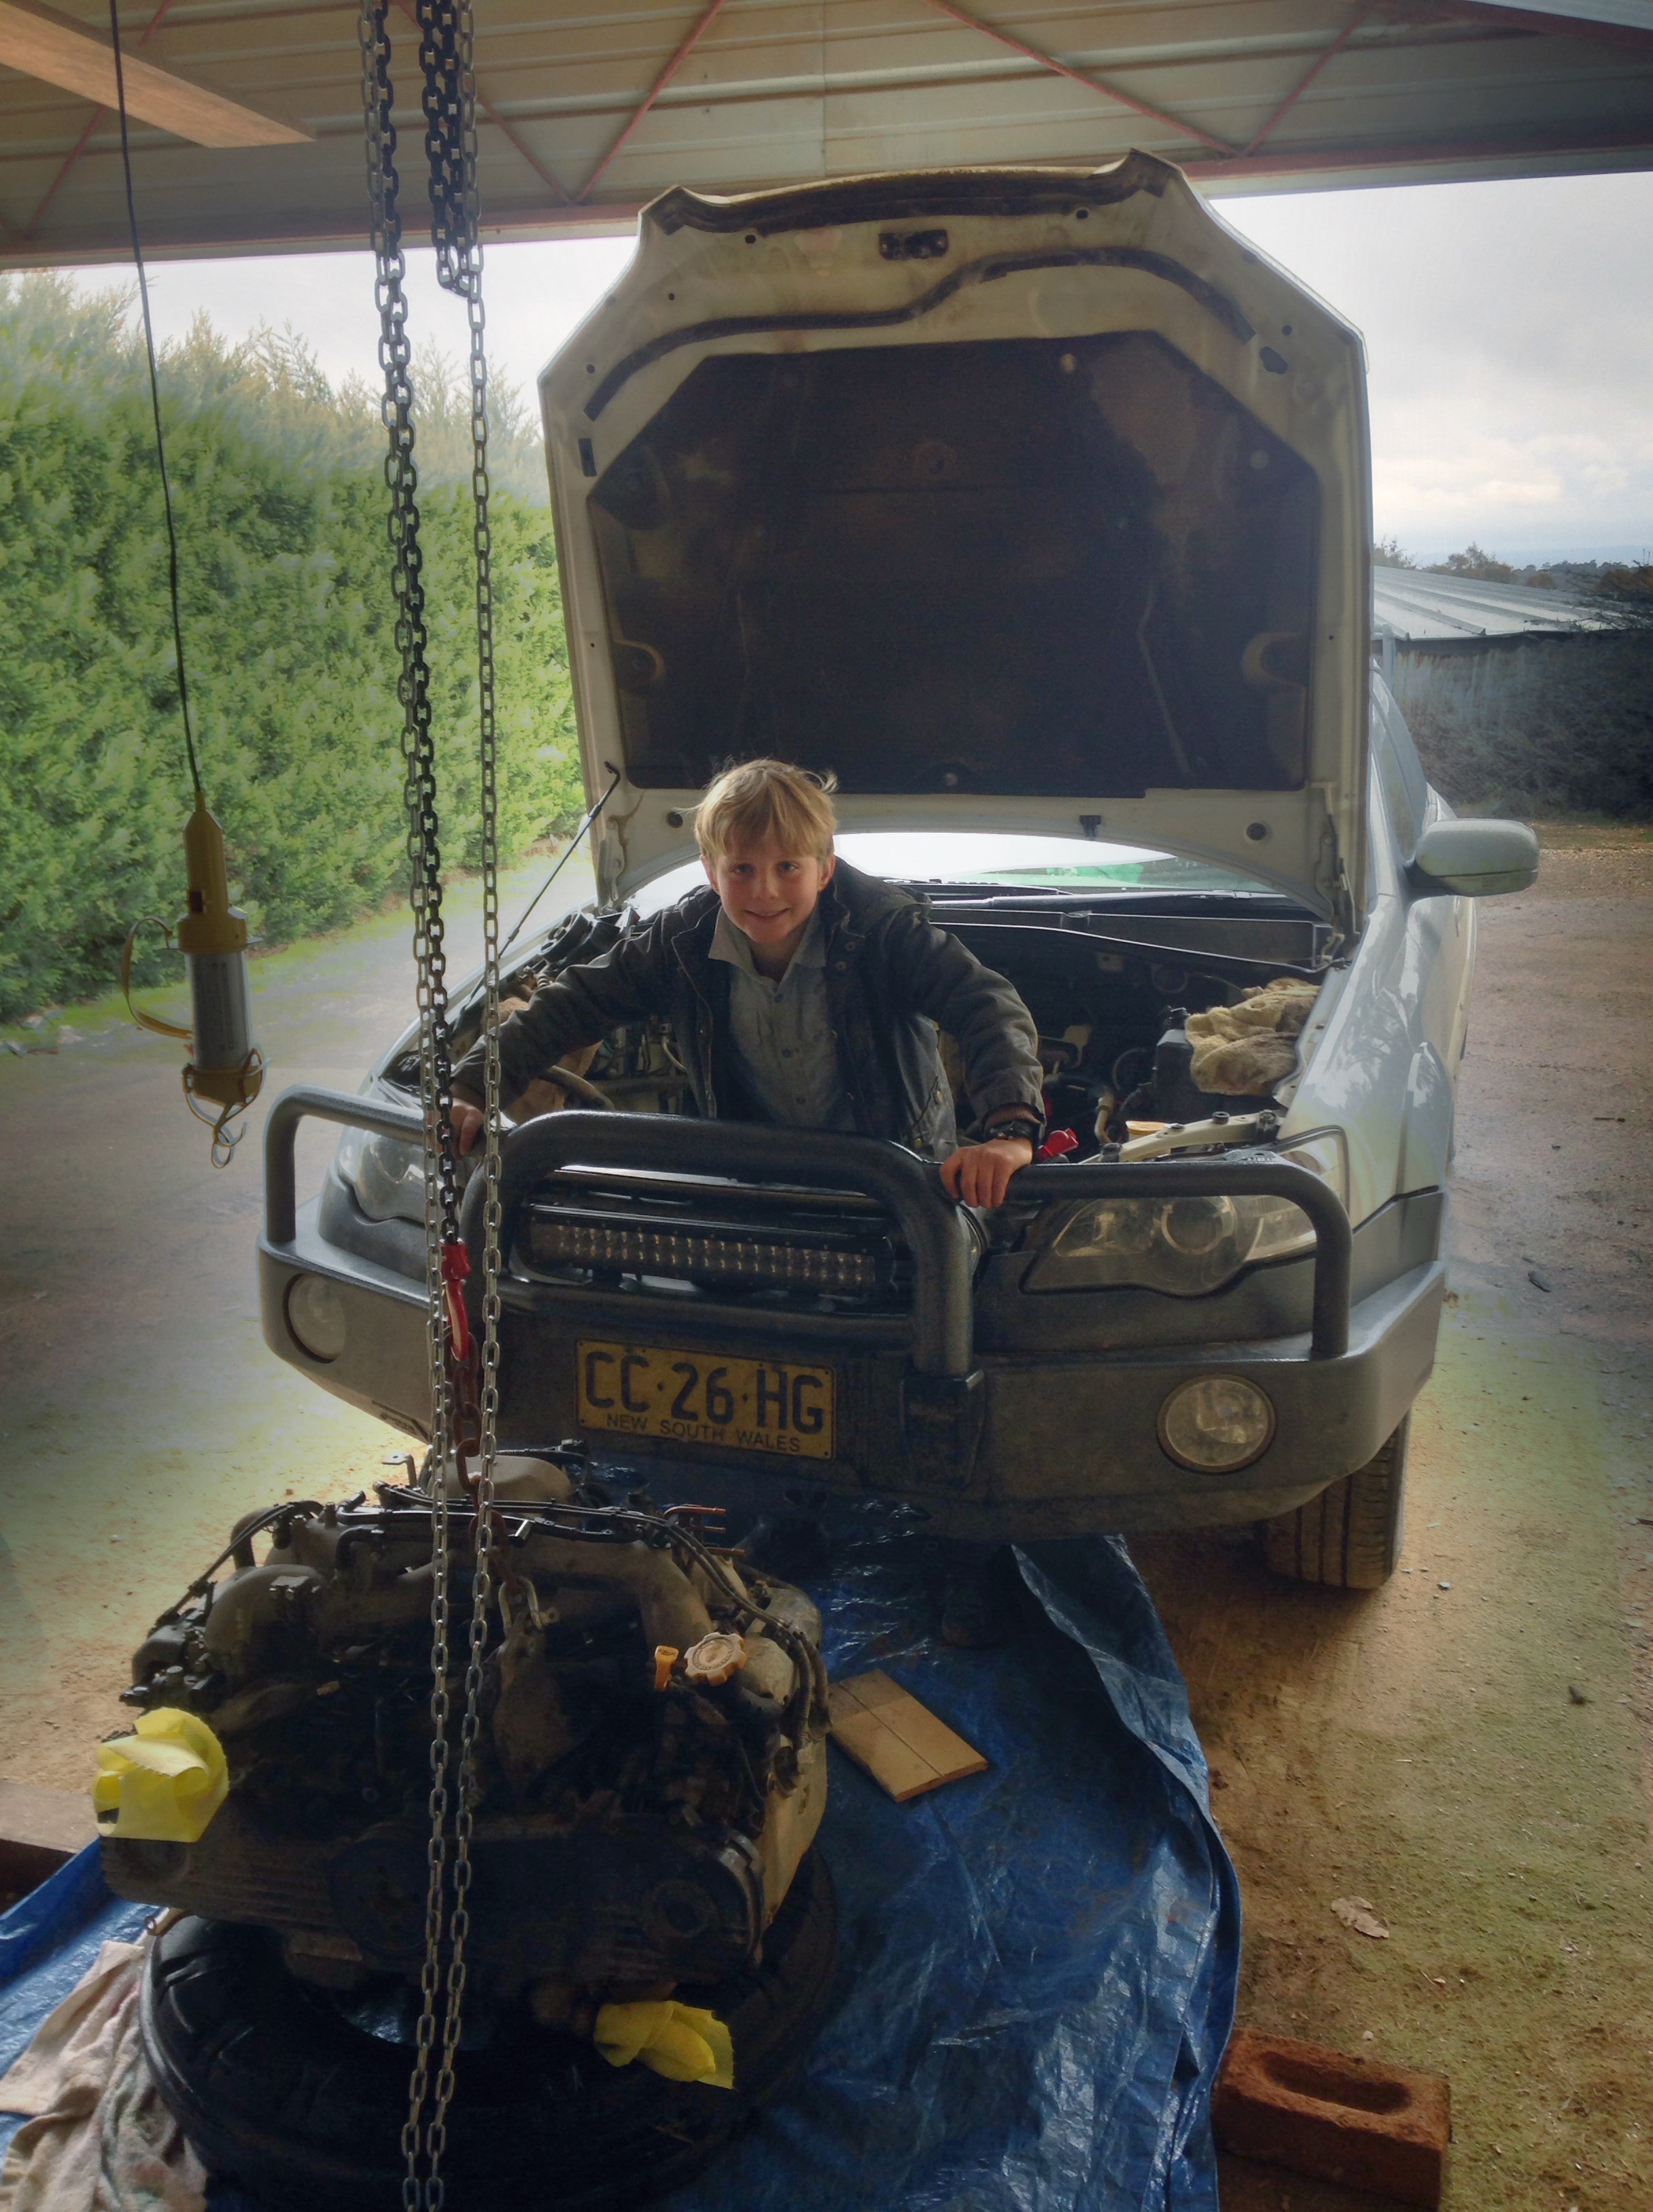
But it all went reasonably well.  A friend lent me a magic 12 volt impact driver that made short work of the flywheel bolts and crankshaft pulley, without which the job would have been impossible.  Putting it all together was another exercise in methodical and careful checking, but we got there in the end.  The car started with an almighty screech from  one of the drive belts, but a quick adjustment to the power steering pump soon fixed that and we were back on the road.

All up it took about two and a half days – including the half day lost due to the trip to the wreckers.  The result is definitely worth it.  Thanks to Chris, Pa and the Little Helpers for their assistance during this exercise, and to Jo who managed to find the odd little tools and bits in town that made life a whole heap easier.

Would I do it again?  Hopefully not for another quarter of a million kilometers!

Pump woes on the Rock Farm

One of the joys of living on a rural property is beautiful fresh rainwater stored in your own tank.  The water tastes fresh, is free from chemical impurities and is deliciously soft.  It is your water, and you can use as much or as little of it as you like.  The consequences of your usage are yours alone to deal with.  It is a wonderful part of living on your small farm.

Until your pump dies.   And then you need to get it fixed. Quickly.

We were in a fortunate position that our pump gave us warning it was on the way out.  It would fail to operate, and a simple reset by turning it off and on again would fix it.  For a while at least.  When the interval between resets became daily, it was time to take action.

Davey Pumps were called, and their technical department were most helpful.  They told me that the most likely culprit was the pressure switch in the controller.  The type of controller we had fitted hadn’t been made in around 20 years, giving us some indication of the age of the pump.

I was advised to take the pump to a repair agent, where the pump could be bench tested.  One phone call later, and the pump was booked in the following morning for a thorough inspection.

The pump was easy enough to remove.  The worst bit was the cold fingers on the chilly morning easing the pipe fittings from the pump.

And in no time at all, the pump was in a tub on its way to town for inspection.

After a few hours, I was told that the pump itself was in good condition, however the controller was indeed stuffed.  Thankfully the new controllers are compatible with the older pumps, meaning we were able to fit the new controller.  A few minutes work and some new plumbing tape and the pump was reinstalled and working a charm.

This little process taught me the value of buying a quality Australian made pump, particularly for critical components such as house water.  The service and support offered was excellent, and instead of buying a complete replacement unit, I was able to save a small fortune by buying just the component I needed.

I am looking forward to another twenty years of trouble free water supply 🙂

The (amazing) secret life of Mistletoe

One of the legacies of buying a block that has previously been cleared for grazing is that many of the remnant trees are heavily laden with mistletoe.  Mistletoe is a parasitic plant that has a bad reputation however is a fascinating part of the Australian ecosystem.

Mistletoe’s bad name originated because too many mistletoe on a tree will eventually kill it.  The problem is not having too many mistletoe but of not having enough trees!  When you delve a little deeper, Mistletoe play an extremely important role in not just providing food and refuge for birds, but also for improving soil health too.

This Red Box Tree (Eucalyptus Polyanthemos) is heavily laden with mistletoe

There are around 90 species of Australian Mistletoe.  Australian Mistletoe has evolved with the Mistletoebird (Dicaeum hirundinaceum), which feeds almost exclusively on its fruit.  The fruit is decidedly sticky, and passes through the bird quickly.  The bird has to rub its backside against a branch in order to remove the seed from its cloaca.  This usually happens to be in an ideal spot for the Mistletoe to grow – typically a nice sunny place with a good outlook.  And it guarantees a good supply of food for the bird.

The Mistletoebird loves branches with a good vantage point, hence remnant trees become heavily infested

The fruit of the mistletoe is an important Aboriginal food.  Commonly called Snotty Gobble, the fruit is a sweet, sticky treat that looks exactly as it sounds.  You split the seed out of its pod, and eat the inside.  It is extremely sticky – which explains how the seed can be deposited by the bird in the most ideal place for germination.

Whilst this tree is suffering from the mistletoe, the soil under the tree is in excellent shape. There are also many young saplings growing around the tree to support future mistletoe growth

The Mistletoe sheds its leaves prolifically.  Unlike the host trees, which hang on to their leaves and thus nutrients as much as they can, the Mistletoe is far more likely to drop its leaves.  This creates areas of much richer nutrient under the tree.  In this photo, you can see the greener grass under the tree – largely as a result of the extra nutrient from the Mistletoe.  The Mistletoe is an important contributor to soil health.

Can you save individual trees? Yes you may, but it can be dangerous and may not worth the risk

But eventually too much Mistletoe will choke the tree.  This Red Box tree has only one branch that is still alive.  I have considered lopping the dead part from the tree, but it would require me to climb the tree and lop the majority of the crown from the tree – far beyond my capabilities with a saw.

Instead my strategy is to encourage the younger trees to grow.  This will ensure that there are plenty of host trees for the Mistletoe to grow in.  By encouraging many trees to grow, the Mistletoe will be spread among the trees, and won’t overwhelm any single tree.  As I mentioned earlier, the problem isn’t too much Mistletoe, it is too few trees!

Encouraging stands of timber to grow, between grassland areas is our best defence against trees being killed by mistltoe

The other neat thing I found today was our fourth Drooping Sheoak on the Rock Farm (allocasuarina verticillata).  This amazing tree has its own story that I will  share soon.

I must thank our friend Amber for her insights into the secret life of Mistletoe. Her knowledge of all native plants is truly encyclopaedic.  There are also a couple of really neat books that have helped me discover the amazing diversity in the plants on the Rock Farm.

Woodland Flora – A field guide for the Southern Tablelands, by Sarah Sharp, Rainer Rehwinkel, Dave Mallinson and David Eddy. (2015)  It is available here: http://www.publish.csiro.au/pid/7609.htm

Grassland Flora – A field Guide for the Southern Tablelands, by David Eddy, Dave Mallinson, Rainer Rehwinkel and Sarah Sharp. (1998)  It is available here: http://www.fog.org.au/grassland_flora.htm

The best portable chook tractor

I’m the first to admit that chickens are not my thing, but the quality of eggs you get from happy chooks has to be tasted to be believed.  With a well fenced orchard doubling as a chicken run, keeping chooks at The Rock Farm was a simple decision.

Aiding our decision to keep chickens was a couple of young entrepreneurs who offered to look after the chooks.  In exchange they would sell us the eggs.  It seemed a good deal – although I haven’t had the heart to break their business model by charging them for the chook food!

How to make a lightweight chook tractor

Over the past couple of years, our herd of chickens had grown to over 12 chooks and 4 ducks.  But all was not well in the chook world.  Slowly our egg production had dwindled to nothing.  We had also lost a couple of chooks and a duck in interesting circumstances (they were drowned in their pond).  With a randy drake the most likely suspect,  we needed to do a bit of housekeeping.

A new lightweight chook tractor was decided as the best means to separate our chooks, and provide all the benefits of portable weed control and fertiliser application.   Importantly Jo found a wonderful design that looked like it might work for us.  And it did!

The basic design uses electrical conduit cut into lengths and looped to form a lightweight self-supporting structure.  The joints are cable-tied – although the base requires holes to be drilled into the conduit to hold the joints together.

How to make a lightweight chook tractor

After laying out all the pieces, measuring the required lengths, and even going so far as to mark the ends in colour coded markers, my virgo wife had the main structure completed in little more than half an hour.

How to make a lightweight chook tractor

It was then time to fit some chicken wire to the structure.  Jo used wire around the base and bird netting over the top.  An old bread crate makes a roost, and a plastic tub a nesting box.  The only real complication was in getting the door to work, but Jo accomplished this with no fuss.

How to make a lightweight chook tractor

The tarpaulin isn’t fixed to the tractor – otherwise it would become a kite.  It provides the bulk of the shelter for the chooks.

How to make a lightweight chook tractor

The final part of the exercise was to separate the ducks from the chooks.  During this amusing exercise, we realised that we had not one, but three roosters masquerading as chooks.  Now, even I know enough to realise that roosters don’t provide much in the way of eggs.  We eventually separated the chooks, the ducks and the roosters into their respective homes.

How to make a lightweight chook tractor

With so many roosters, no one was going to be happy, so one was euthanized.   His carcase was buried under the roots of a newly planted fruit tree, where we hope that he will provide a great start to the young tree.

On the plus side, the girls are much happier in their new accommodation.  I just hope that as we emerge from the depths of winter that the hens resume laying.  I am looking forward to enjoying farm fresh eggs once again.

The rain it falls and soaks into the ground

Over the past weekend, the Rock Farm was treated to a steady 90mm of soaking rain.  It was glorious, wonderful soaking rain that replenished tanks, dams and the soil with precious moisture. It also soaked the local Scout camp over the weekend – but the country kids didn’t seem to mind too much.  Of course many other parts received far more rain than they really wanted, so we consider ourselves extremely fortunate with our rainfall.

And so the rain fell – apologies to Stephen Fry for my attempt at a poetic title (See The Ode Less Travelled). It was a good time to take a walk and check out the Rock Farm in an unusually wet state.   Most importantly I was keen to see where the water was soaking into the ground and where it was running.  So The Little Helper and I donned gum boots and rain coats and proceeded into the paddocks.

The ground was sodden and water was pooling in the surface.  Our first stop was the little paddock behind the house.  This paddock has previously had rip lines put in, and these catch the water and help prevent it running down the slope. In dry times, the lines can be easily seen because they hold the moisture and the grass stays greener longer.  It is also the warmest paddock on the farm – and the animals often move here on really cold frosty nights as it is the highest place on the Rock Farm.

A bit further down the slope,  the water had formed streams that were running into the dams.  I was really pleased to see that the water running was clear, meaning our soil was not mobilised in the rain.  Of course running water carries the real risk of soil erosion, and  once the soil is gone, it cannot be replaced.

The Little Helper and I paused to check out some little gullies that are on this slope.  The water naturally runs in this valley during heavy rainfall forming temporary streams.  The little gullies are a bad sign, and I have been putting garden clippings and other material into the gullies in an attempt to slow the water down and reduce further erosion.

The technique, inspired by Peter Andrews seems to be working.  One day I’d like to dig a series of ponds on this slope to really slow and hold the water in the paddock for longer.  In the meantime, the garden waste seems to be providing a good barrier to slow the water and allow the bare earth to revegetate.


It wasn’t all going to plan though as this little water-fall shows.  At least the water crossing over it was clear.

The pooling or ponding was also occurring naturally, particularly under this ancient Brittle Gum (Eucalyptus Manifera). It helps that the slope here is less steep, and this means the leaves and natural mulch can form effective barriers to slow the water down too. 

I had never seen so much water in the dam in the background.  The water was flowing quickly out the over flow, and this is where things started to get a little less positive for us.

The water was racing down a two wheeled track that had formed between the two dams.  It was running quickly, and without the natural grass and other shrubs to slow it down, the water wasn’t soaking into the soil.  A quick test (pulling out a sifton bush weed near the track) revealed how little the water had soaked into the ground.

So I press ganged the little helper into service.  We moved a few logs and stumps into the flowing stream, in an attempt to divert the precious water into the grassy parts of the paddock.  We hoped we could get it to slow down and soak into the soil. Our plan was moderately successful, but will require a lot more work before I am happy with it.  The scary thing is that I rarely drive this track and in the last 18 months or so ave asked the family not to drive it at all if it cannot be helped.  It hasn’t rejuvenated.    This part of the Rock Farm will take a long time to heal, and without the benefit of heavy machinery that can rip up the soil and aerate it again, I will have a lot of work to do to slow this water down and get it back into the soil.

It is funny that a few hours later I was digging drains out on our lane – with roads the priority is to get the water off the road as quickly as possible.  In the paddock we want to slow it down and give it time to soak in.  

It was glorious wonderful rain that will build soil moisture for the spring.  Of course, there were a few of us that have decided that we have had enough rain, and a bit of sunshine would be nice.  But then again, they also benefit most from the fresh green grass that the rain provides…  🙂

How to build Wicking Garden Beds – Part 2

In my previous post, we constructed the base of some self watering wicking garden beds (you can read all about it here).  We made our wicking beds out of old railway sleepers, recycled corrugated iron and other timber we had lying around.  You can make wicking beds out of anything suitable for holding the weight of the gravel and water you plan on putting in them.

The next step is to line the beds with some cardboard or old carpet underlay to protect the water proofing plastic liner.

How to build a wicking garden bed

Cardboard can be used to line wicking beds

If you have some old carpet underlay, you can use it to line the beds.  Most underlay provides a good base that is resistant to rotting quickly.  It doesn’t have to be pretty – just cover the base.

How to build a wicking garden bed

Old carpet underlay is ideal for lining wicking beds

The next step is to line the base with a waterproof membrane.  We initially priced pond plastic, but it is incredibly expensive.  A suitable alternative is builder’s plastic.  We bought a large roll, which we doubled over to give two layers.  The tape holds the plastic in place while we fill it.

How to build a wicking bed

Builders plastic is held in place temporarily with masking tape

Now comes the fun part.  Time to fill the beds with gravel.  We constructed a ramp to make it easier to run the wheelbarrow up and tip gravel into the beds.  This is done in stages.  Firstly a 100mm layer of gravel is put into the base of the beds.  We used 20mm recycled concrete for our gravel bed, mainly because it was extremely cheap.

A temporary ramp for the wheelbarrow helps when filling the beds

After you have a 100mm gravel base, it is time to put in the irrigation pipe.  We used standard 50mm PVC pipe and brackets for the filler tube  or riser.  To distribute the water quickly and evenly through the bed, some 50mm Agricultural Pipe (ag pipe or drainage pipe) was curled around the bed.  The PVC fittings were glued, using PVC glue, however the ag pipe was simply taped to the PVC pipe using cloth tape.

How to build a wicking bed

The Ag Pipe is laid on a 100mm bed of gravel.

Once the filler pipe and ag pipe is in position, the hard work begins.  If you’re able to hire a strapping young lad for this part of the process, then that makes life a lot easier.  We enlisted the help of a friend’s 15 year old and in a few hours of intense labour, managed to fill three of the new beds with gravel to the required depth.

How to build a wicking garden bed

Filling wicking beds with gravel is easy if you have a helper


With the gravel filled to the required depth, it is a good idea to check for level.  You can do this with a fancy sirit level, or by filling the beds with water.

The next step is to put a drain in the beds.  We used a 12mm irrigation pipe, protected by a 19mm pipe.  Some old pantyhose over the end stops mosquitoes from breeding in the beds.

The half inch irrigation pipe is protected by the 1 inch pressure pipe offcut

The drain is hard to spot, and the pantyhose mesh stops mosquitos from entering the beds


Once you have the drain installed it is time to put some weed mat or shade cloth over the gravel.  This helps keep the soil on the top from disappearing into the gravel.  It also allows the moisture to wick into the soil.


Finally it is now time to fill the top third of the beds with soil.  Again it is handy to hire a strapping young assistant for this process, but if you don’t have one to hand, I’d suggest gently asking the person who desired the beds to be built to lend a hand..

How to build a wicking bed

Do not offer advice during this phase of the construction – or you might find yourself wearing some of the wonderful compost!


We were fortunate to source some of the most expensive compost in the world for our garden beds. You buy good quality horse food, and process it through the said horse. Then you mix it with fine quality straw, that is used for a short period as a soft bed, before the horse wees and tramples it into the mud. This product is then turned and mushed for a few days before you rake it and apply it to your garden beds.

How to build a wicking garden bed

Alternating layers of soil and compost helps build organic matter in the wicking beds


And you’re done.  If you’re like us, it will be just in time for winter – a particularly difficult time to grow anything on the Rock Farm.  I guess it doesn’t matter when you finish your project… it is just important that one day you do finish… even if it is 18 months after you started!!!

Good luck and happy vegetable growing 🙂

Improving soil health – Repairing bare soil on the Rock Farm

As short time custodians of the Rock Farm, we have a responsibility to leave our land in better shape than we found it.  It can be a bit daunting, but we have found many people  and read several books that have helped us start this journey.

The Rock Farm is in a region of Ordovician shale – and the soil best described as thin, gravel based lithosols (soil consisting of unweathered or partly weathered shale fragments).  The land has been previously cleared, and heavily grazed.  When the grass or ground cover is broken, the fragile soil is lost forever leaving bare patches of earth where nothing grows.

Cleared land with evidence of sheet erosion

In the few years before we bought the block, the stocking rates had been significantly reduced.   This allowed an explosion of young sapling trees in one paddock.  The old remnant trees were surrounded by many saplings – which was very pleasing to see.

This Red Stringy Bark has many young saplings among native Poa Tussock

The bare soil however was a problem.  The first priority was to stabilize the soil – and protect it from further erosion.   The easiest way for us to do this was to simply spread lawn cuttings around over the bare soil.  The cuttings protect the soil from wind and animals walking over it. The cuttings also over time will break down, releasing nutrients into the soil.

Leaving garden clippings or trimmed branches to break down and provide organic material to the soil

This is not a quick process.  In the hot and dry or cool and dry climate of the Southern Tablelands, this organic material will take years to break down.  But in the mean time, we hope it will provide shelter to allow grass, shrubs, even weeds – anything to grow.  In the mean time, the plant material provides homes and food for many native beetles and bugs.  These in turn increase the number of insect eating birds that visit our place – a real win-win scenario.

Three years on and the light shrub clippings have broken down and grass and weeds are re-colonising the soil

This is a patch that in 3 years, has broken down and is showing signs of colonisation by grass and weeds. The weeds are a sign that the system is out of balance – but repairing.  As the soil improves, the grasses will out compete the weeds (we hope).

Even bigger trees can benefit from protection too

It is a technique I use all the time.  I now cut green timber for firewood (see previous post), and I spread the small green branches over bare soil.  Within a year, the area is a hot bed of insect activity, with many small grubs and beetles munching their way through the bark and leaves, creating a rich organic soil.  The trees soon recover from the branch or two that I lop off, and the added bonus is the richer soils.

img_8251

The leaves quickly break down – these branches have been cut less than six months and are starting to decompose

Of course this process only works on small patches and it takes a long time to come to fruition.  Its best feature is it costs next to nothing – and uses natural processes.  To dramatically increase soil fertility quickly, you need to conduct soil tests, and import fertiliser – preferably an organic or natural compound.

There are many different fertilisers that can be used – but I will discuss these in a later post.

If you are interested in further reading, check out:

Pat Coleby – Natural Farming (http://farmingsecrets.com/experts/pat-coleby/)

Peter Andrews – Natural Sequence Farming (http://www.nsfarming.com/)

Sustainable firewood harvesting – Cut it green!

It is that time of year on the Rock Farm, when harvesting firewood becomes a high priority.  With our first frost on the ground, the dog has taken up residence in front of the slow combustion stove, and will only venture outside for calls of nature.  It is a beautiful time of year, but only if you can be snug and warm inside.

Our slow combustion stove is fired by firewood I try to harvest from the Rock Farm.  Our farm isn’t heavily wooded, but I want to ensure that I am able to sustainably harvest firewood into the future in a way.  And I do something a little different – where possible I try to harvest green wood!

There are many advantages to cutting green wood:

  • Green timber is far easier and quicker to cut that seasoned hard wood
  • Chainsaw maintenance and sharpening is reduced
  • Green branches are less likely to be hollowed and therefore homes for native animals
  • The green leafy parts can be used for paddock mulch
  • Larger logs can be left in the paddock to encourage insect activity
  • The smaller branches mean less splitting of logs later.

The main disadvantage of course is that you need to leave the timber for a year or two to season, and this means you need to plan ahead.

One paddock on the Rock Farm has many brittle gums (eucalyptus mannifera) and I have selected these as the primary target for my sustainable firewood harvesting.  This allows the Red Stringybark (eucalyptus macrorhyncha) and the red box (eucalyptus polyanthemos) to continue to regenerate.

I select a tree with many branches originating from the stump.  After checking for birds nests, I select one or two of these for harvesting.  Being quite small, they are easy to handle and safer to cut than old standing timber.

This young tree will recover quickly from such a small trim.  I have left a log to encourage insect activity into the future

One of the key components of soil fertility is insect activity.  Around any old log you will find richer soil and a multitude of insects and worms of all types.  Unfortunately when most paddocks are cleared, all the logs are also removed.   Down the road at Mulligans Flat, scientes and rangers have added hundred of tonnes of ‘coarse woody debris’ or logs to the reserve to boost the biodiversity of the area. It is a fascinating topic worthy of much discussion, but you can read about the science behind it here: http://www.mfgowoodlandexperiment.org.au/aboutMFGO.html

The small branches are leaves are used to cover bare earth and boost young trees – native mulch

I also use the small branches to cover bare soil or areas in need of some protection.  This is a technique we have been using on all our bare patches of soil with great success.  Garden clippings, basically any organic matter is placed over bare soil, encouraging plant growth.

This wood has seasoned for just over 12 months. In the background you can see the large log that will be left for the beetles and insects

The smaller pieces dry out quickly meaning they are able to be burnt after 12 months, however I find a minimum of two years is ideal.

12 months on – the leaves are breaking down slowly… and the young trees are growing strongly

And does it work?  Yes it does, but it does require a fair commitment to build a big enough reserve of timber far enough in advance to see you through winter.  We don’t always cut green timber – I did fell a large red-box stag this autumn.  Its stump is surrounded by young red box trees which are far to small to harvest in this manner, but it is an encouraging sign for the future.

Of course the one who gets most benefit of the slow combustion fireplace doesn’t care where the wood comes from… as long as it works!

Apparently it is cold outside

Apparently it is cold outside


Water Water – Improving a watering system

When we moved to the Rock Farm, our garden was irrigated by dam water, pumped by a petrol pump.  To water the garden, we would have to walk down to the dam with a can of petrol, and try to start the pump.  More often than not, the pump would be hard to start and our garden would be left parched and dry for another day.

The first step was to give the petrol pump a service, and to build a small shelter or pump house for the pump.  This helped considerably, and the pump is now far easier to start.  But it was still a long way from the house, and turning a tap on to water the garden required a considerable effort.

Water water - Improving an irrigation system

Petrol pumps are useful for moving large volumes quickly, but are tiresome when used to water gardens

Something had to be done, and we decided on a two-phase approach.  The first phase was to install a header tank up near the house, with an electric pump on it that could water the garden on demand.  The second phase was to replace the petrol pump with a solar pump and ball valve that would keep the header tank full at all times.

The most cost-effective tank for its size is the 5 000 gallon / 22 500 litre poly tank, and we ordered one from our local rural supplier.  It arrived a week or so later and was carefully placed (dropped) from the truck on my leveled site.  Thankfully I was able to move the tank into the right position with a couple of ropes and the four-wheel drive.

Water water - Improving an irrigation system

Positioning the water tank – using four-wheel assistance

The plan was for the existing piping system to remain largely unchanged.  A short extension was added from the 2 inch feeder pipe to allow the tank to be filled by the existing petrol pump.  I needed a mechanism to bypass the new electric pump, so I added a  few valves to allow me to fill the tank, and then run the electric pump from the tank back into the piping system.

Water water - Improving an irrigation or garden watering system

Plumbing inspector checks the scope of work

It took a while and a few attempts to get the piping installed and checked for leaks.  In the configuration below, the petrol pump on the dam can be run to fill the tank.  Once the tank is filled, I can then switch two valves and use the electric pump to irrigate the garden.

Water water - Improving an irrigation or garden watering system

Testing for leaks – always a nervous moment… can you spot the little drip?

The fittings I used are good quality, but decidedly expensive.  The pump is a cheap one, but easily replaced should I need to.  I have found cheap fittings don’t last, but have had good luck with the cheaper pumps.  To give the pump a bit of protection from the weather, I also built a small shelter for it.

Water water - Improving an irrigation or garden watering system

Building the pump shelter

We leave the power switched off and the tank isolated when not in use, as we have a few leaks in the irrigation system that I am still working through.  That said, it is much easier for us to open a valve and turn on the power to have water on demand in our garden.

Water water - Improving an irrigation or garden watering system

All done

During the peak of summer, we were able to water our garden every couple of days, without the difficulties of starting the old petrol pump.  We found that because we could use the water easily, we did use the water, and we were able to nurse new fruit trees through the worst of the summer without loss.

Water water - Improving an irrigation or garden watering system

And now water restrictions are lifted, we can use the water for all sorts of important things, like seasoning new swags!

The second phase of our plan – the solar pump on the dam – has been relegated to the bottom of the priority list for the next few years.  The little Honda pump keeps working away without fault, and now I am only running it once or twice a month, my tolerance and patience with it is much less likely to wear out.  It also provides a good redundancy in case of bush fire.

Water water - Improving an irrigation or garden watering system

Old faithful gains a reprieve!

Drawbacks of living on a hobby farm

Just as we discussed some of the great things about living on a hobby farm (here), it must be said that there are some disadvantages to living on a farm.  Whilst I love every minute on the Rock Farm, I can freely admit that living out of town is not for everyone.  If you find any of these drawbacks sound like they might apply to you, then perhaps you should visit a farm for a weekend at a time.  If you think you’re ready to take the plunge and take a tree change, these are somethings that you might consider before leaping in!

Distance from facilities

Hobby farms by their nature are out of town.  This means that if you forgot to buy the milk or bread, you have to make up your mind whether it is worth returning to town for a little shop, or go without until your next trip into town.  You can’t roll out of bed and stroll down to the cafe on the corner for a cup of coffee…

drawbacks of living on hobby farms.

You may spend more time looking at this view than you’d like

This means that we tend to buy extra food.  We have a stash of long life milk in a cupboard.  We own a chest freezer that rarely gets below half full.  When I visit a hardware store, I tend to buy extra – to make sure I have enough to finish whatever job I am doing.  Yet despite this, occasionally we do run out of stuff, and we have to make a decision.  Is it worth travelling all the way back into town for – or can we wait until our next trip.

With no public transport other than the school bus, owning two cars is an essential part of living out of town.  The cars provide an important safety link, particularly important as we are a long way from Ambulance services.  Both of these vehicles do a lot of kilometres each year.  There is also the added risk of stray animal strike – meaning both our cars are fitted with bull-bars, and the option of a small runabout as the second car is not very appealing.

drawbacks of living on a hobby farm

Keeping the cars running is essential – especially if you need to conduct running repairs after a kangaroo strike

There is always something to do

Be it feeding the animals, watering trees, repairing fences or mowing the lawn, there is always something to do, and always an unfinished task.  Whilst we love this active lifestyle on the Rock Farm, we have plenty of friends who love coming to visit, but acknowledge that ours isn’t the lifestyle for them.  It is easy to get overwhelmed with all the things you want to do on the hobby farm, but by setting a long term plan, and prioritising your efforts, you can make it a lot less stressful.

drawbacks to living on a hobby farm

There are always little jobs to do on a hobby farm

Going away requires lots of planning and sometimes cashing in on favours

Going away for the weekend is easy enough, but leaving for more than a night or two requires a bit of planning.  We need to ensure the dog and the chooks are cared for, and the stock are in a paddock with plenty of feed and water.  If there are neighbours with teenage kids eager to earn a few dollars, then you may be able to arrange for someone to keep an eye on things for a nominal rate.

If you have house-sitters, you find yourself worrying about how much water they will use, if they understand how to reset the pump if the power goes out and they myriad of other little things you quickly learn to live with on the farm.  Sometimes they can be more stress and heartache than not having them at all.

Access to services

Most hobby farms don’t have access to services such as town water or sewage.  With water storage tanks and septic tank systems widely available, it isn’t really a problem for many of us – and the bonus is you don’t pay water rates.  That said, you have to make your own arrangements for water.  If you have a small roof area, or small water tanks, you may find you need to purchase water – particularly in hot dry spells.

Many hobby farms don’t have a weekly rubbish collection service.  We carefully sort our rubbish, and store it.  Once a month or so, we take it to the local tip.   It is messy, dirty work, but it does remind us exactly how much landfill we create.  This means we recycle and reuse as many items as possible.

drawbacks of living on a hobby farm

Garbage Truck

The Internet is another service we struggle with.  When Telstra politely advised us that ADSL2 would be connected to our home on 15 December 2028, we really felt as if we were being left behind in the digital age.  Thankfully we are able to access a 4 G signal form a special antenna on our roof, meaning we can still get high speed data access from a 4G dongle, albeit at great expense.  We are presently investigating the Sky Muster satellite based NBN to see if we can improve our internet plan.

Cost of living

There is an increased cost of living when you live on a hobby farm.  You might be able to offset some costs if you qualify as a primary producer, or if you’re able to supplement your income by selling your produce.  But if you’re like most hobby farmers, you have chosen to live on your piece or paradise because of the lifestyle it provides, not the income it generates.

Despite the obvious larger mortgage required for a hobby farm compared to the regular house,  you may find the standard mortgage lending criteria don’t apply.  Depending on the size of your hobby farm, you may require a 20% deposit.  Check with your mortgage provider before you have your heart set on that nice little 40 hectare block!

You will also find the cost of insurance is more expensive on a farm.  In many instances you will require business insurance.  Again this will be determined by the size of your farm, where it is located and the stock you run.

Having to run two cars, and drive large distances, we spend a lot of money on fuel and time in our vehicles.   Whilst most of our driving is easy country miles, we still have to maintain our vehicles, and service intervals seem to come around all too frequently.

Cost of upkeep

As a responsible landowner, you will have additional costs that come with looking after a block of land.  Some of these include:

  • Fencing.  Steel wire and fence posts are inordinately expensive.  Getting someone to install fencing generally doubles the cost per metre.  The old adage that good fences keep good neighbours certainly runs true.  Your neighbour will not take kindly to your wool shedding ram covering his prize winning fine wool merino ewes!
  • Weed control.  There are many noxious weeds that can be found on rural blocks.  If you leave them, they multiply at an alarming rate, reducing the carrying capacity of your land.  You may also receive a fine from the Local Land Services department for not managing your weeds.  Spraying or mechanical control (digging them out or mulching) is expensive too.
drawbacks of owning a hobby farm

Weed control can be hard work, expensive or both!

Time Wasters

Little jobs take longer than you plan when you have lots of helpers on the farm.  Even simple stuff like testing the PH of the soil can take longer when you are visited by a gorgeous four legged friend who is after a cuddle (the two legged variety is gorgeous too!).  It is easy to get distracted, and finishing the task at hand can require a concerted effort to stay on track.

Of course I am biased – we love living on the Rock Farm.  We think that the benefits from living out here far outweigh the disadvantages.  It is very much a lifestyle choice but it does come with disadvantages.  We don’t have the trendy cafe just at the end of the street.  Our school is a 15 minute drive, work is 45 minutes.  Every trip into town is considered and if we can avoid it, we do.  Holidays require a little more planning, but really no more than anyone with pets.  Like all things, you make your choice, and live with the consequences of it,

Good luck with your decision.  If I have missed any thing, please let me know.  🙂